
I had a reminder today of why it is always so important to go over the mechanicals on your bike frequently. As my buddy and I rolled out of the parking lot I eased on my front brake and I heard an awful metal to metal grinding noise… dang.
So let’s back up to a couple days before. I was cleaning my bike and I did a nice inspection to make sure everything was as it should be. I pulled my front wheel to check the brake pads and sure enough, they were nearly toast! I didn’t have any spares in the toolbox so I bought some at my local shop (Squatch Bikes & Brews). And then I screwed up. I left my brand new pads sitting in my Jeep’s cup holder and proceeded to go on a few more rides without thinking about my brakes. That is until they gave me that nice reminder… metal on metal sounds awful by the way.
I tell you this embarrassing story to hopefully keep you from putting yourself in the same situation. So here is a step by step on what to check on your bike prior to going for a ride!
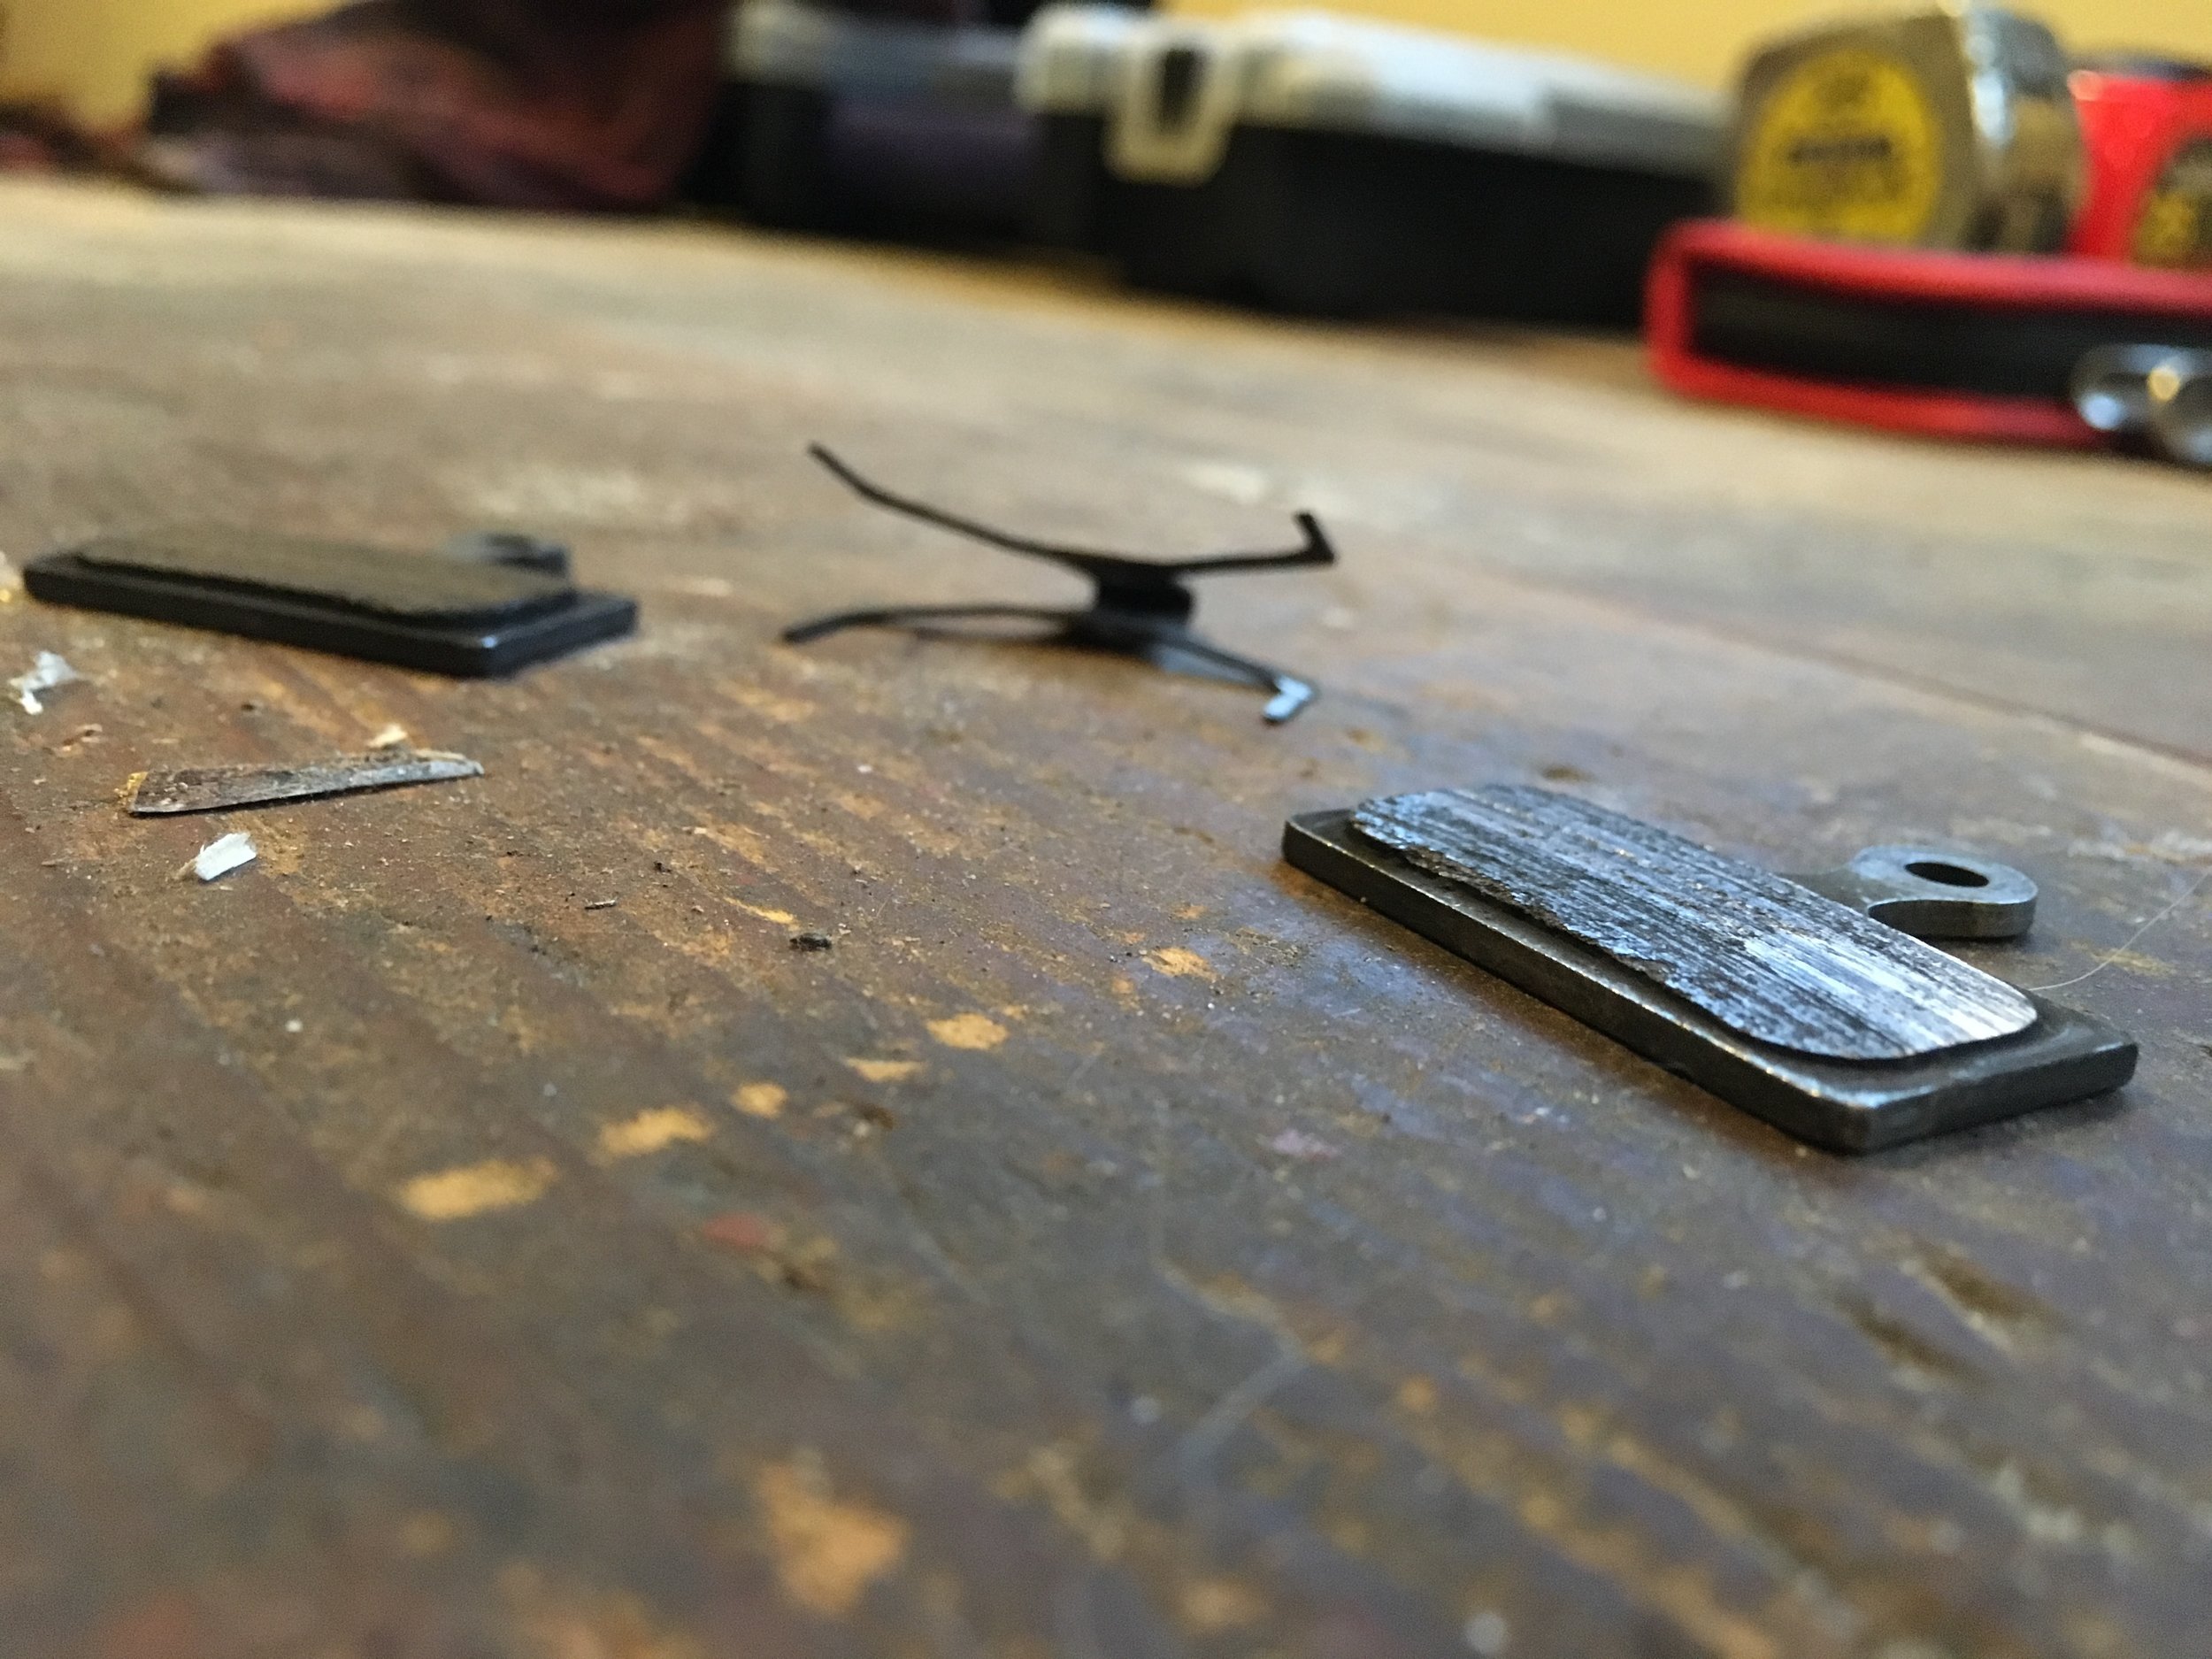
This is not what you want your brake pads to look like.
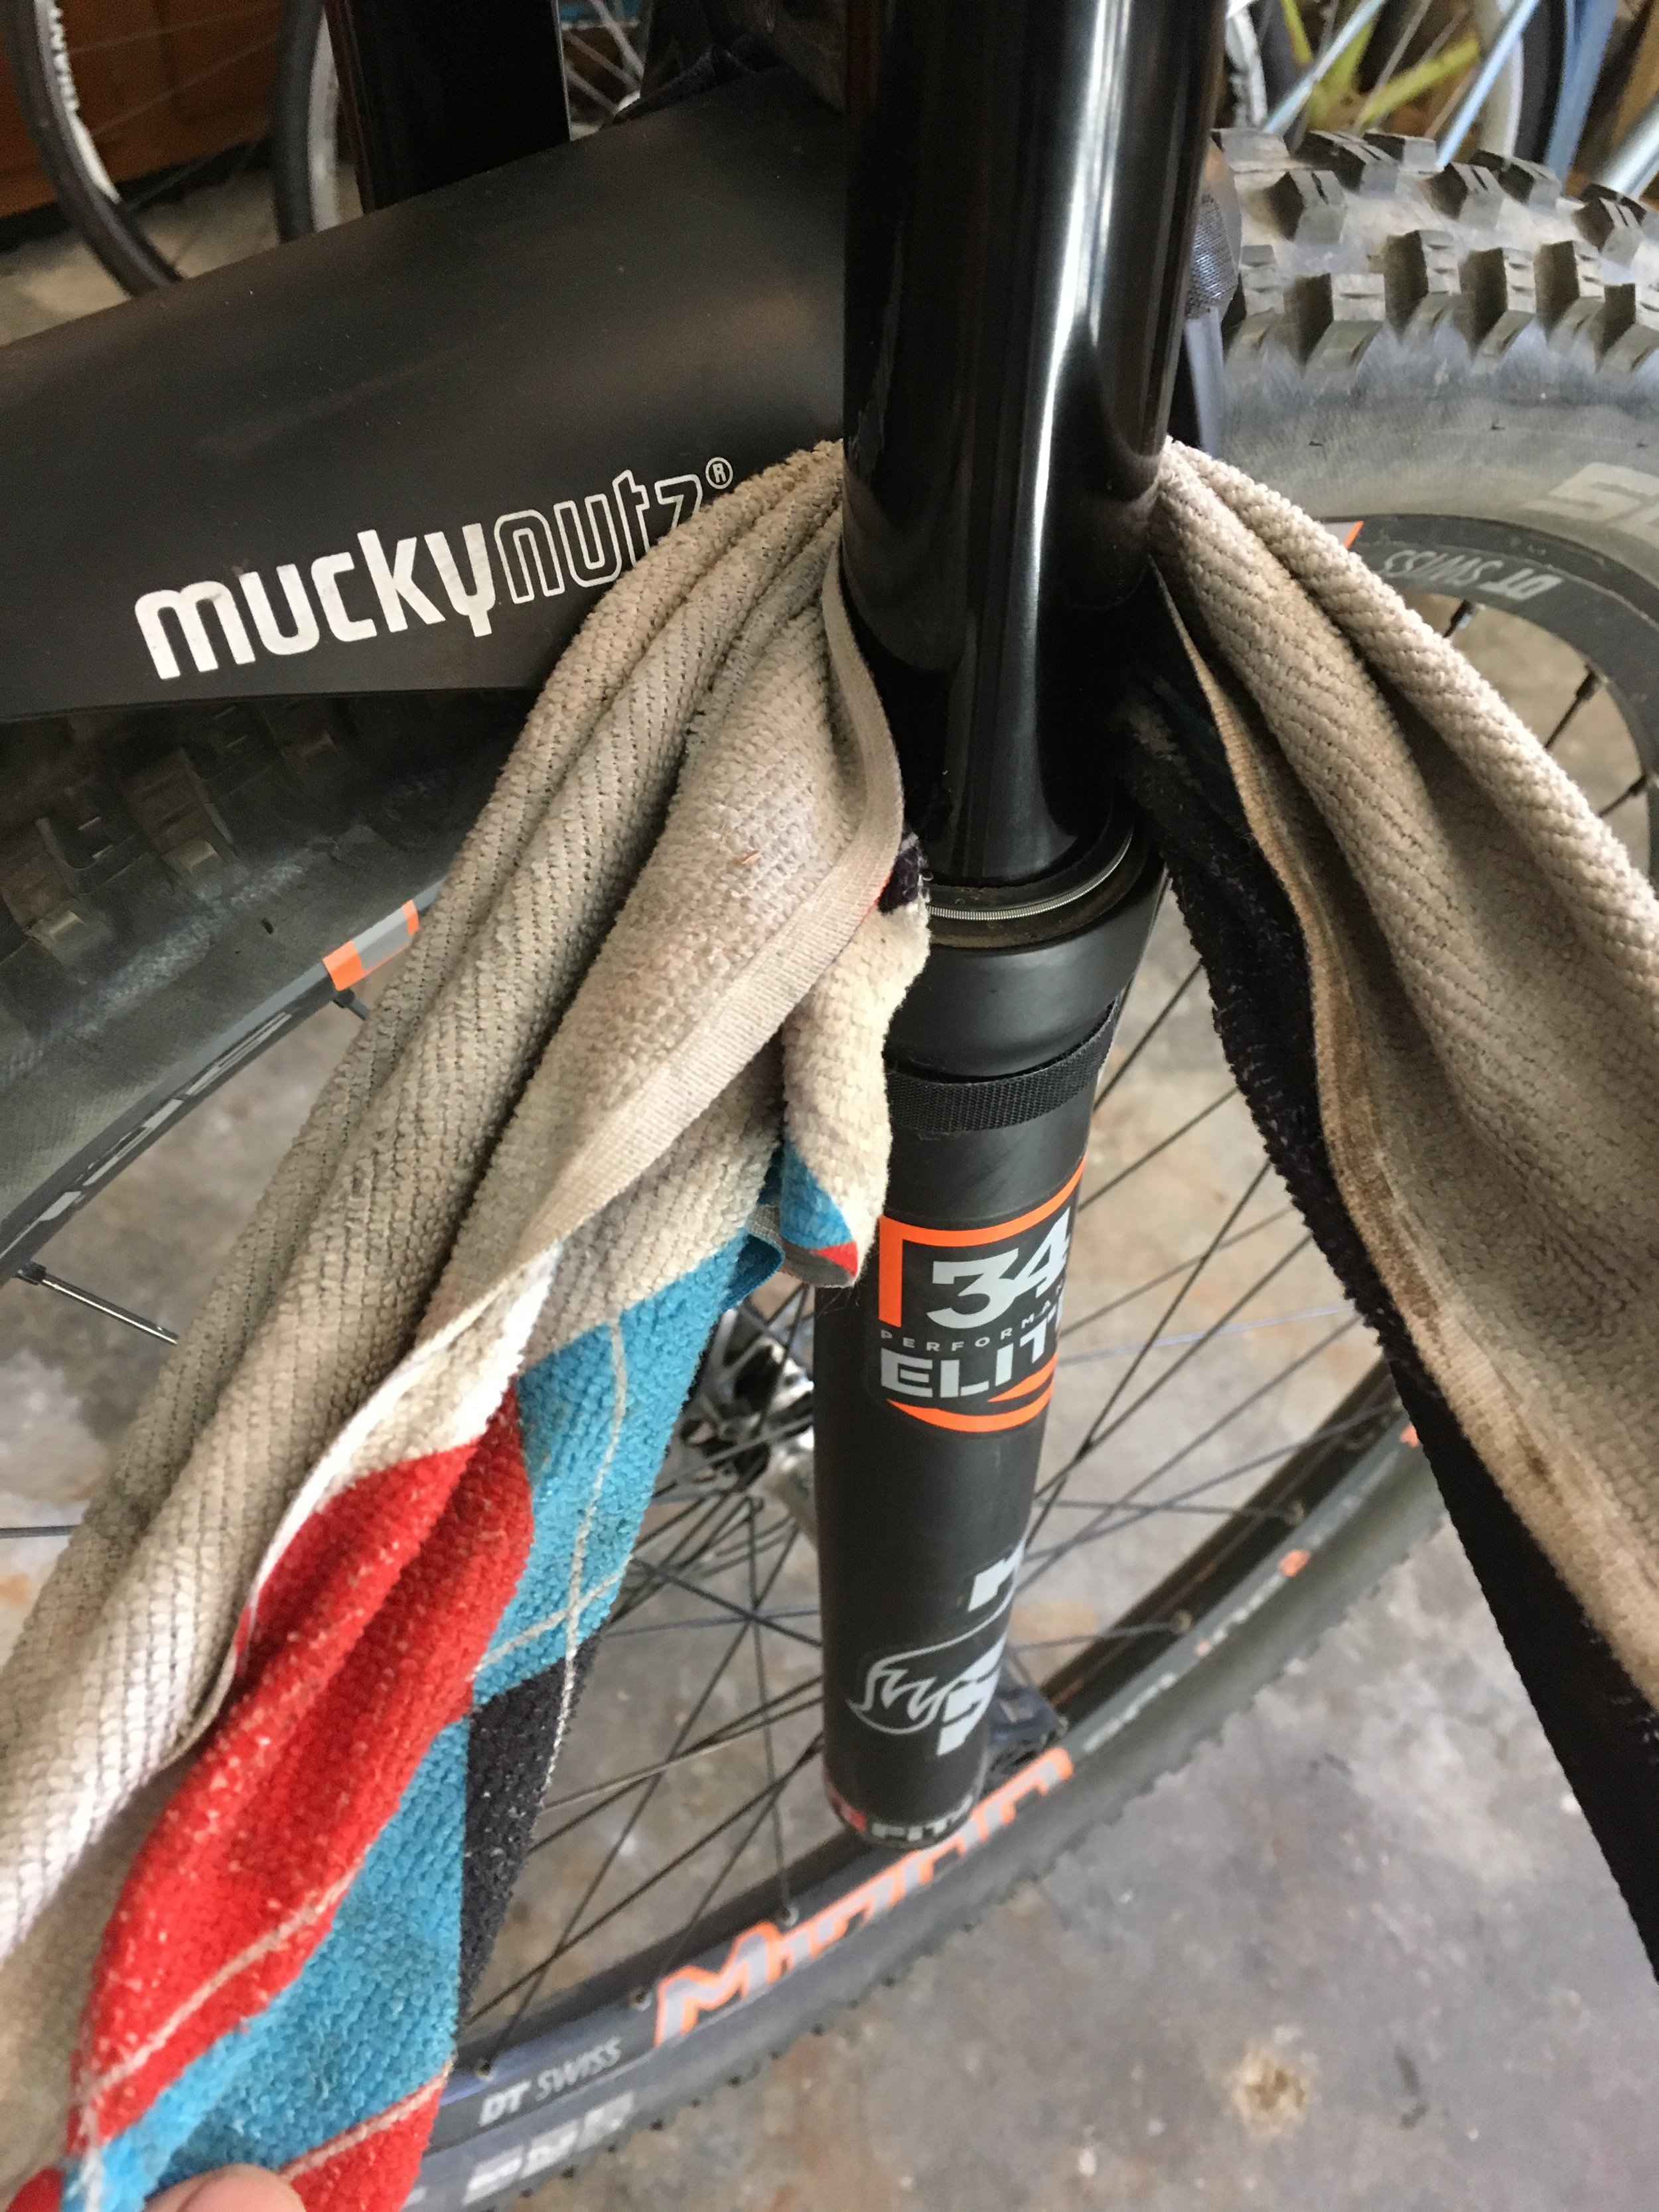
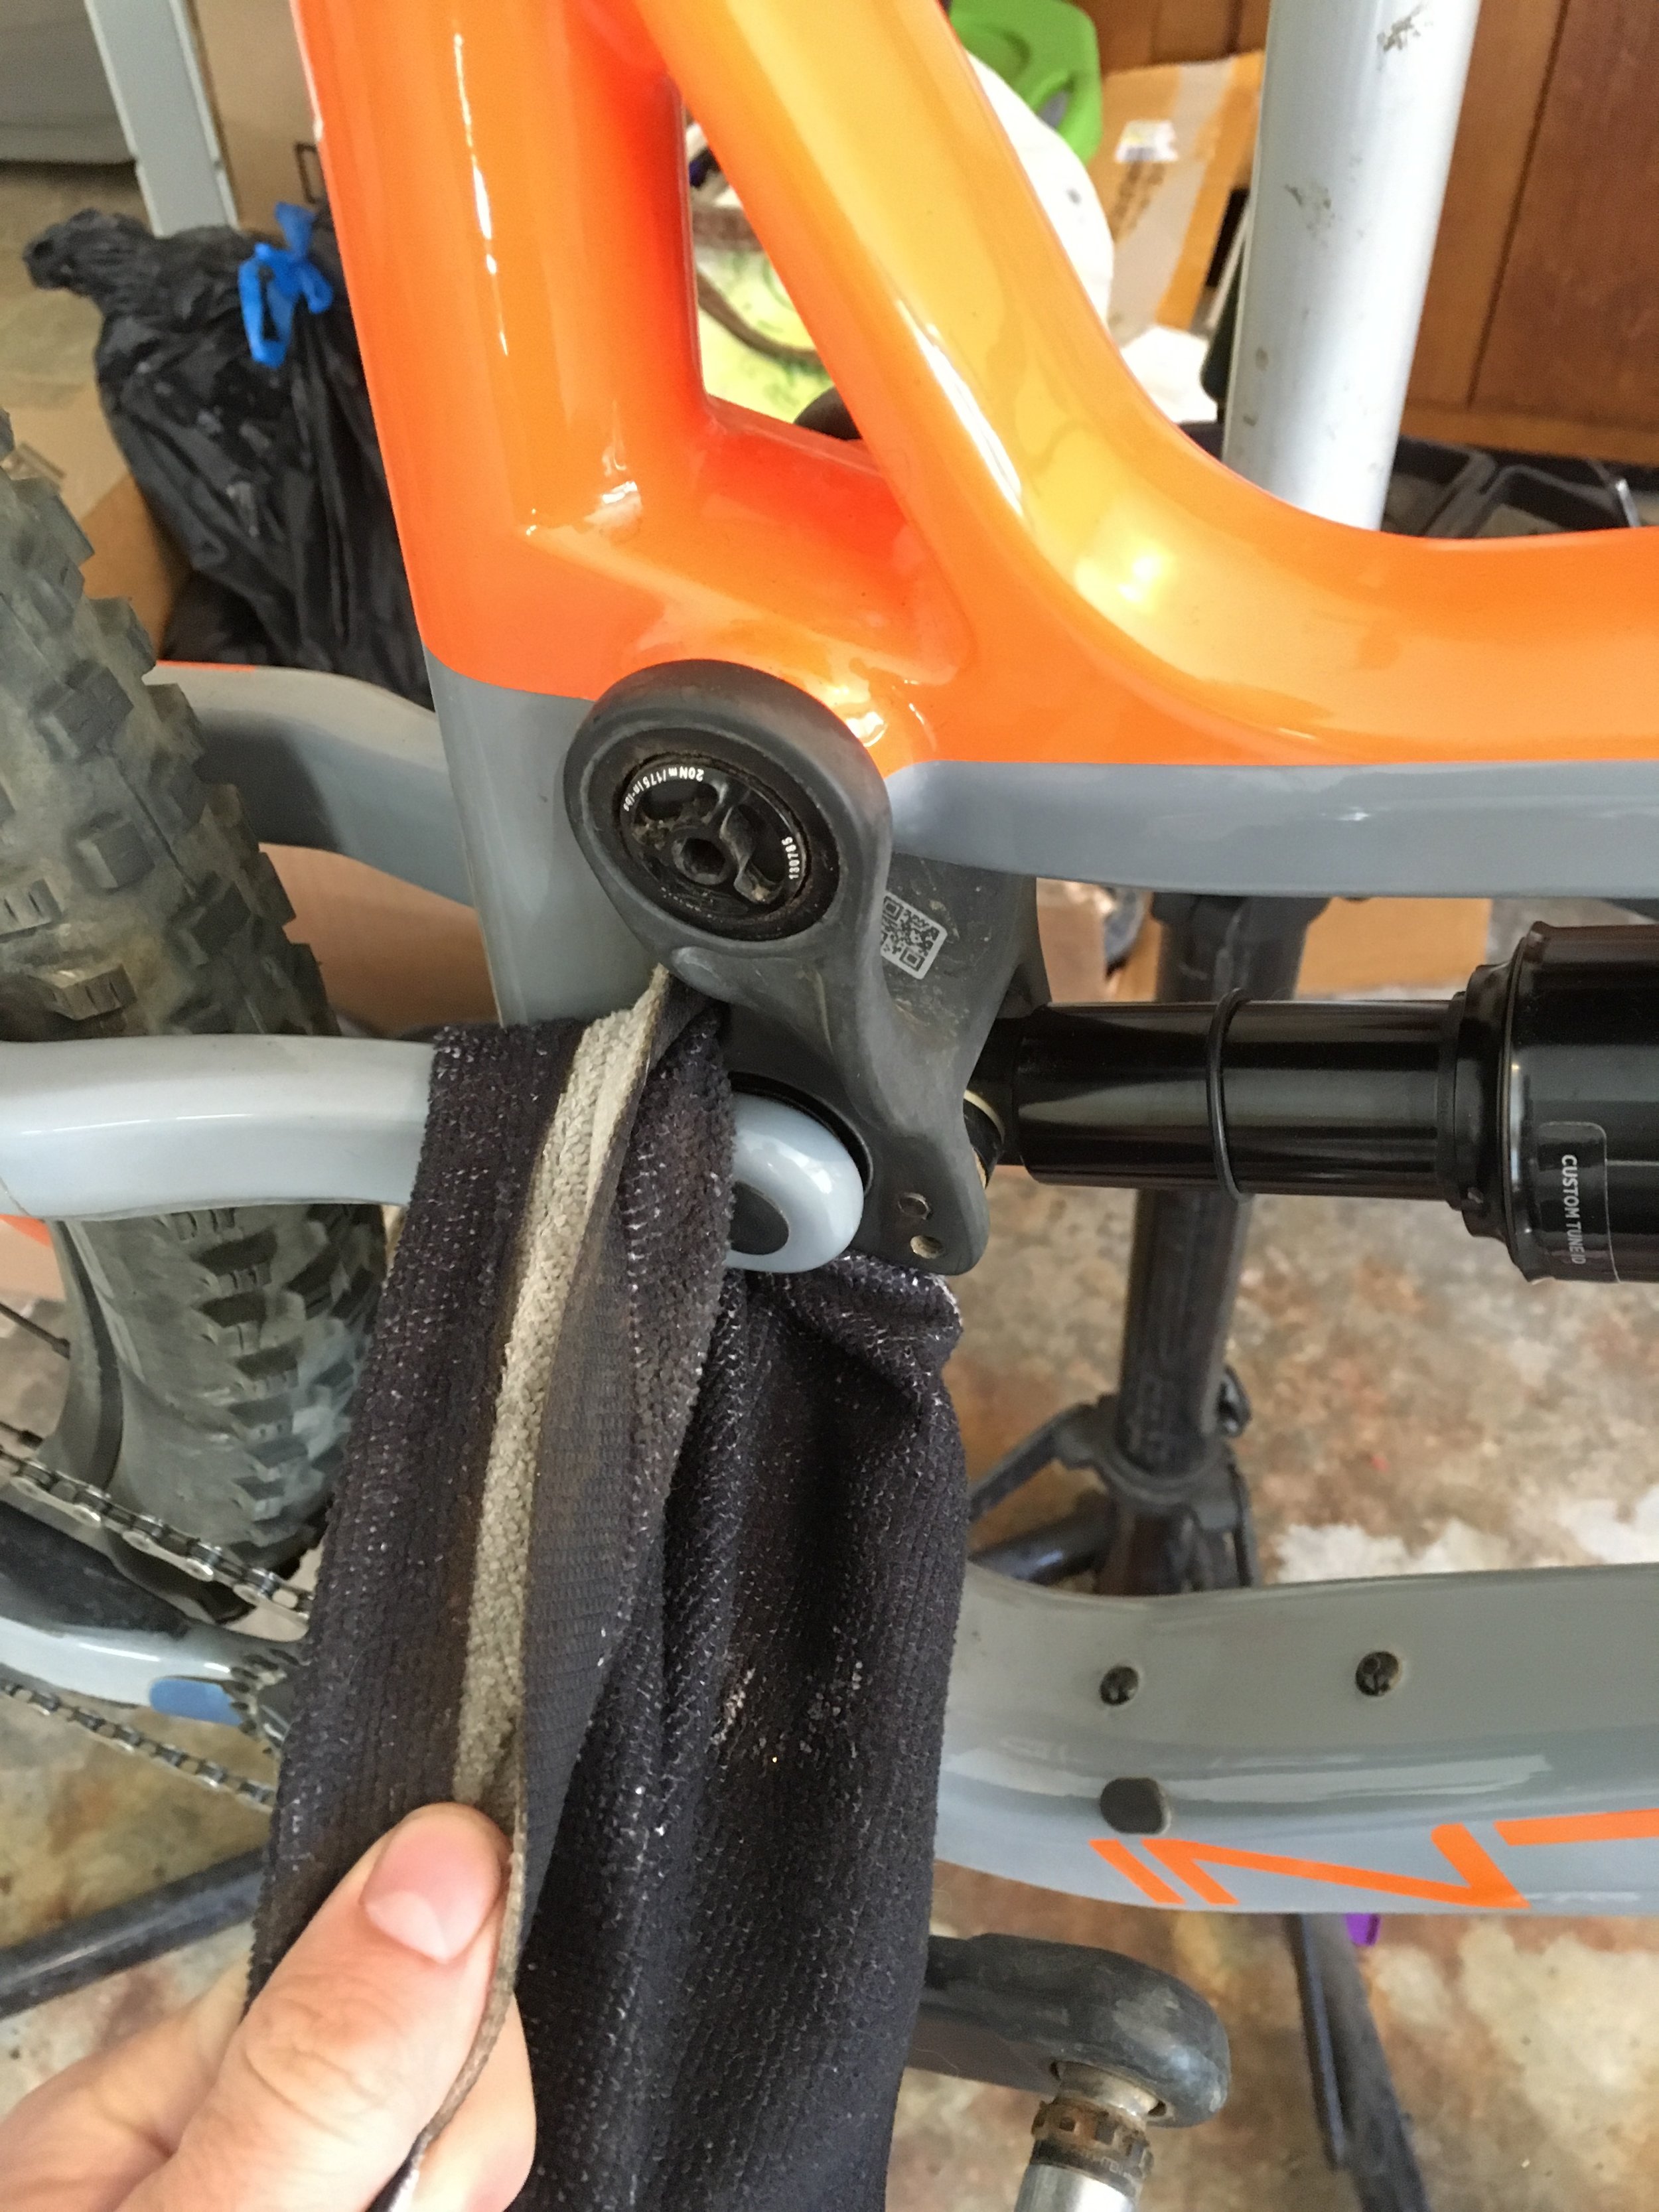
Step 1: Start with a clean bike. You do not have to totally clean your bike between rides, but there are a few things that always warrant attention. Start with your front suspension. Wipe the stanchions on your fork being sure to get any grit that is around the seals. Next wipe down your rear suspension, mainly the seal on your rear shock, and any grit that is around the pivots. I typically will use a rag like a piece of floss and thread it around the pivot to get any grit on the backside of the seals. Take note of any excess suspension oil around the seals as this typically indicates that it is time for a service. This will help keep your suspension running happily for a long time. Also make sure to wipe down your dropper post, again especially around the seal.
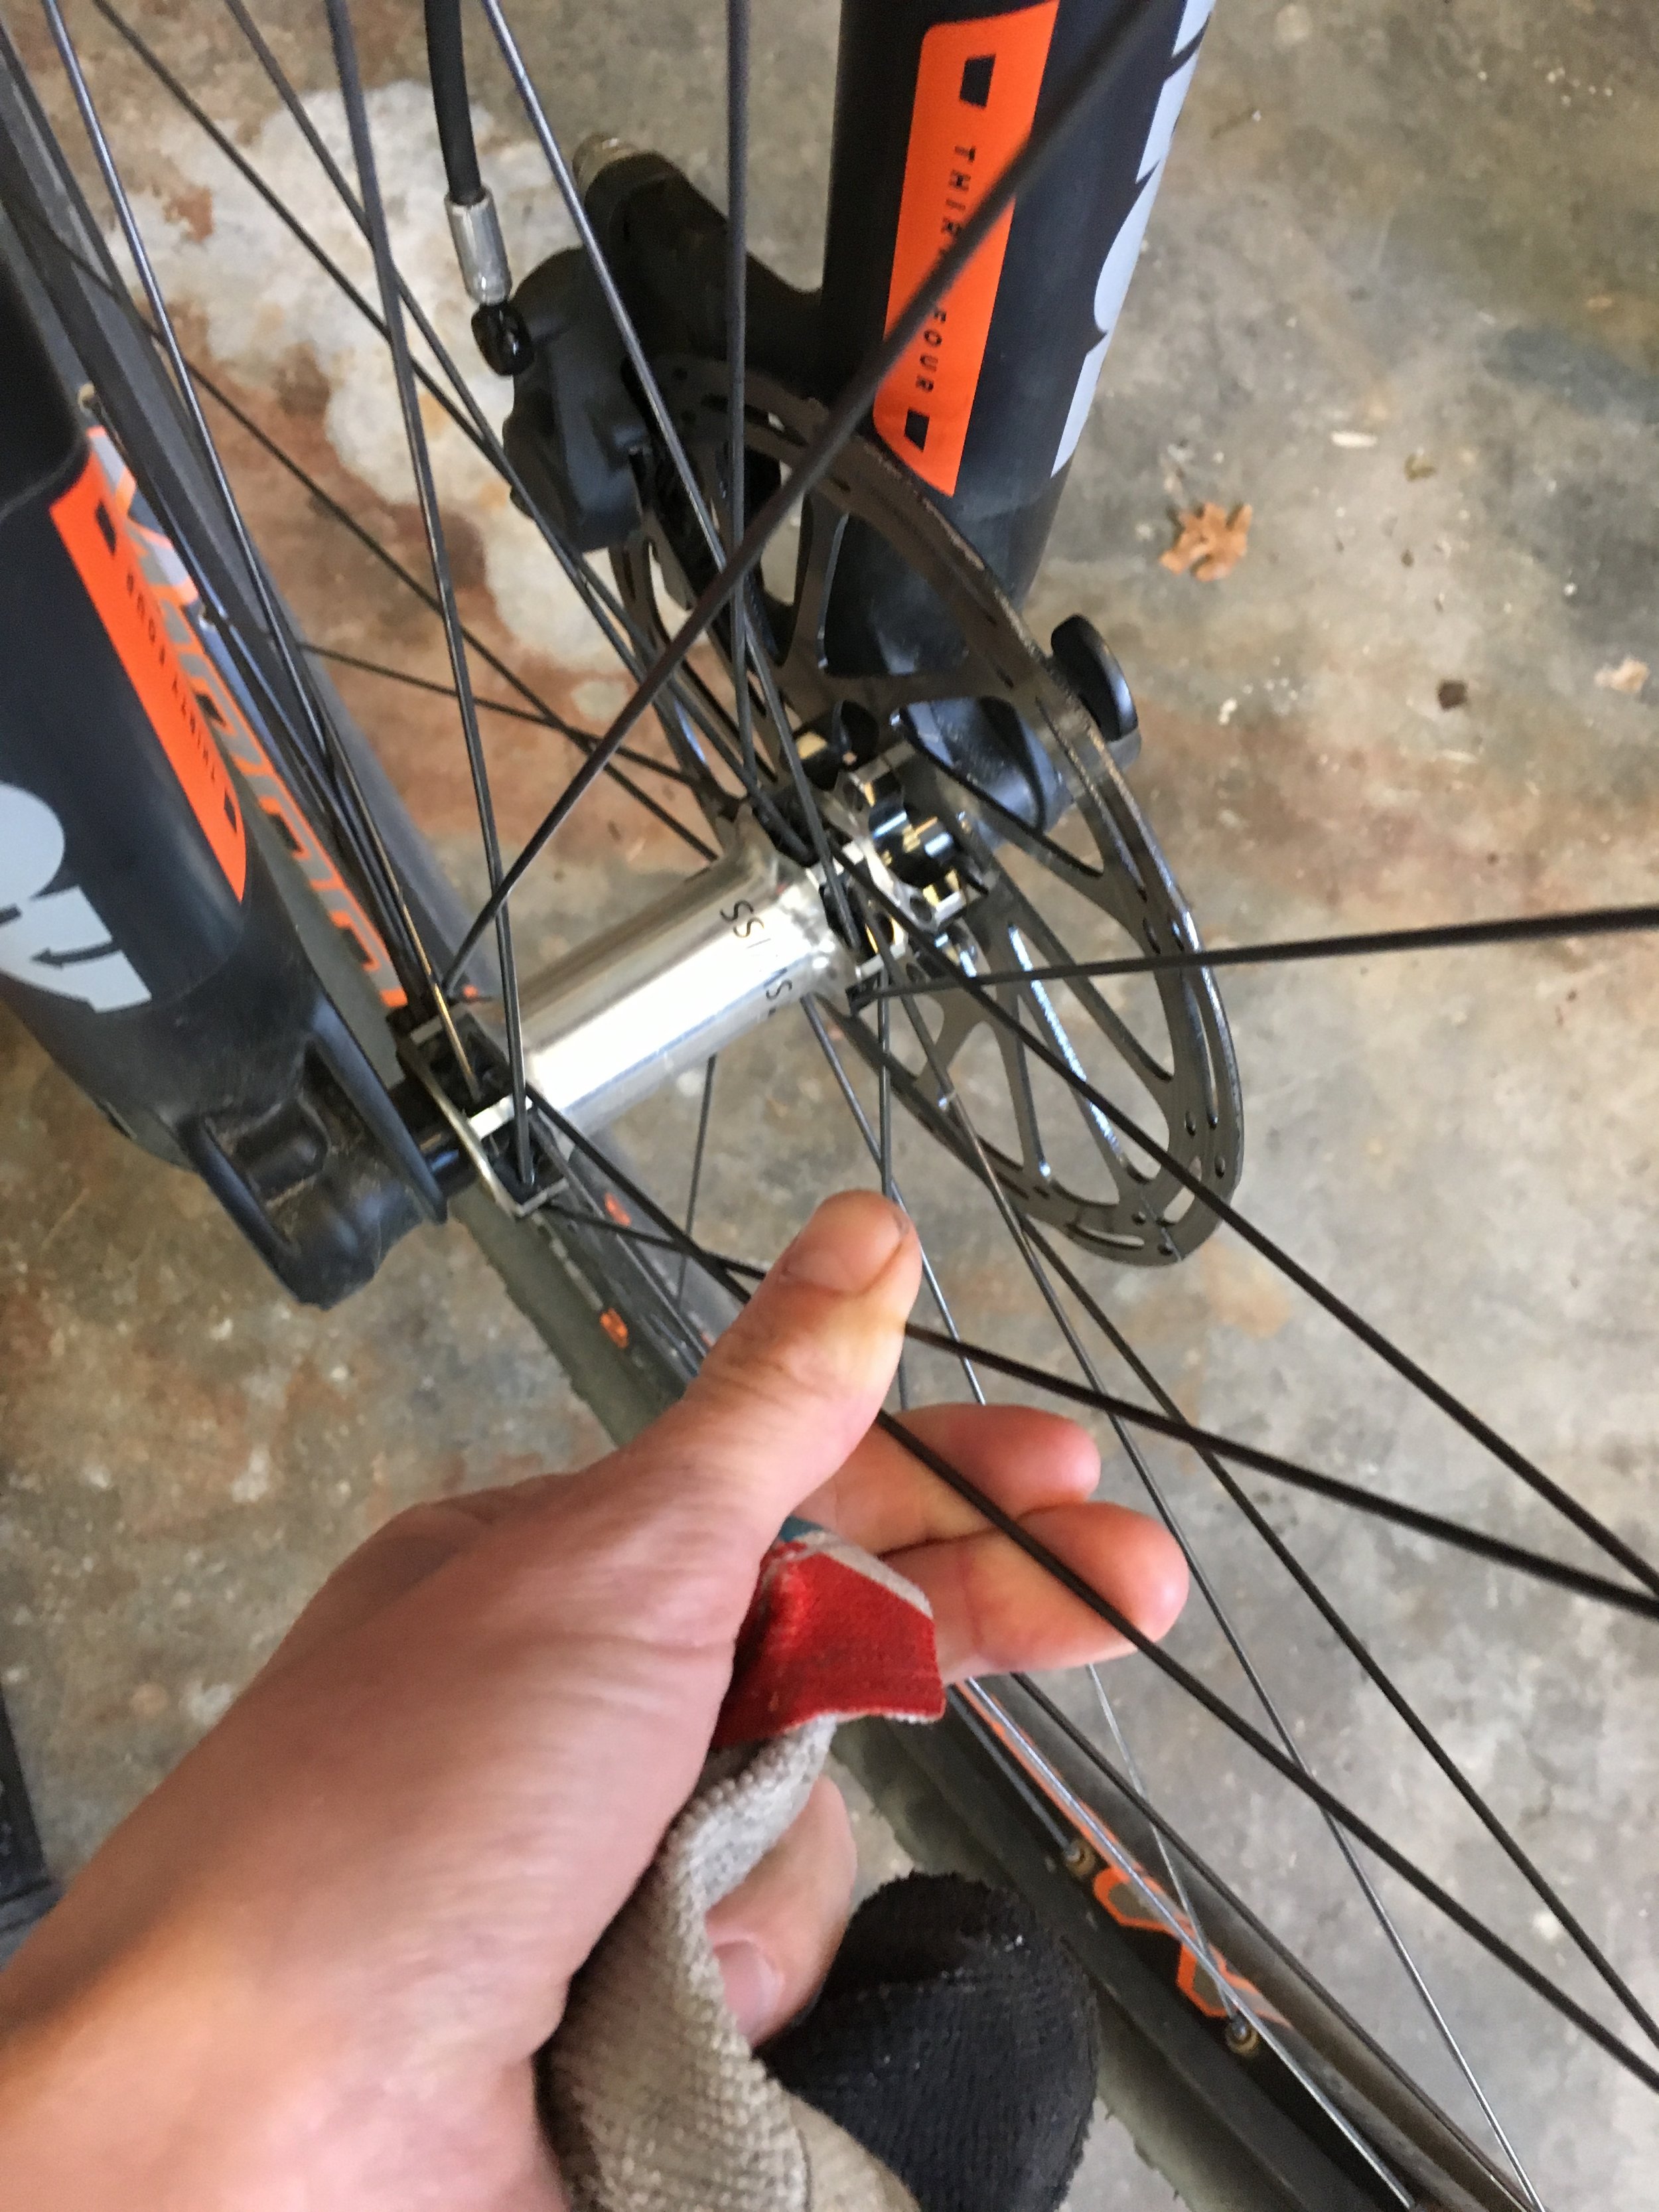
Step 2: Spin your wheels and look for any wobbles. Some tires will have a slight wobble to them out of the box and that is ok, but watch the rim to make sure it is not moving side to side or up and down excessively. Also look at your brake rotors to make sure they are straight and not rubbing on your caliper. Check your quick releases or thru-axles and ensure they are snug. Lastly it is not a bad idea to feel your spokes to make sure there are not any that have worked loose. Loose spokes can quickly lead to a trashed wheel!

Step 3: Check your brake pads. This is one that is easy to forget, but it really is crucial for safety. Take a flashlight (or cell phone) and shine it into the top of the caliper to see how much pad material is left. Pull your wheel and you should be able to see into the caliper easier if you can’t tell with a light alone. Or you can always just pull your pads out of the caliper. Shimano says to replace pads once they’re down to 1 mm of pad material left. It is a good idea to have a set of spare pads in the event that you forget and your pads wear out completely on a ride. I like to keep my old pads (if they’re not totally shot) as spares that I can use on the trail.
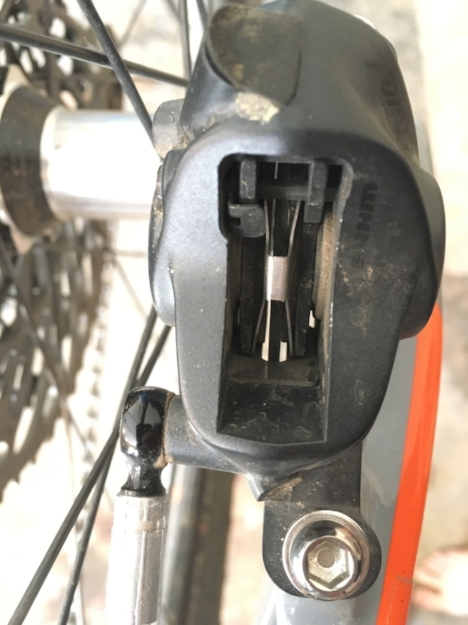
This caliper could use an adjustment. But the pads have plenty of life left.
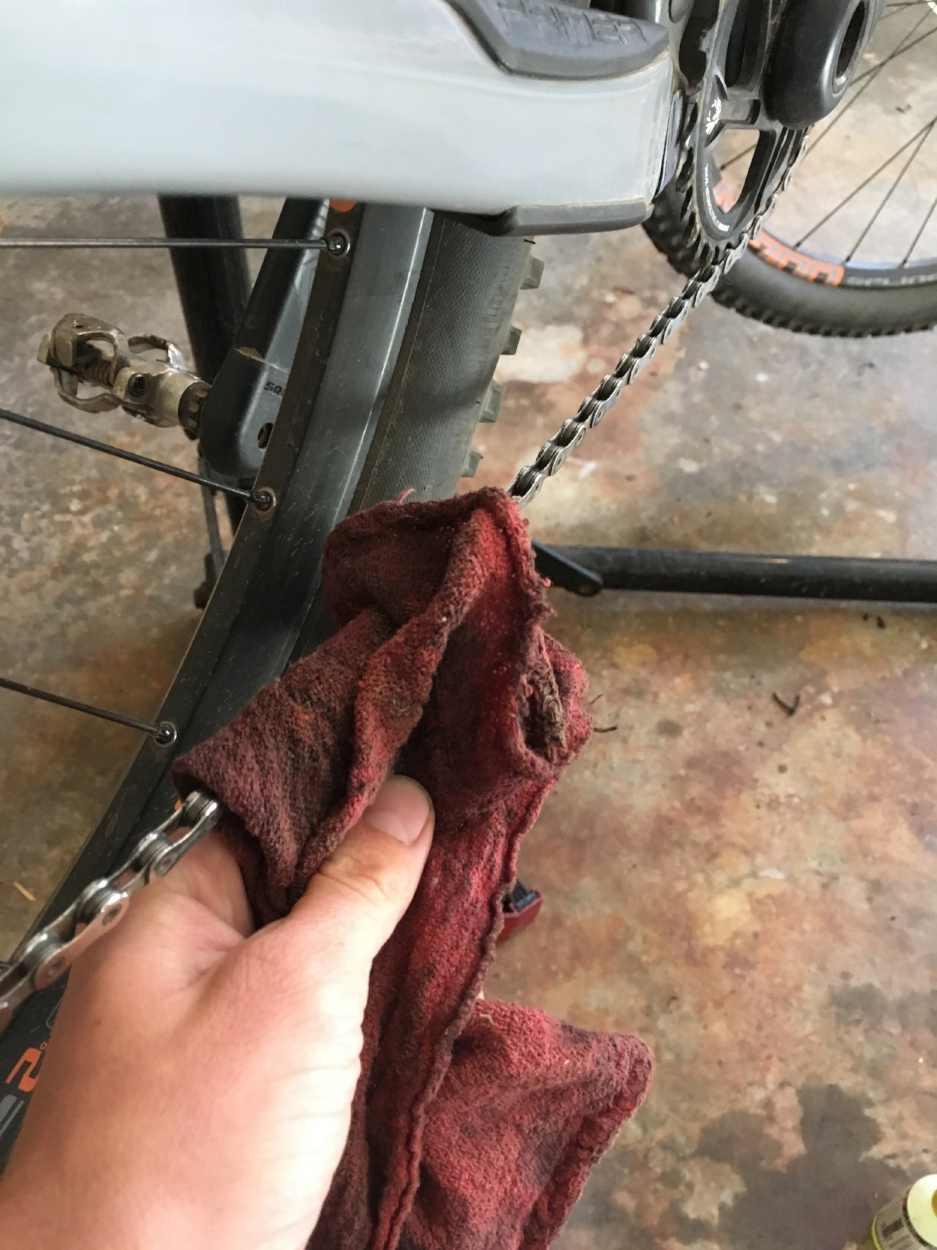
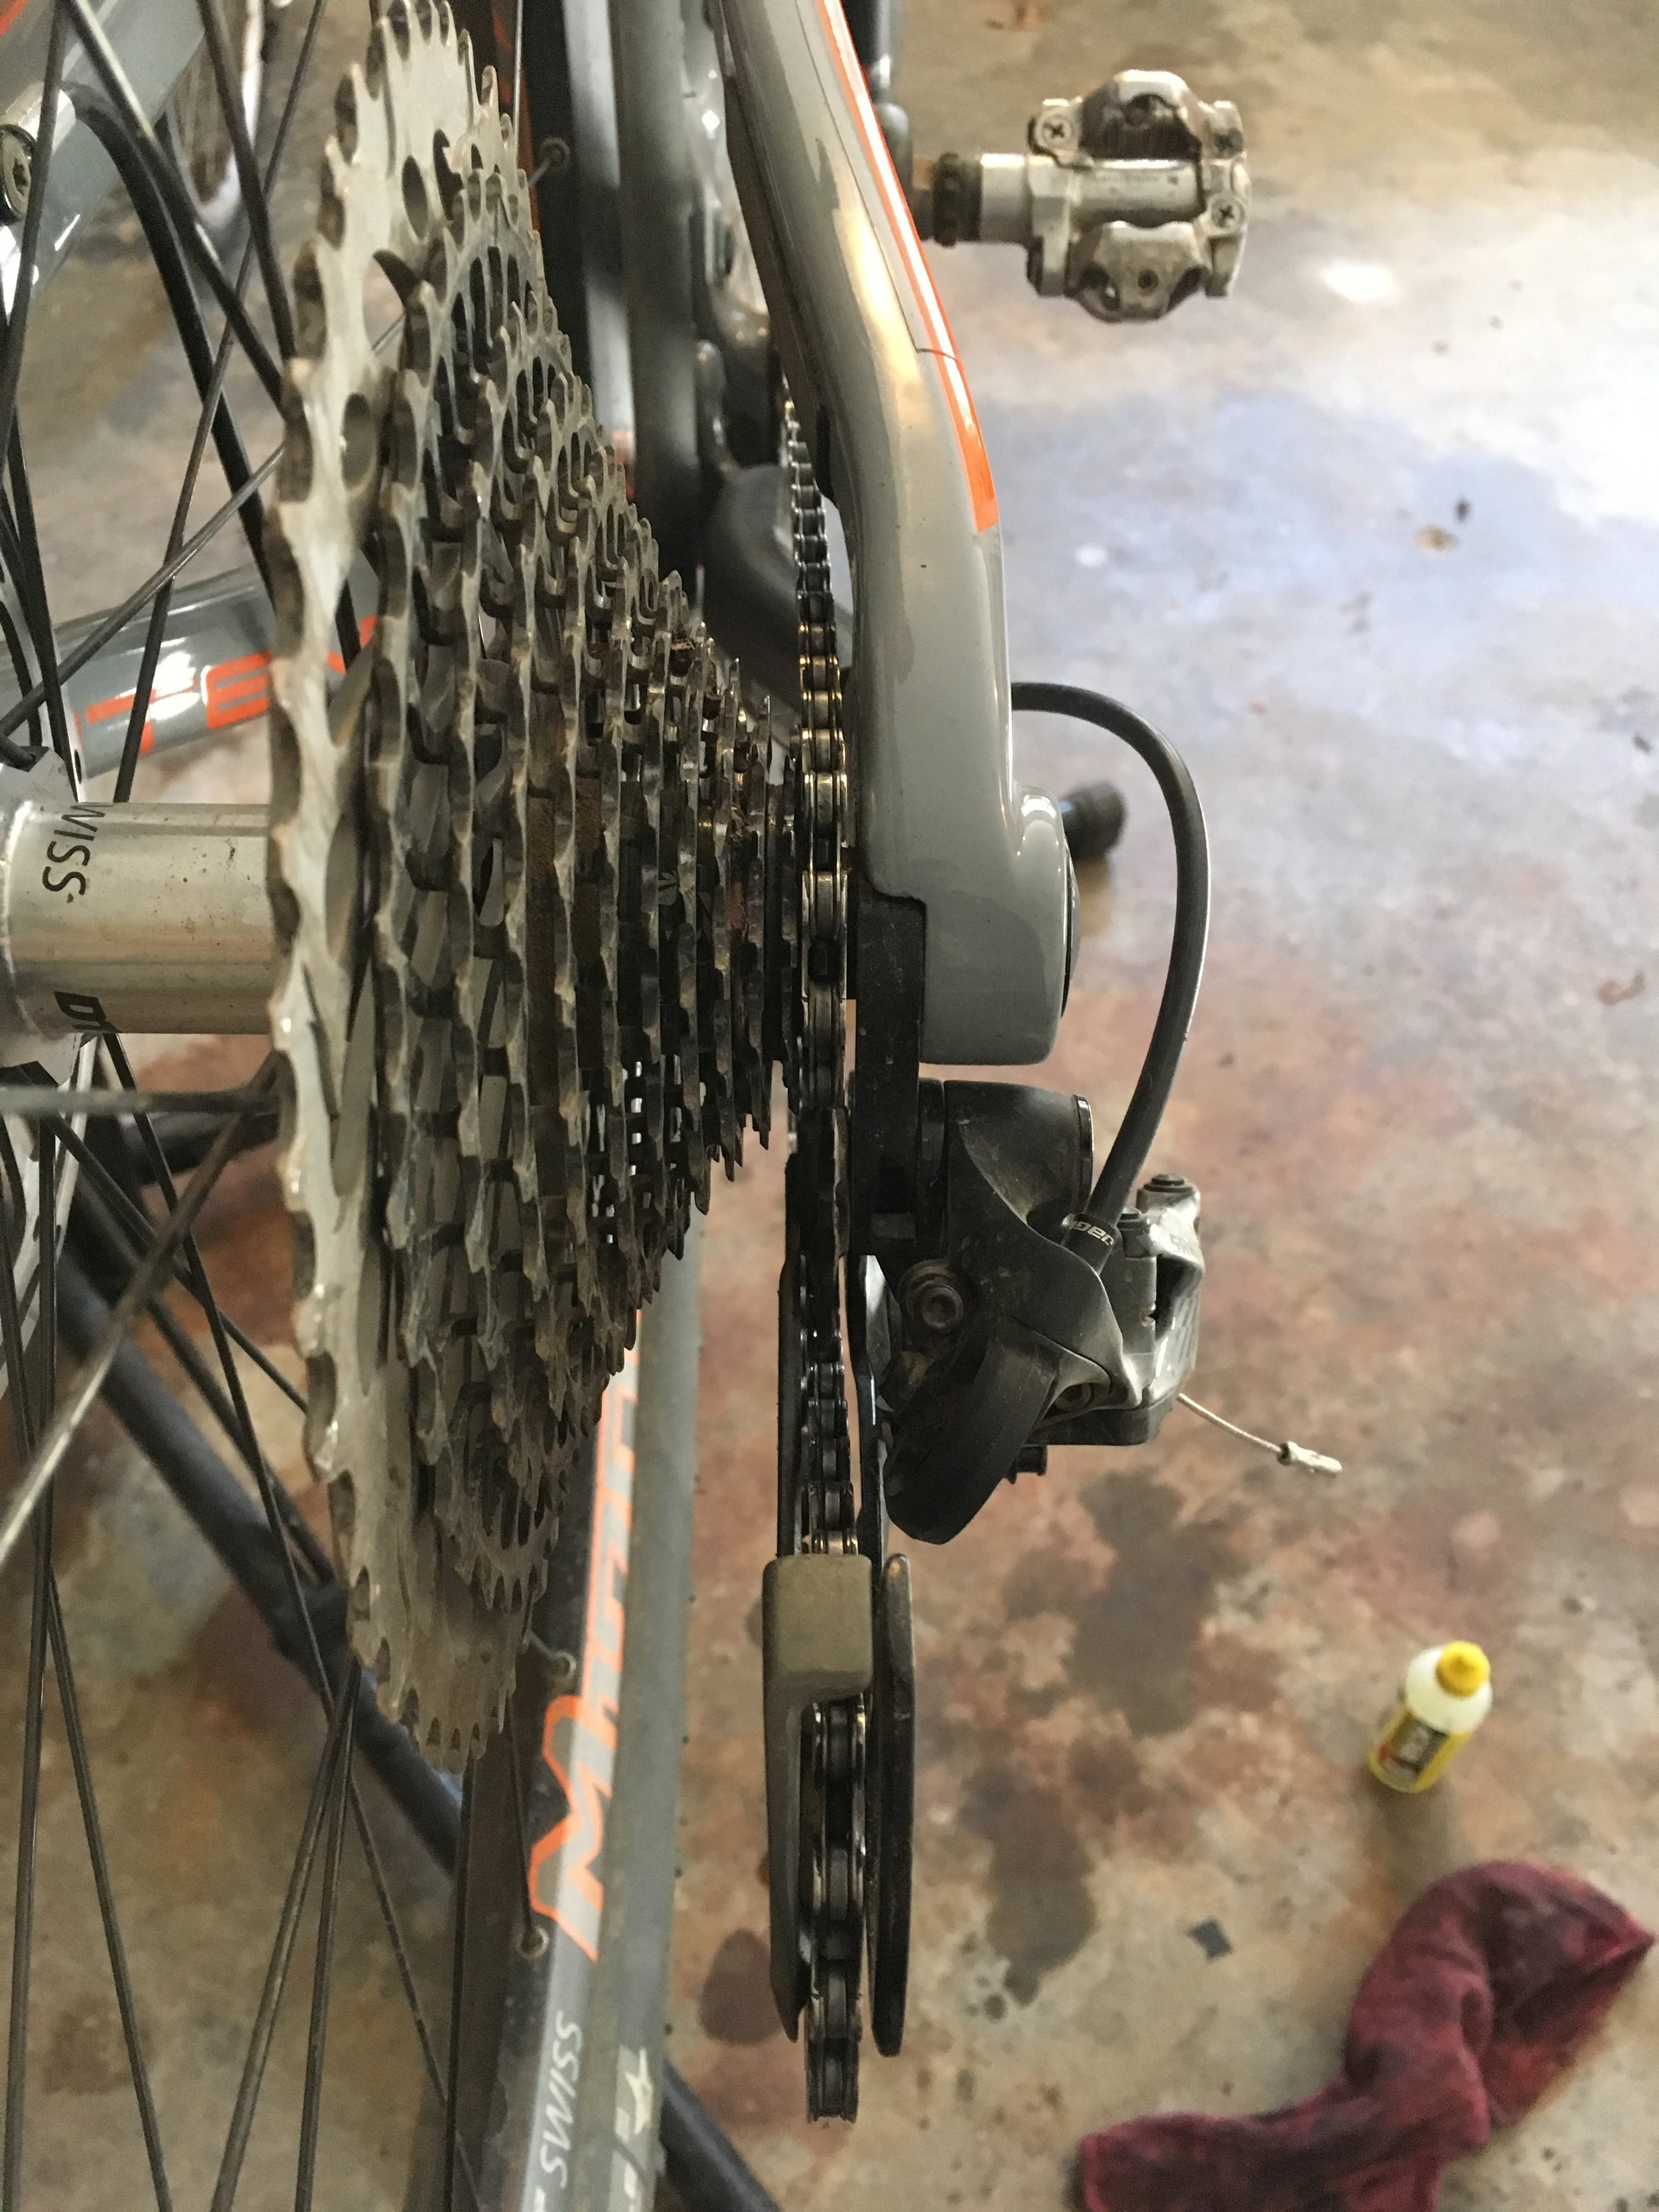
Step 4: Clean and lubricate your chain. There is nothing more annoying than a noisy chain. Where you live will determine how long you can go without lubing, but here in Western North Carolina it is pretty much every ride. Also make sure your cassette is clear of debris such as sticks, leaves, and excess dirt. Cleaning your chain (and cassette, chainrings, and pulley wheels) will help to make your drivetrain last much longer. With 11 and 12 speed cassettes costing the big $$ now, it is definitely in your best interest to help those components to last as long as possible. Every few weeks, check your chain stretch with a chain checker, or stop by your local shop for assistance if you do not own a chain checker. That way you do not overstretch your chain and ruin your cassette.

Step 5: Check your gears & dropper post. Make sure that everything is shifting properly on your bike. Visually look at your rear derailleur to make sure it is not bent at all, especially if you crash or your bike falls over. A bent derailleur into the spokes is a quick way to cause a lot of damage ($$$). Also, actuate your dropper post to make sure it is working properly. Inspect all cables for any fraying. A snapped dropper or shifter cable is no fun (again, ask me how I know...).

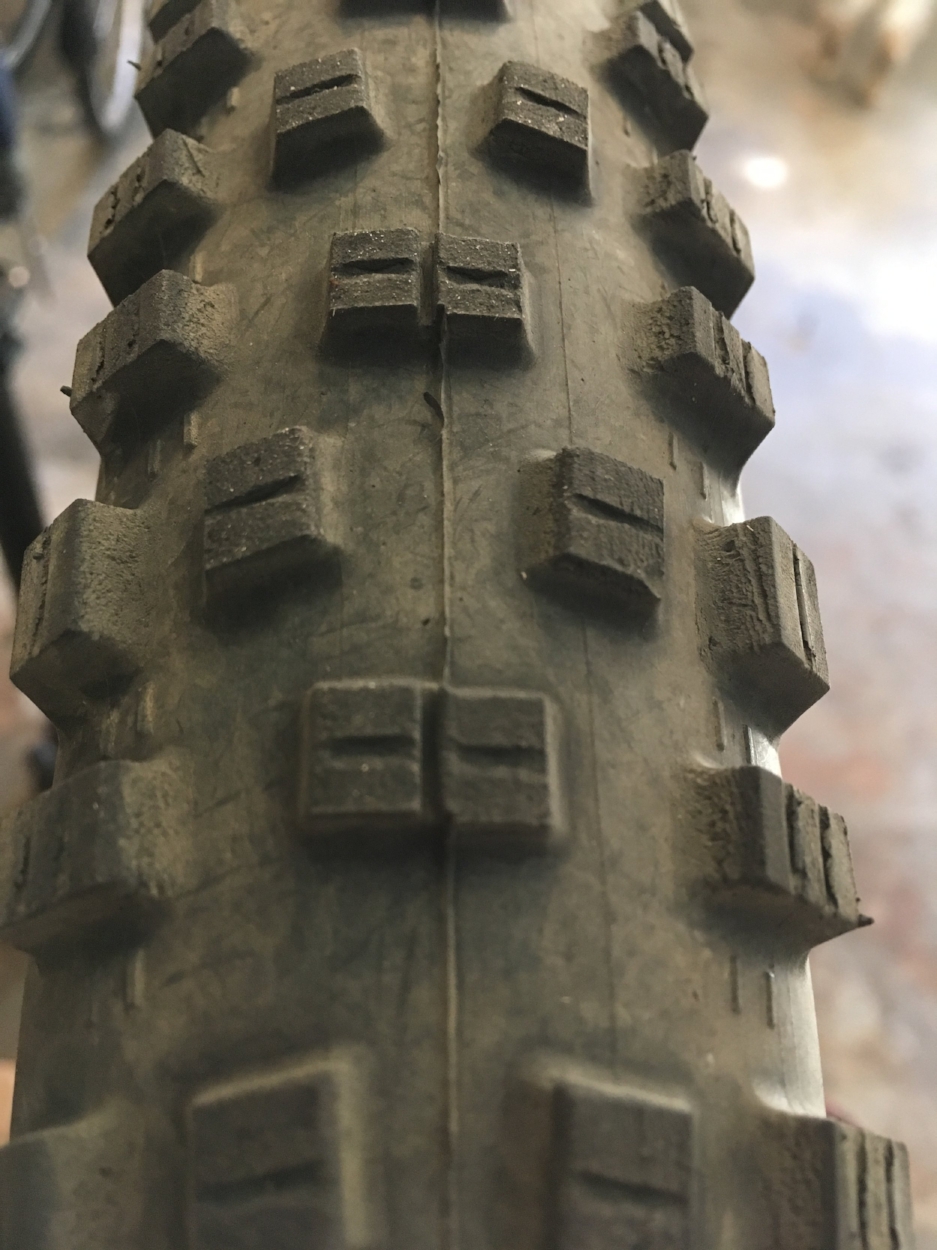
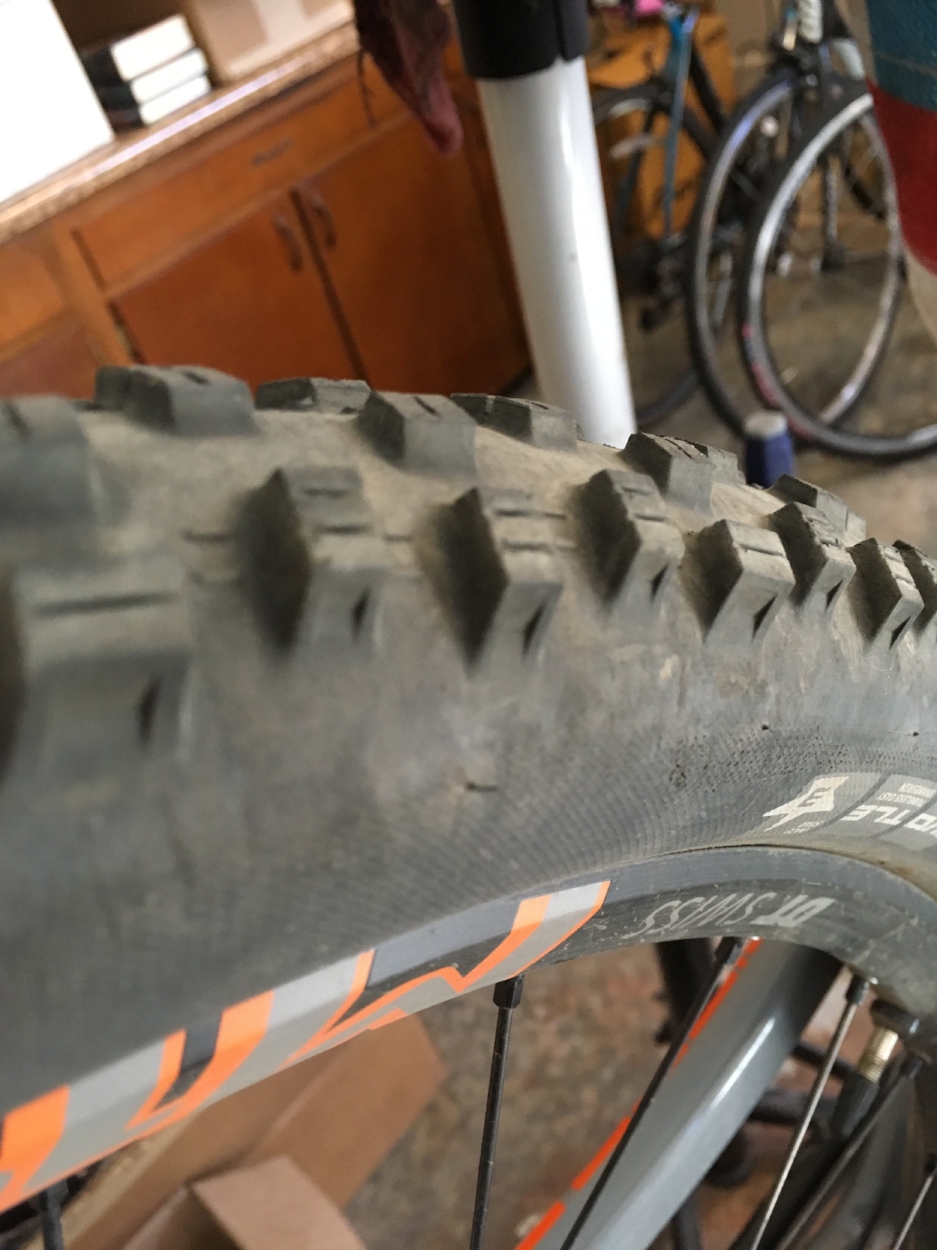
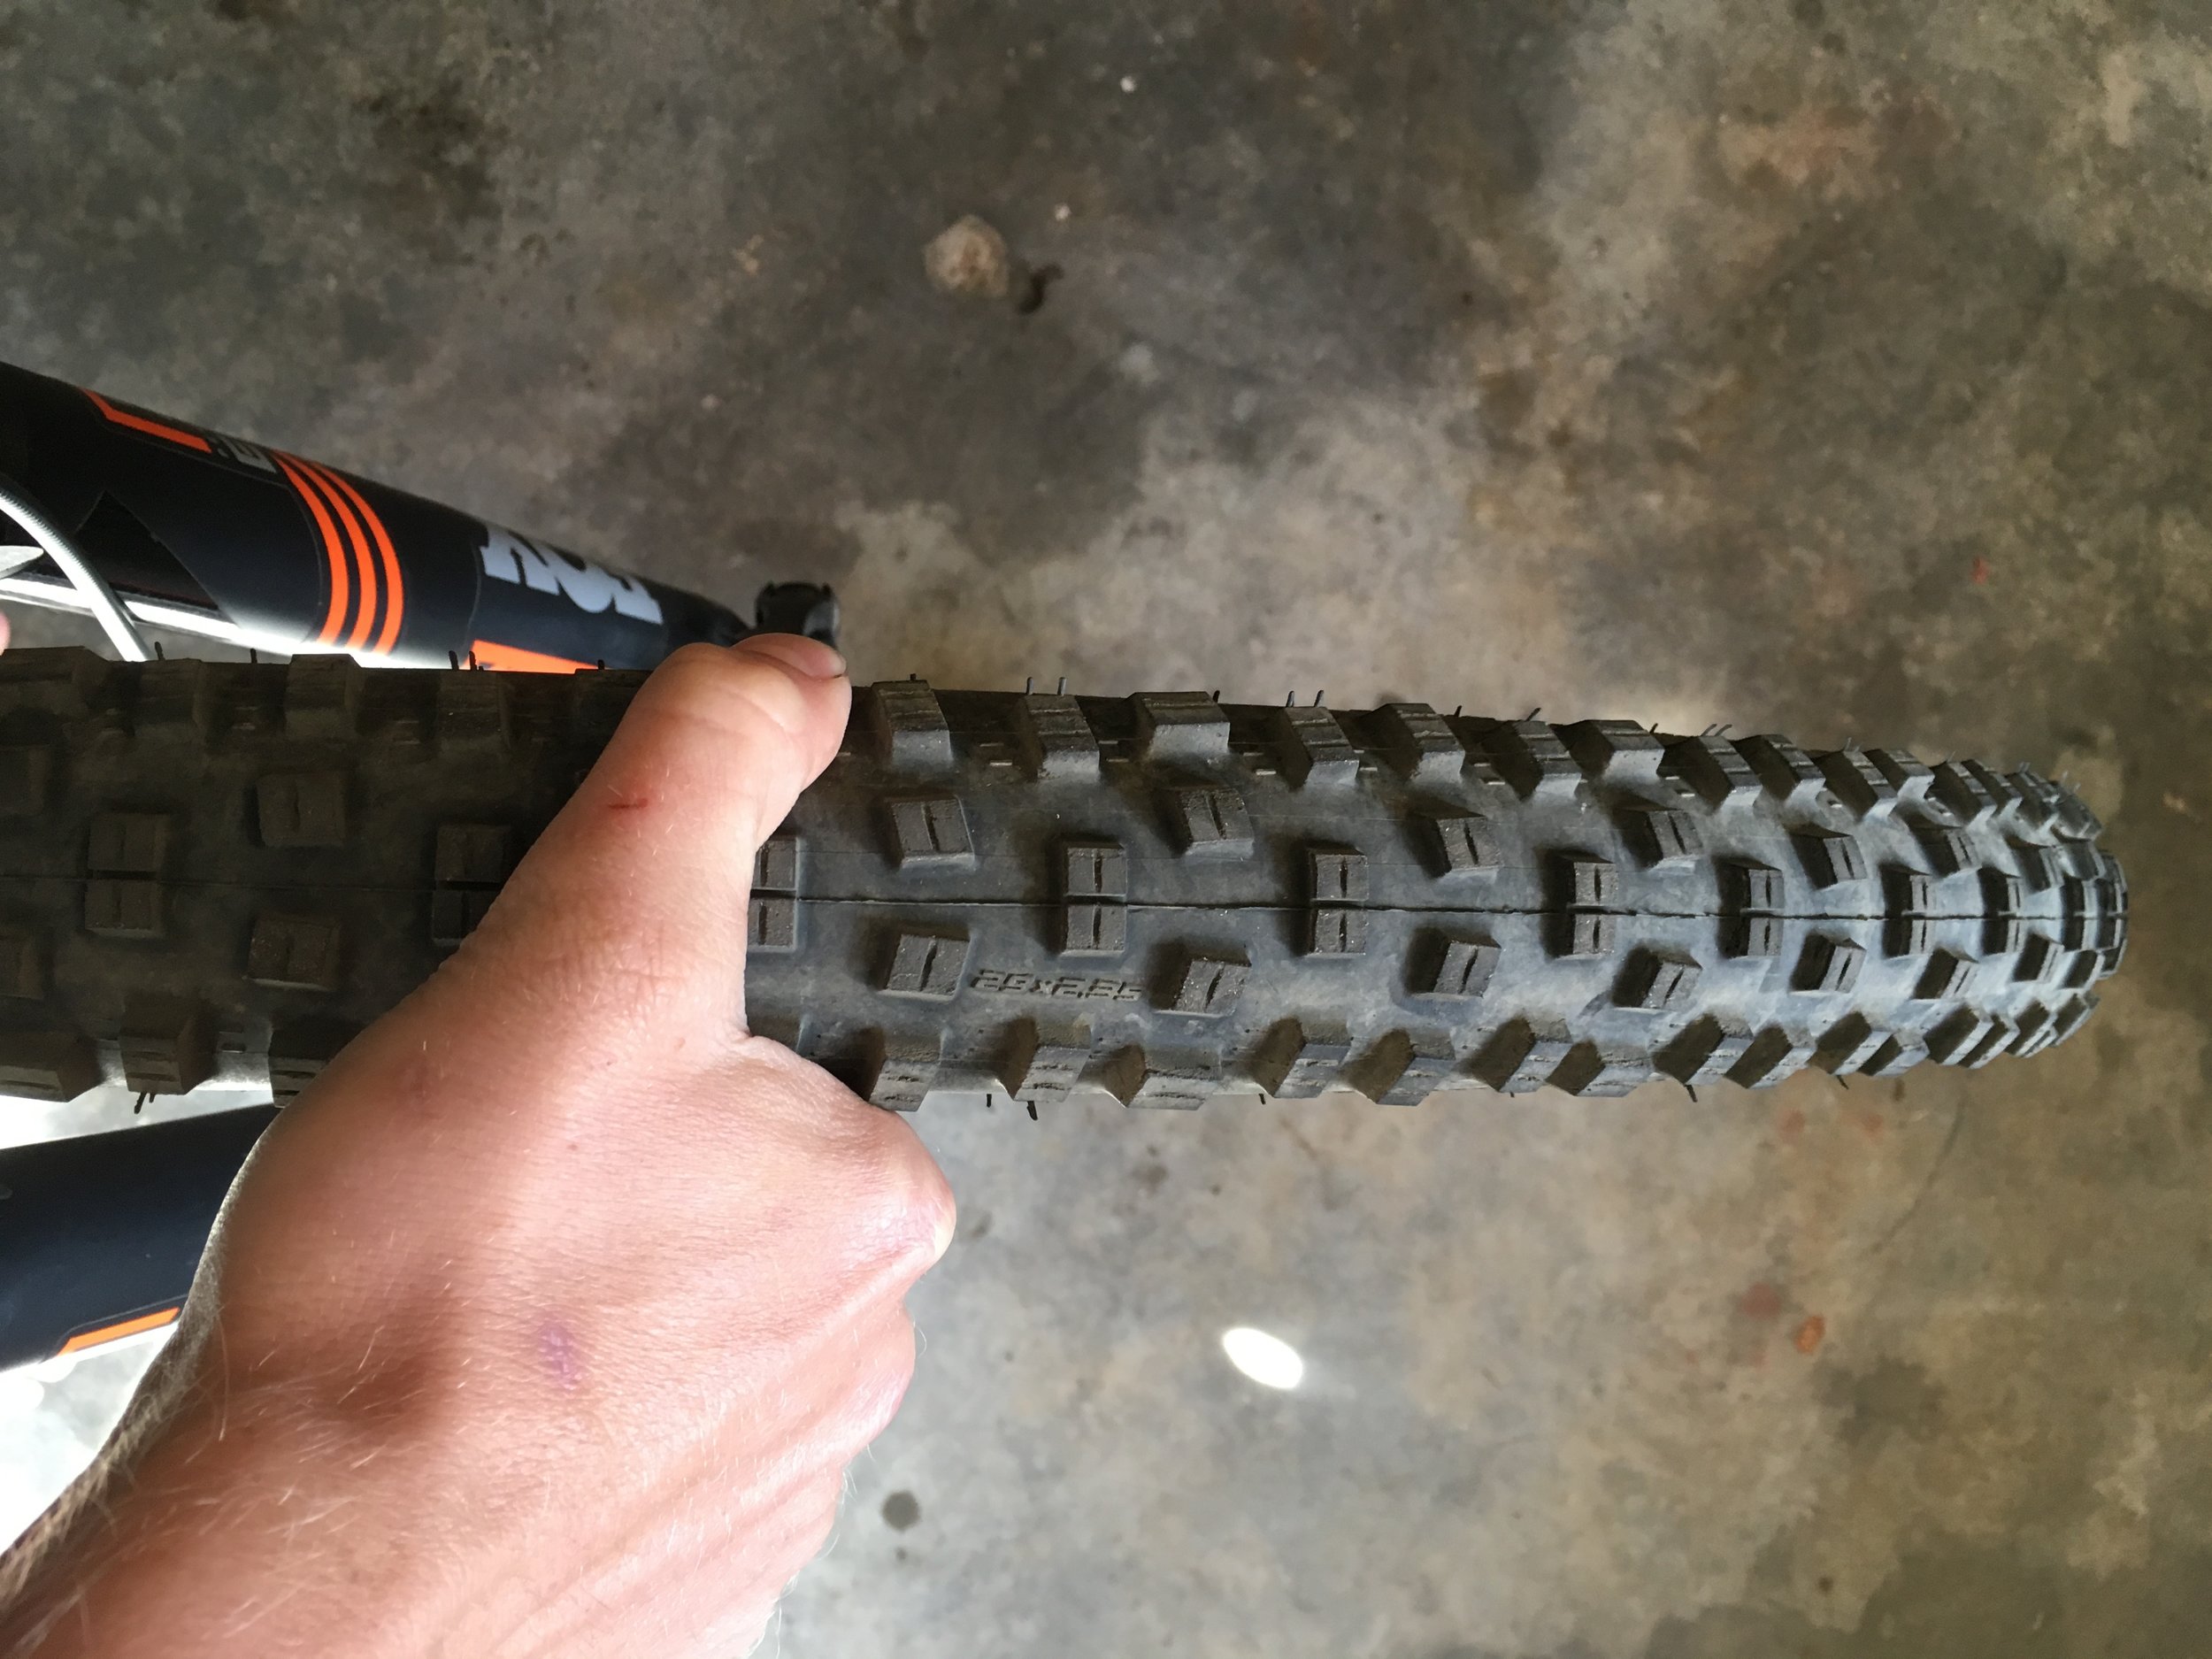
Step 6: Check your tires. Do a visual inspection to check for any excess wear. Look at both the tread and the sidewalls. Sometimes you can get a puncture and not know it because the sealant has done its job. (If you’re running tubeless. And if you’re not running tubeless, I highly recommend this as your next upgrade). You also need to occasionally check your sealant to make sure it has not dried up too much. I typically just add an ounce or so after a few months through the valve stem. This is an important safety item because flat tires at best are an inconvenience and at worst can cause a crash.
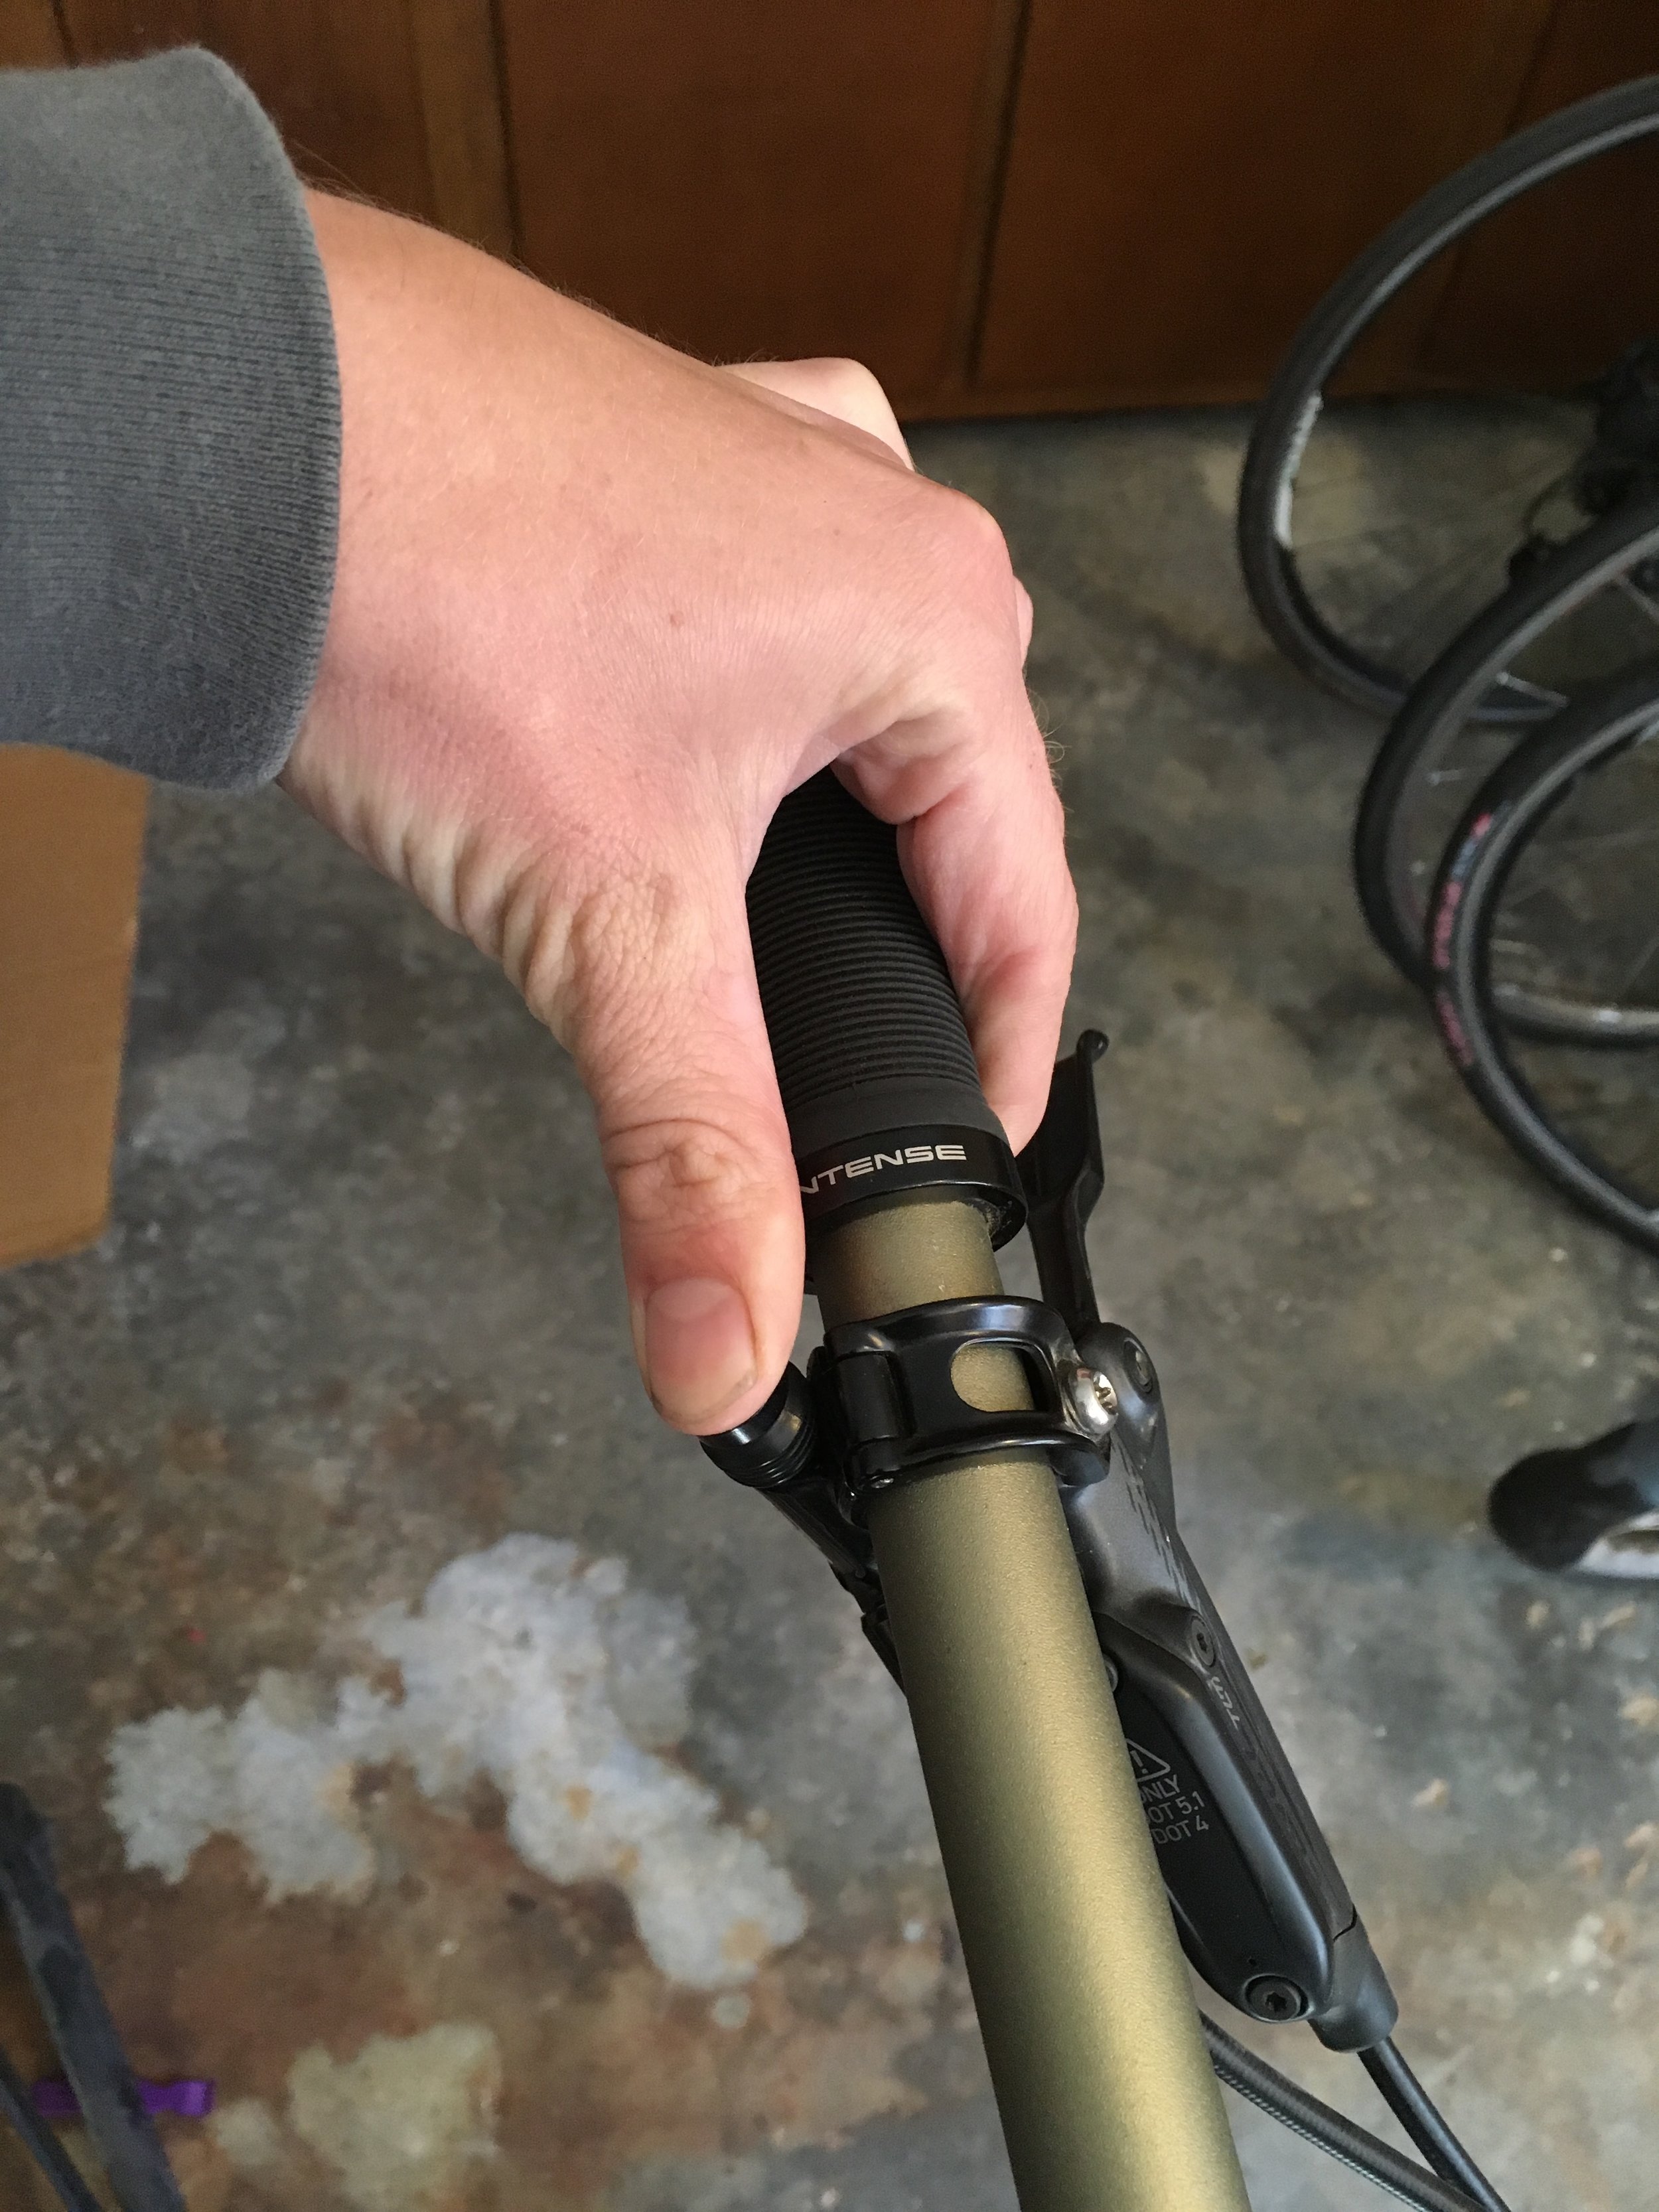
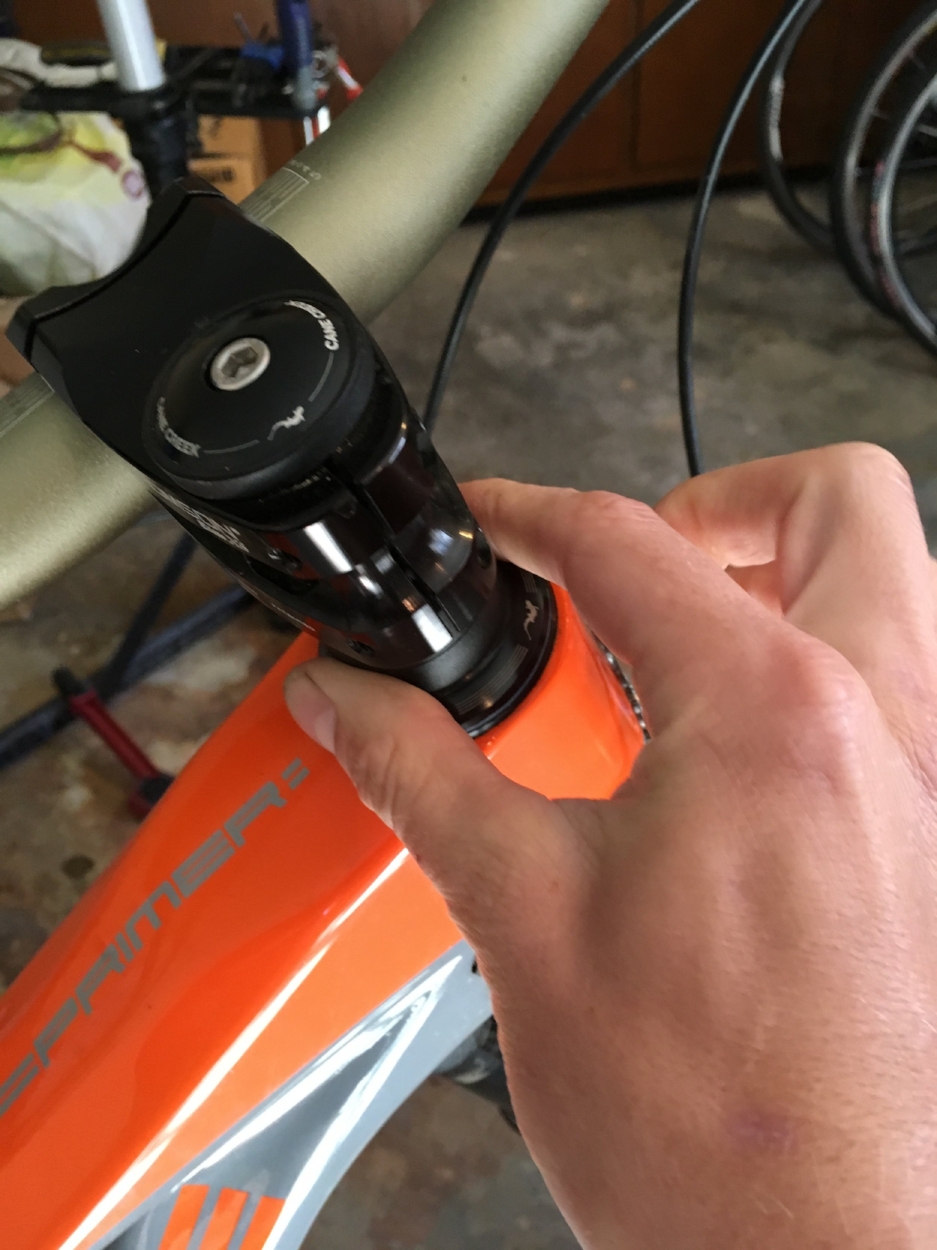
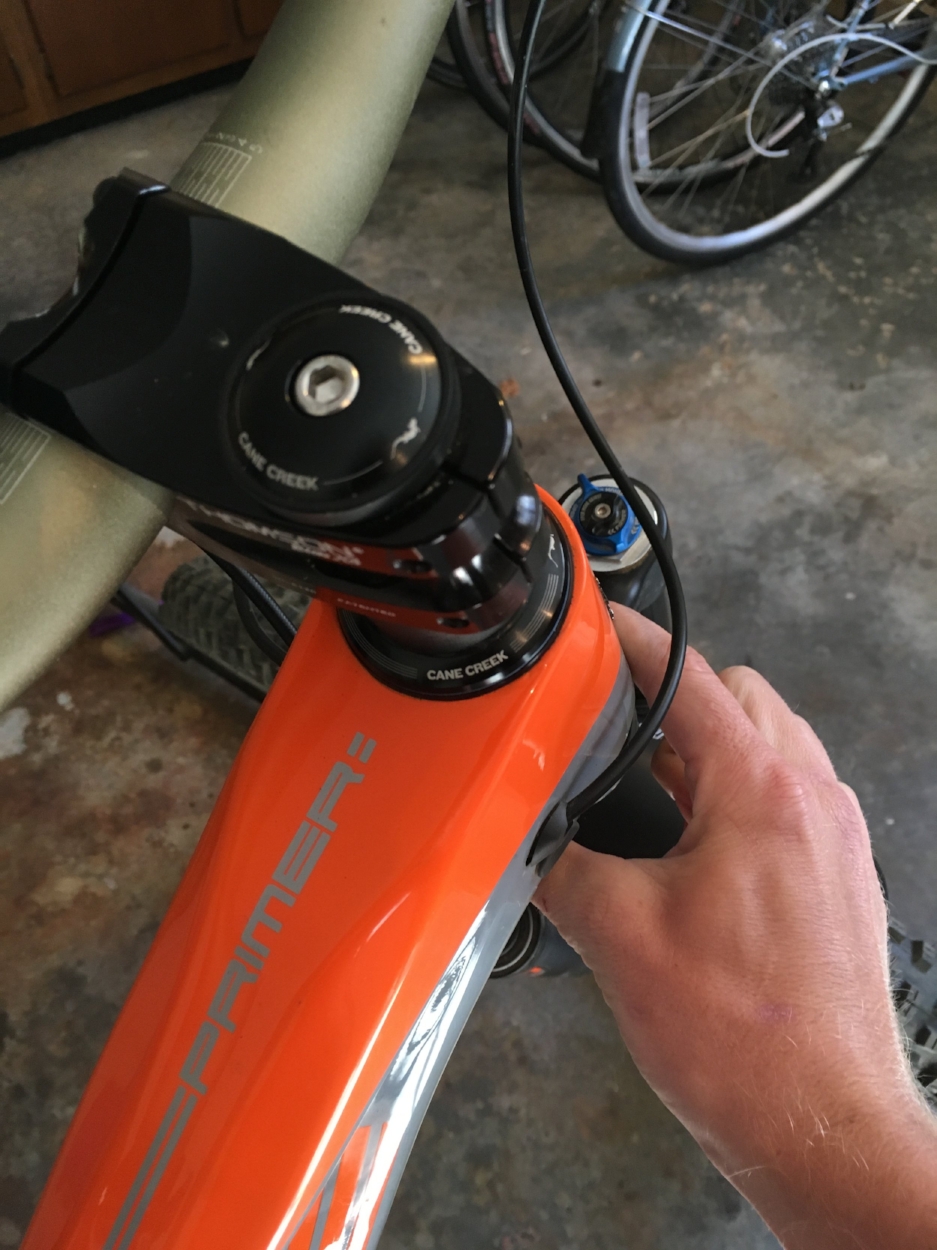
Step 7: Check your headset. It is really important to make sure your headset is tight. The easiest way to check is to turn your bars 90 degrees, grab your front brake, place your other hand under the stem on your headset, and rock the front of the bike forwards and backwards. If it is loose you should feel it. Repeat with your hand on the lower part of the headset where your fork goes into your frame. If it feels loose, stop by and let your local shop check it out for you.
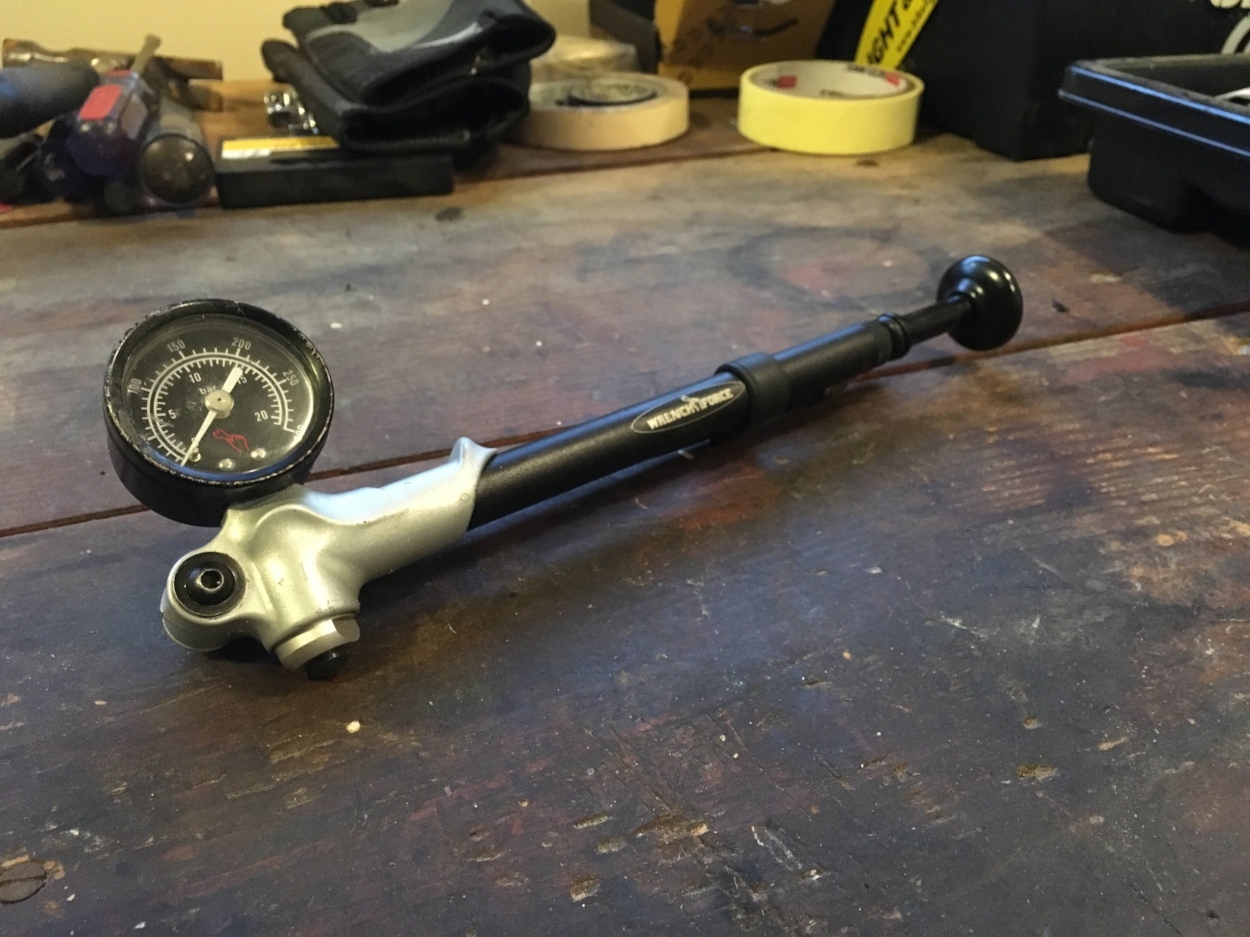
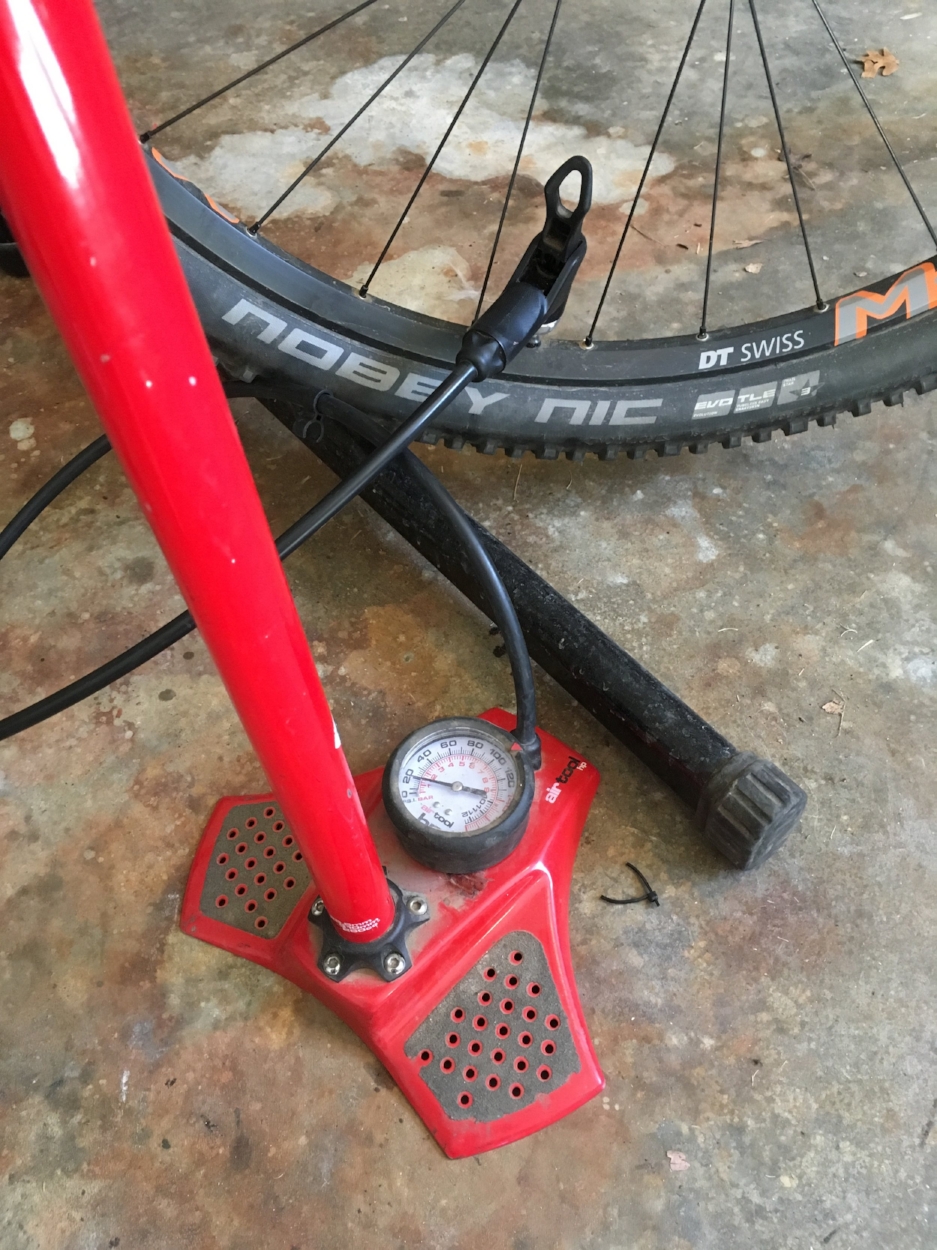
Step 8: Check your air pressures, tires, and suspension. Some people use gauges, some go by feel. Do whatever works best for you. I often will check my tires by squeezing them with my hand, and then I hop on the bike to check the suspension by feel. If you do check your suspension with a pump, you will lose a little bit of pressure just by checking, so give it a little pump even if it is spot on to make up for what you let out checking it.
Step 9: Go ride! Do a little lap around the parking lot and make sure everything feels right. If something seems off, take the time to check it! Check before you are ten miles in to a ride and something goes wrong! I’ve learned the hard way over the years. You can’t prevent everything, but paying attention to your bike can help prevent a lot. And I know this seems like a lot, but once you get use to checking stuff it becomes second nature and doesn't take long at all.