5 Reasons to Demo a bike in Brevard, North Carolina!

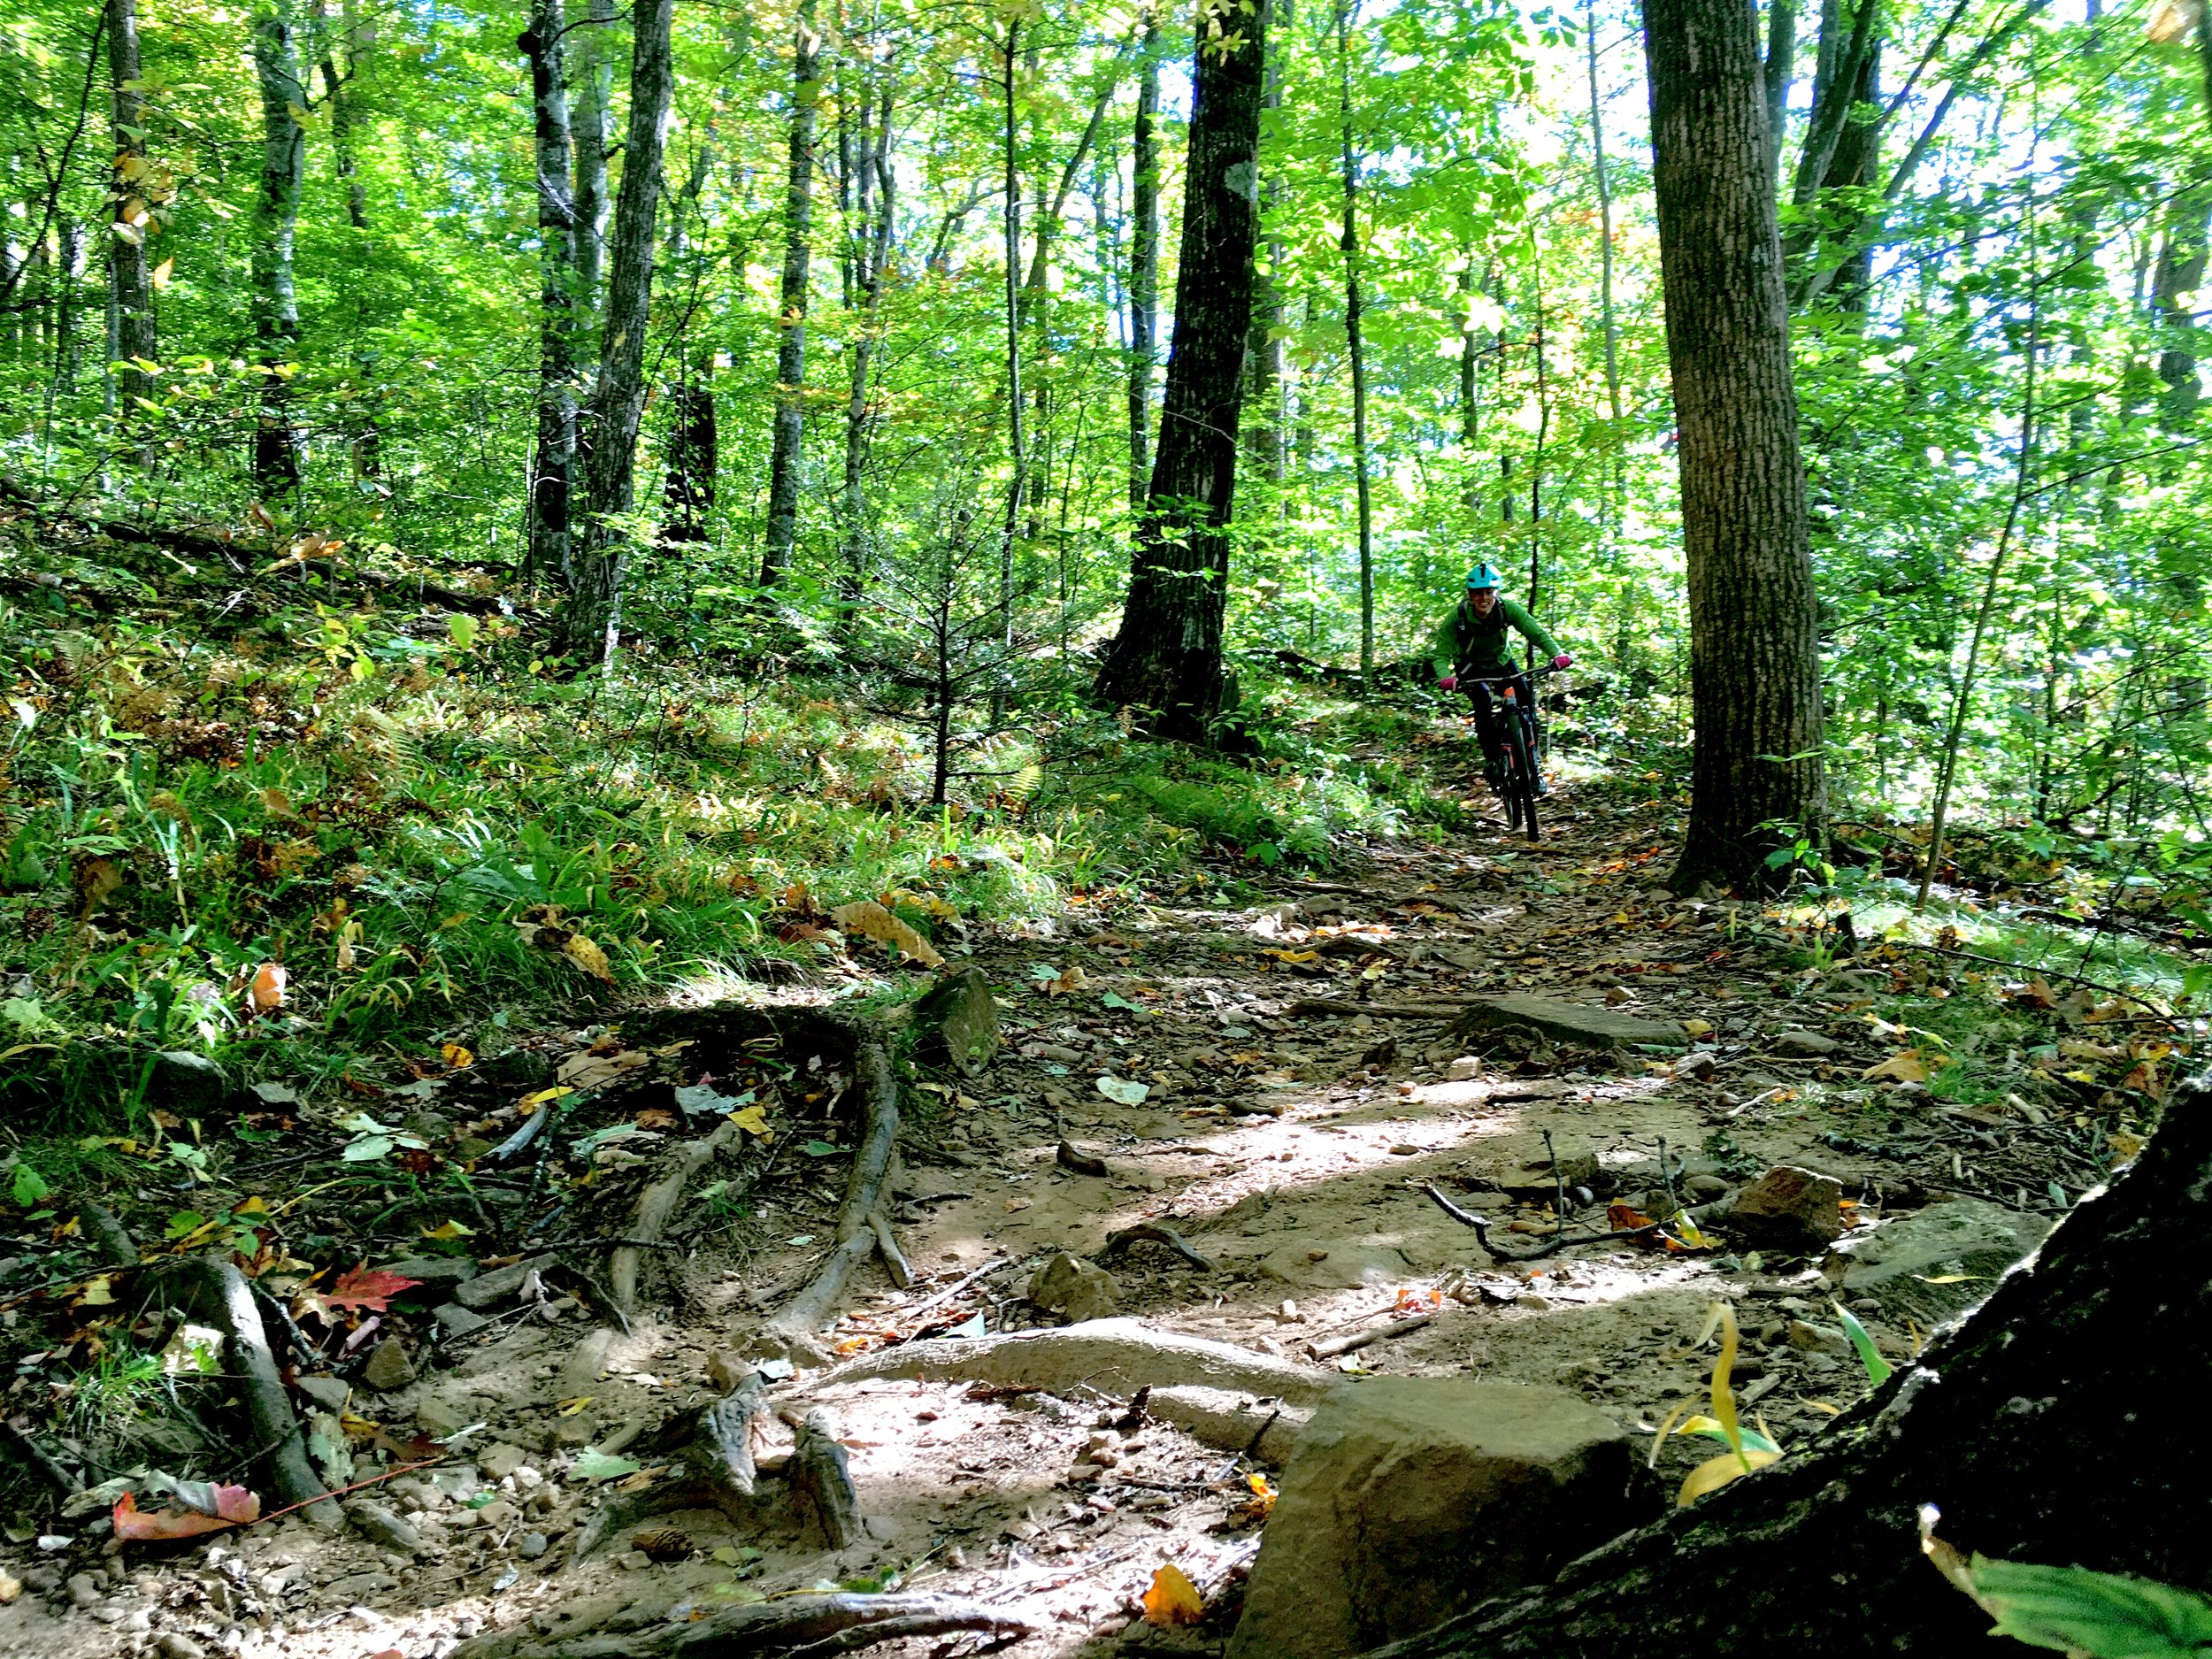
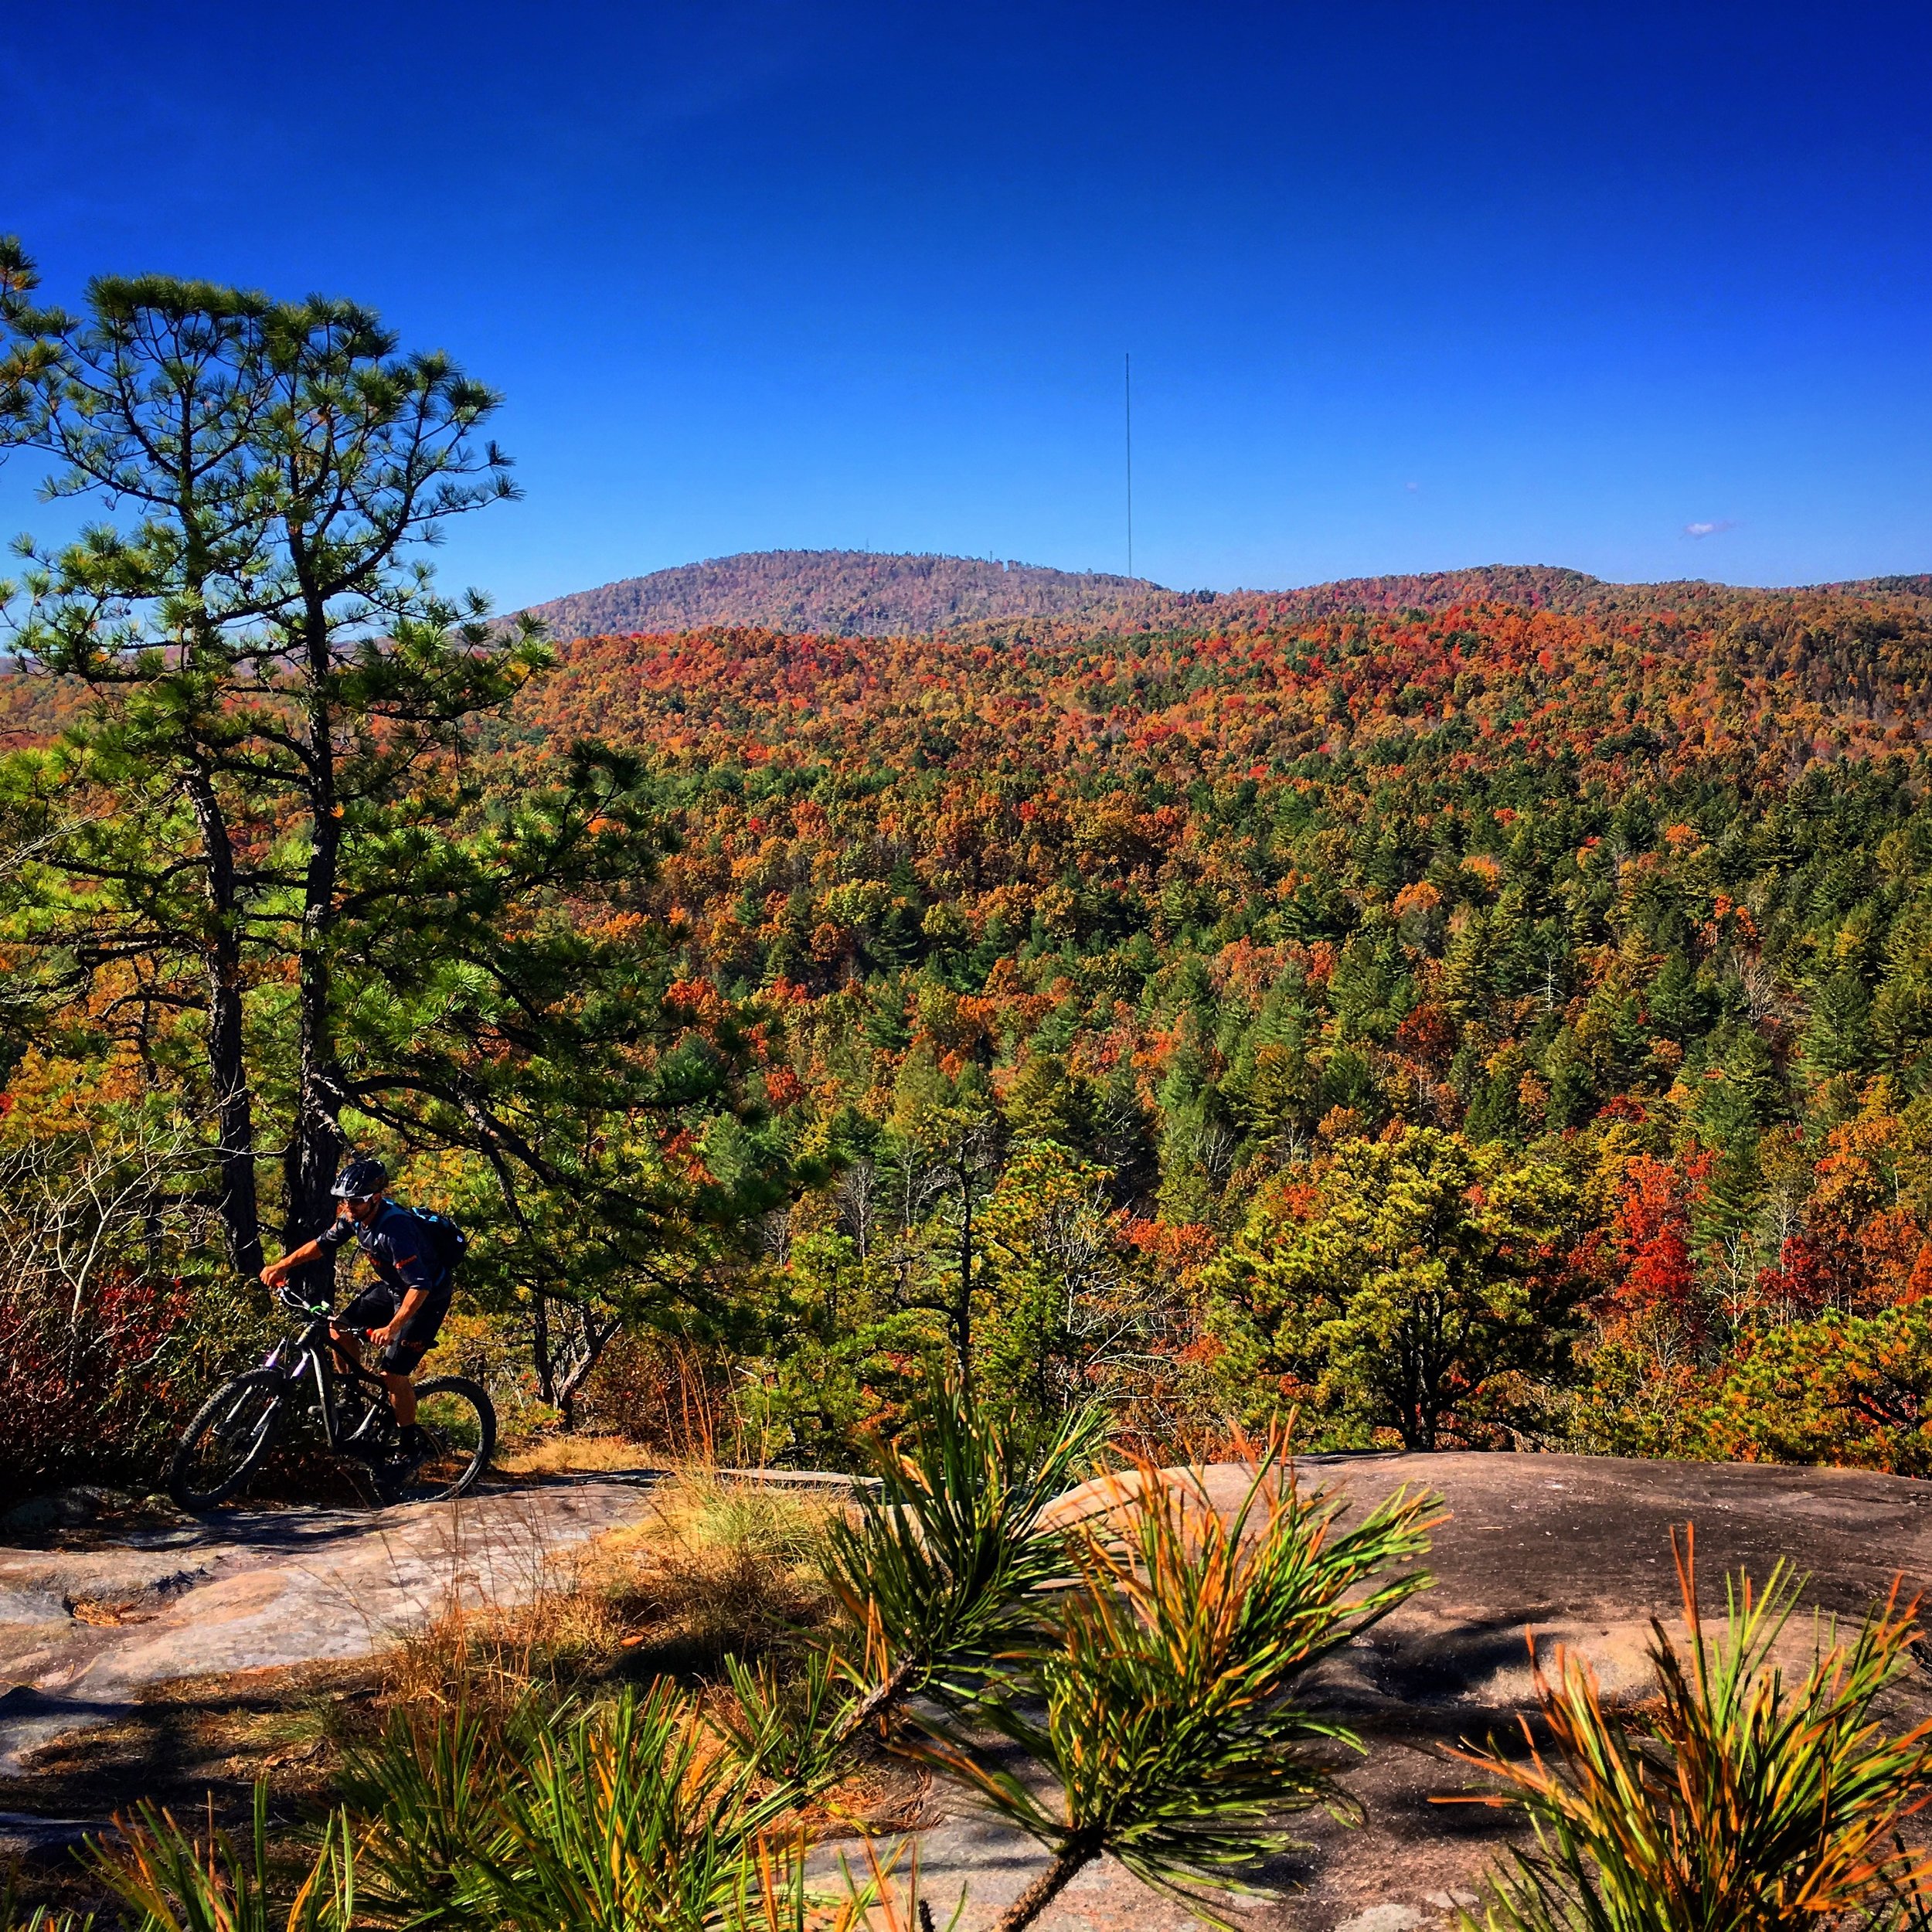
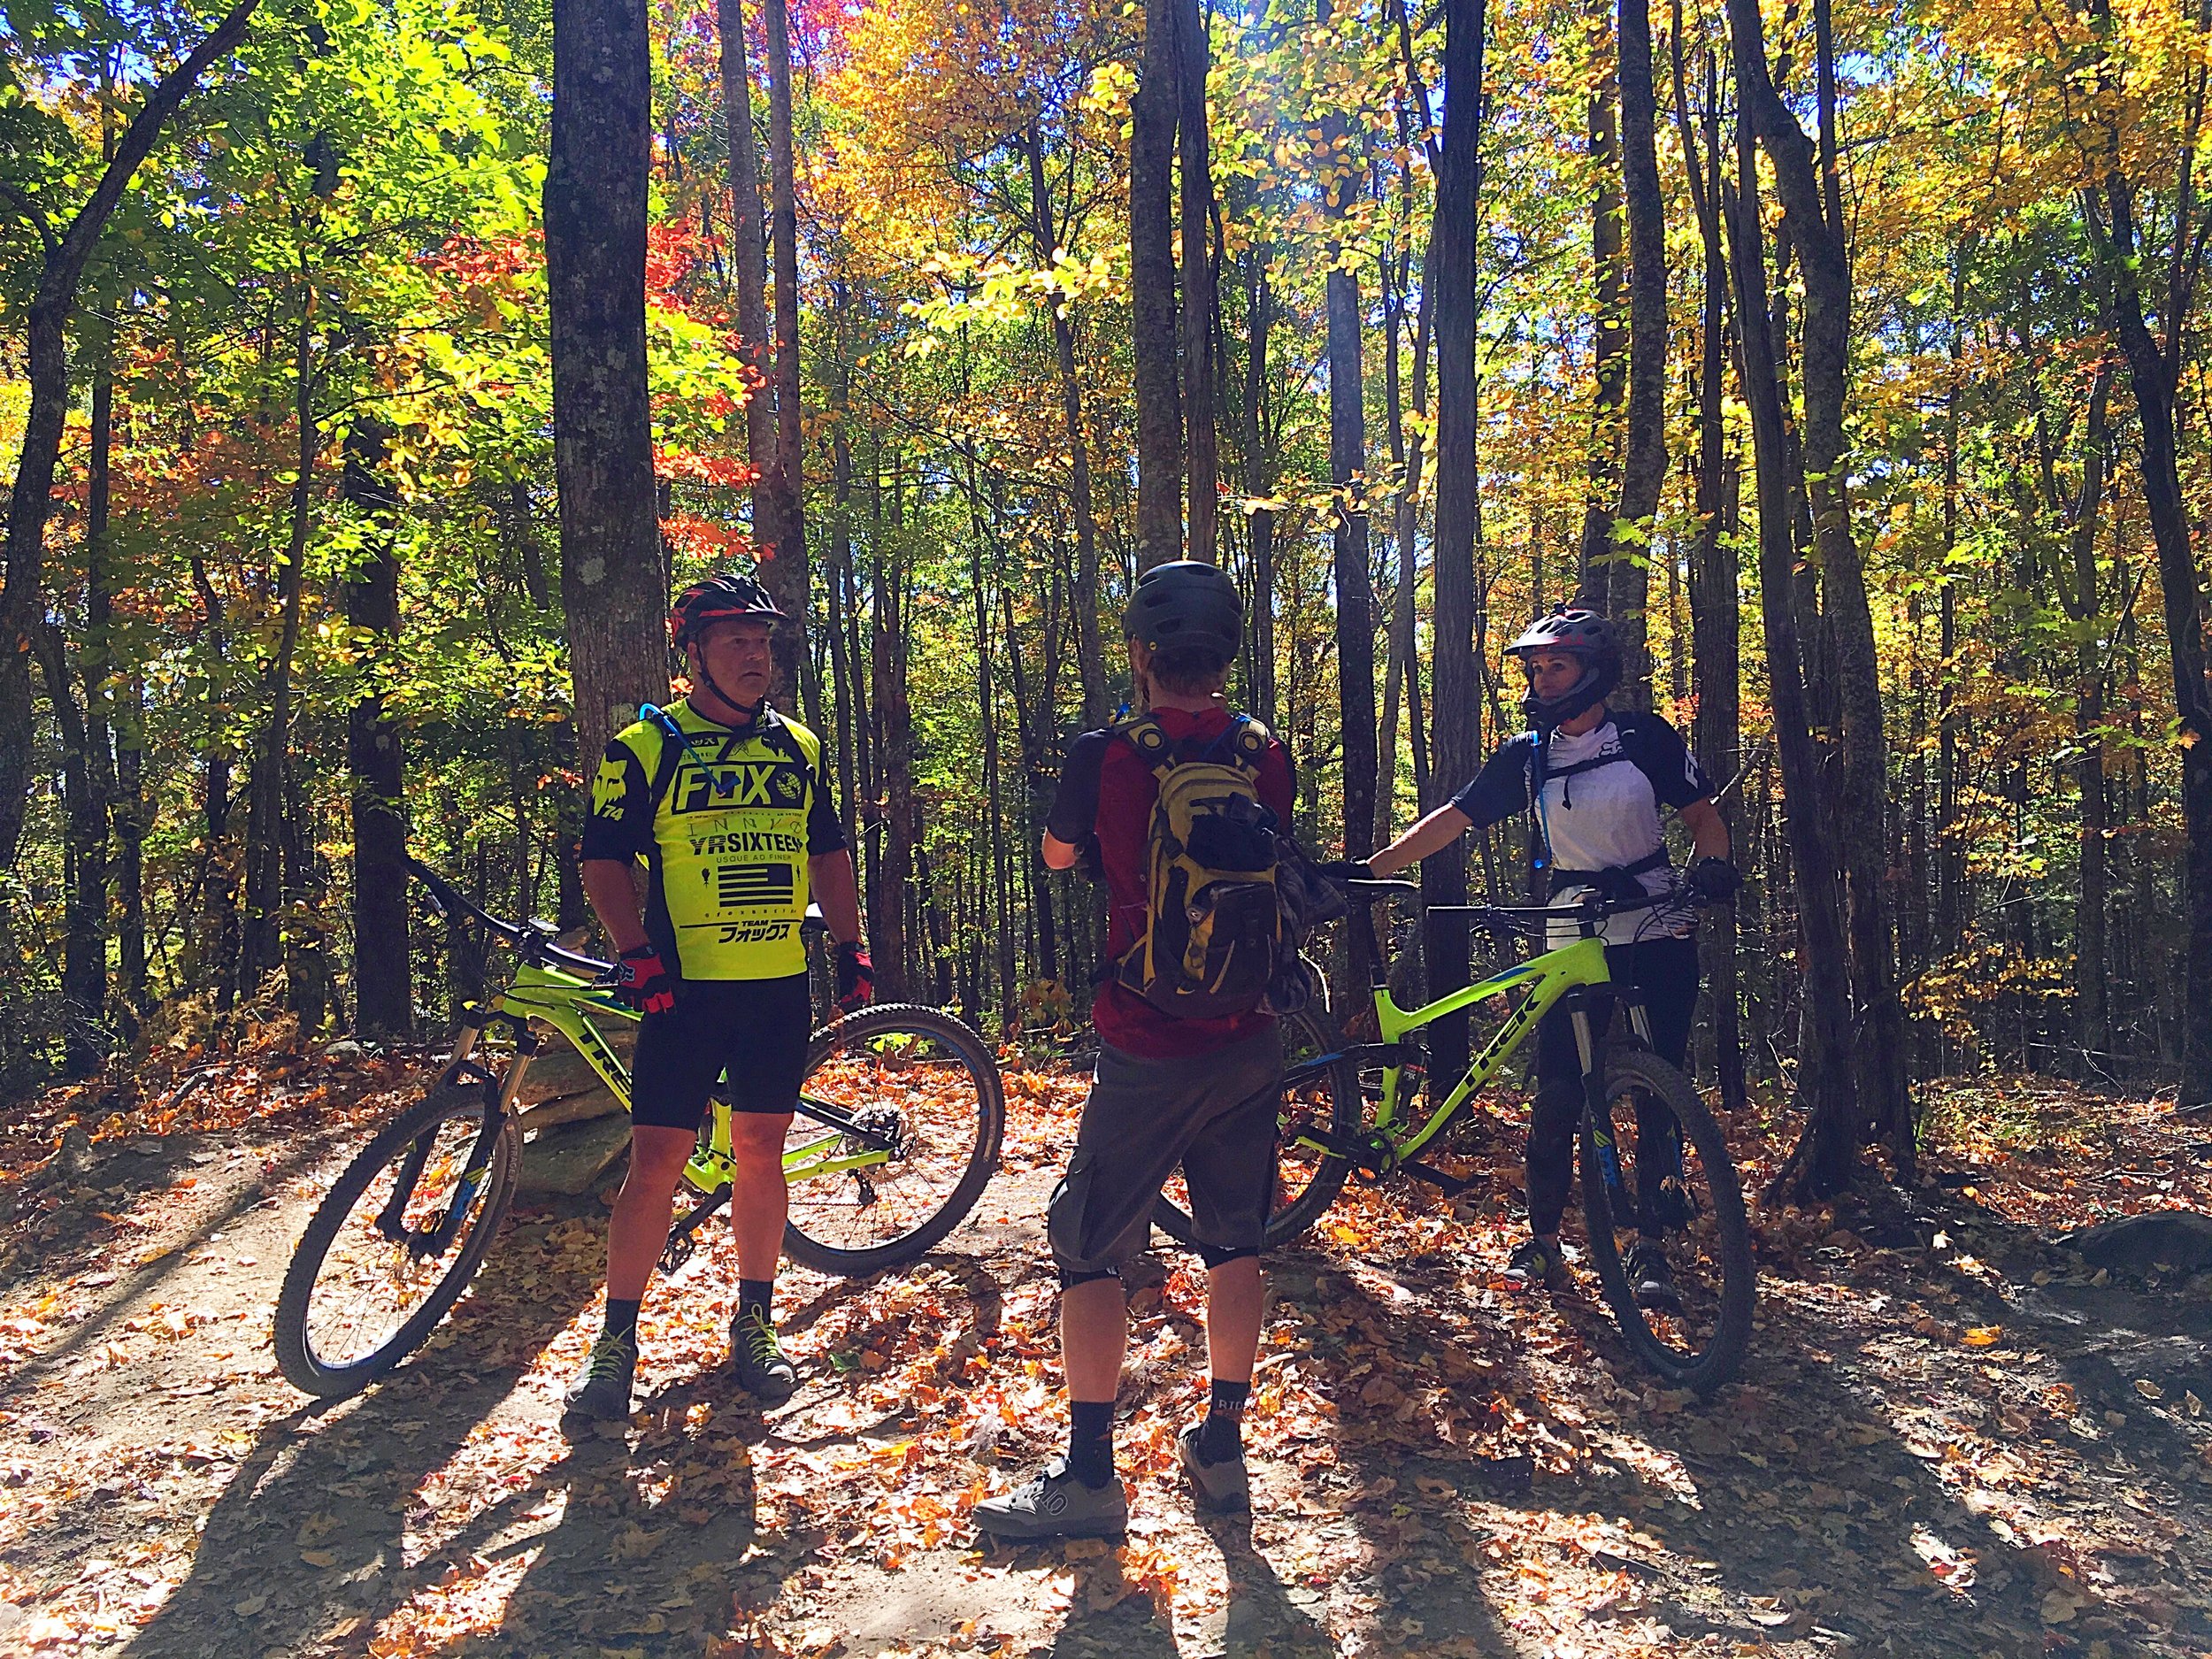
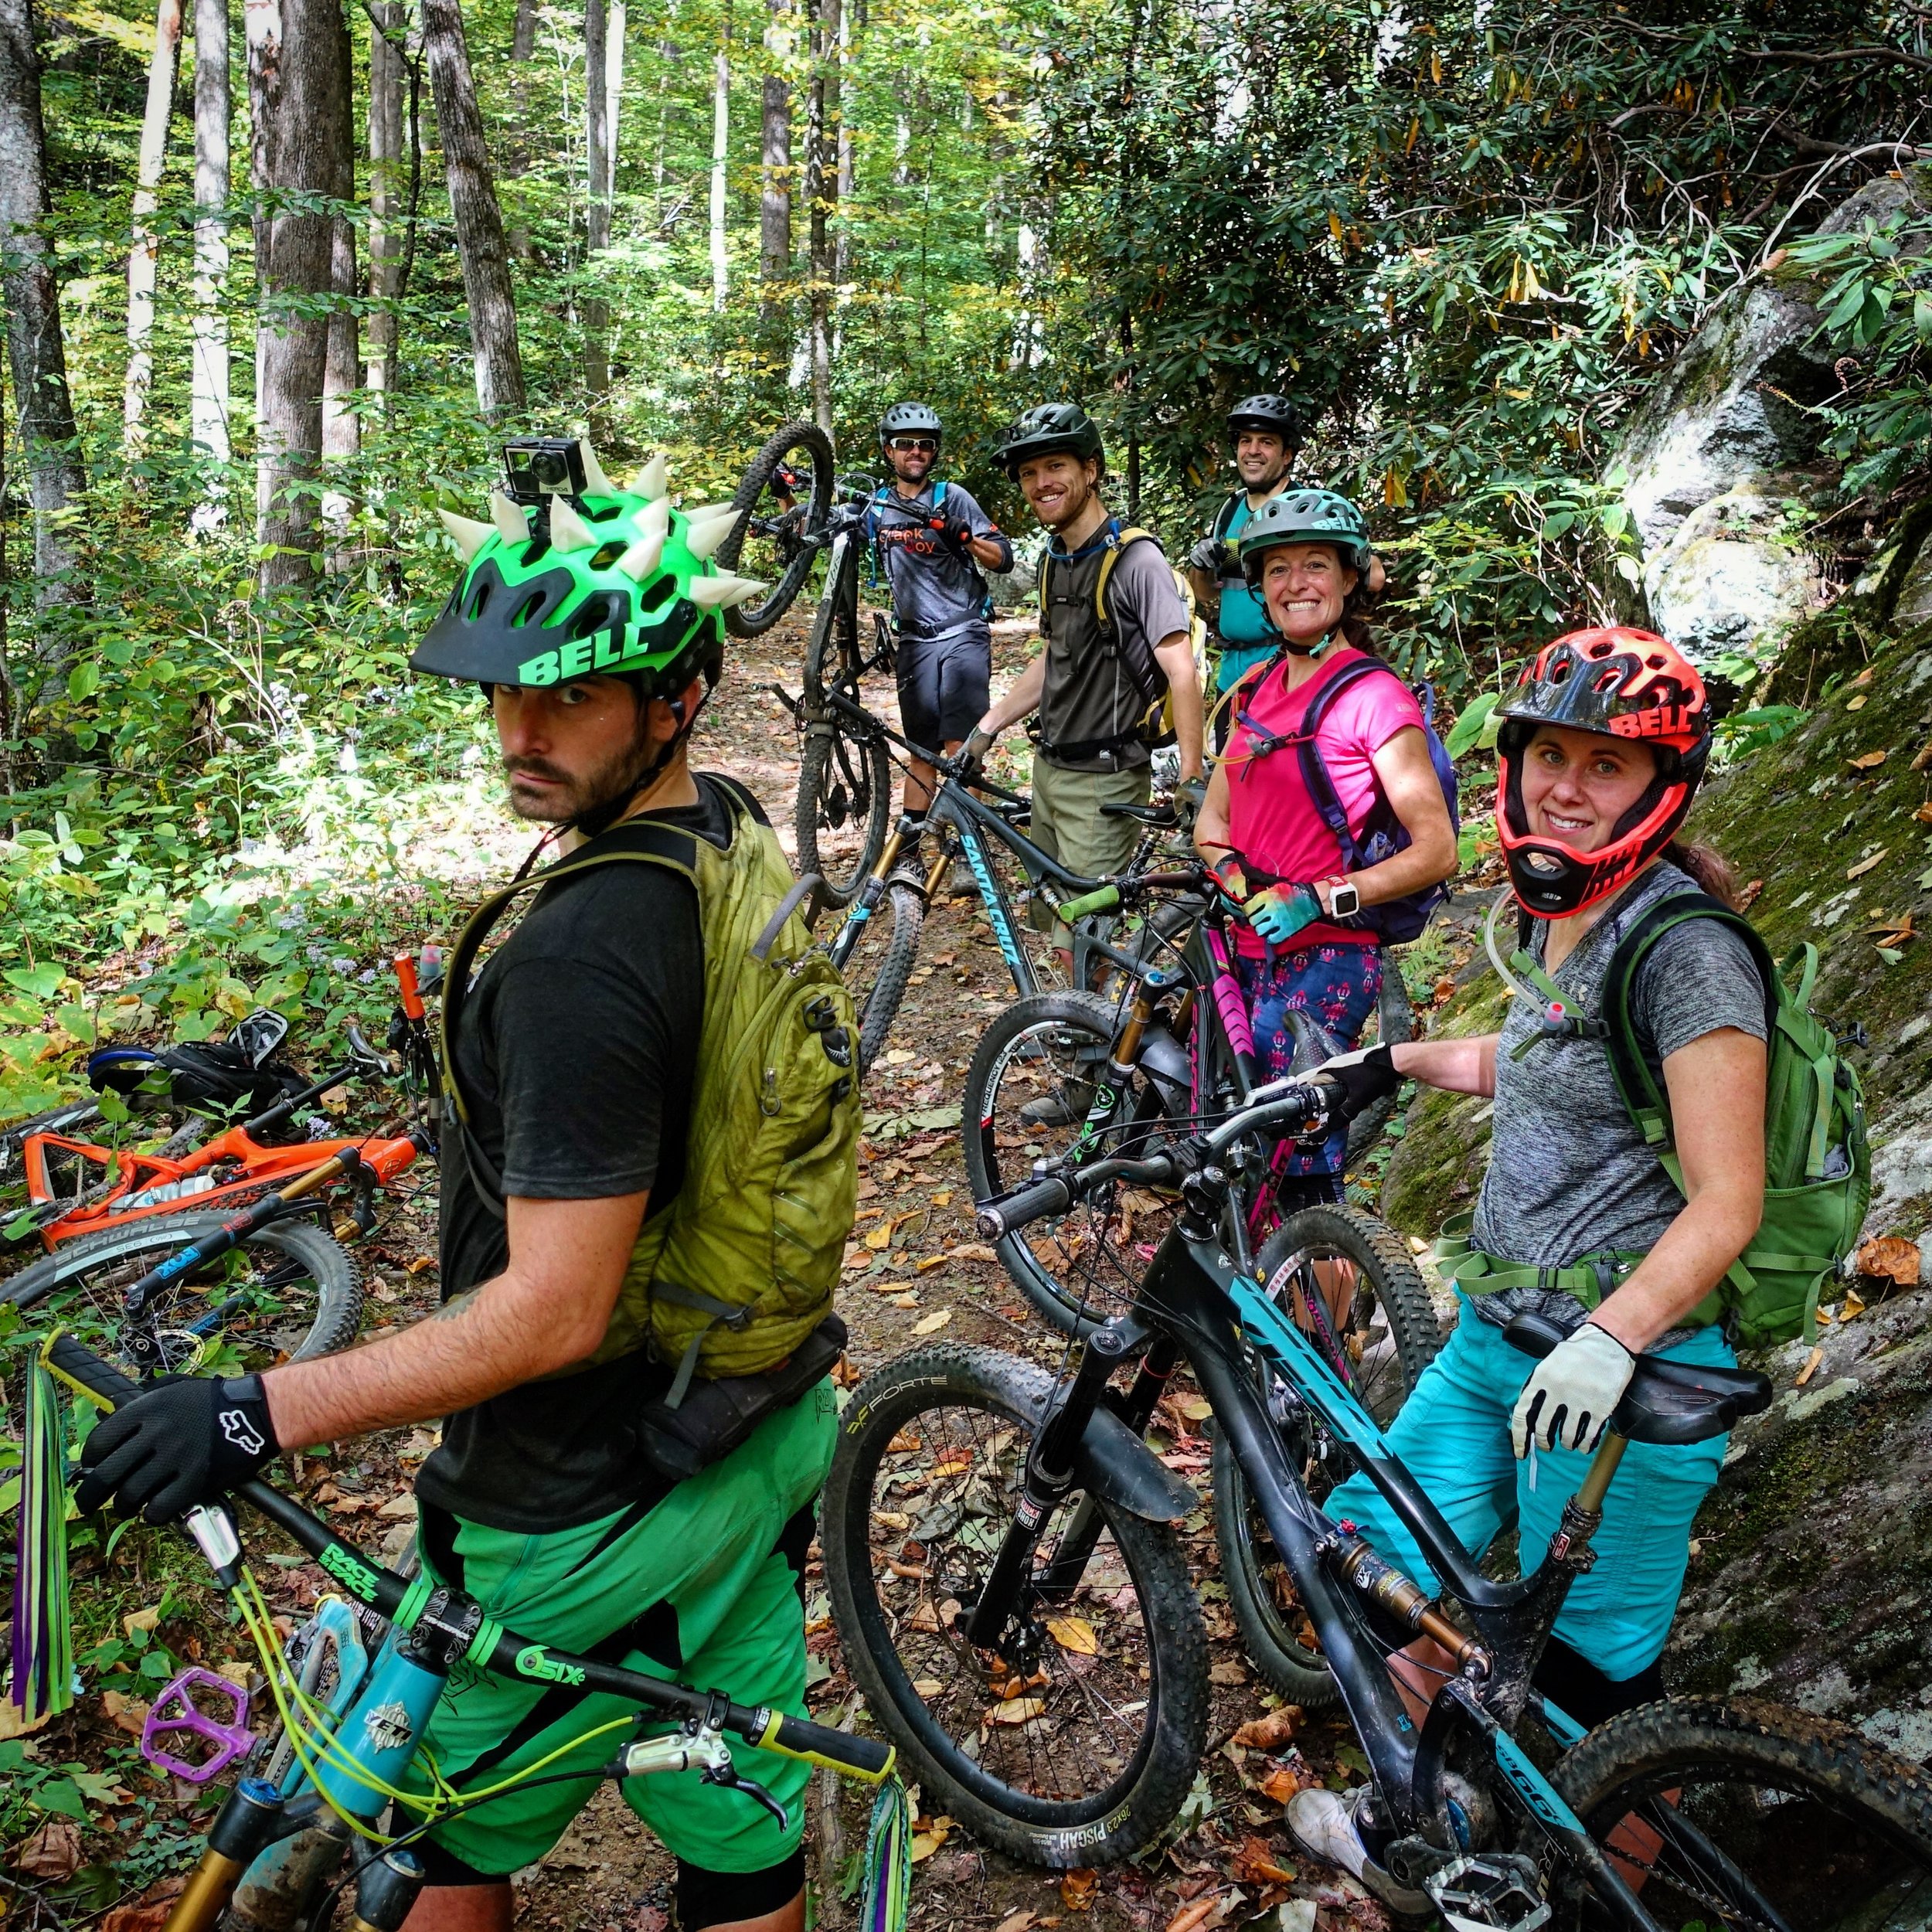
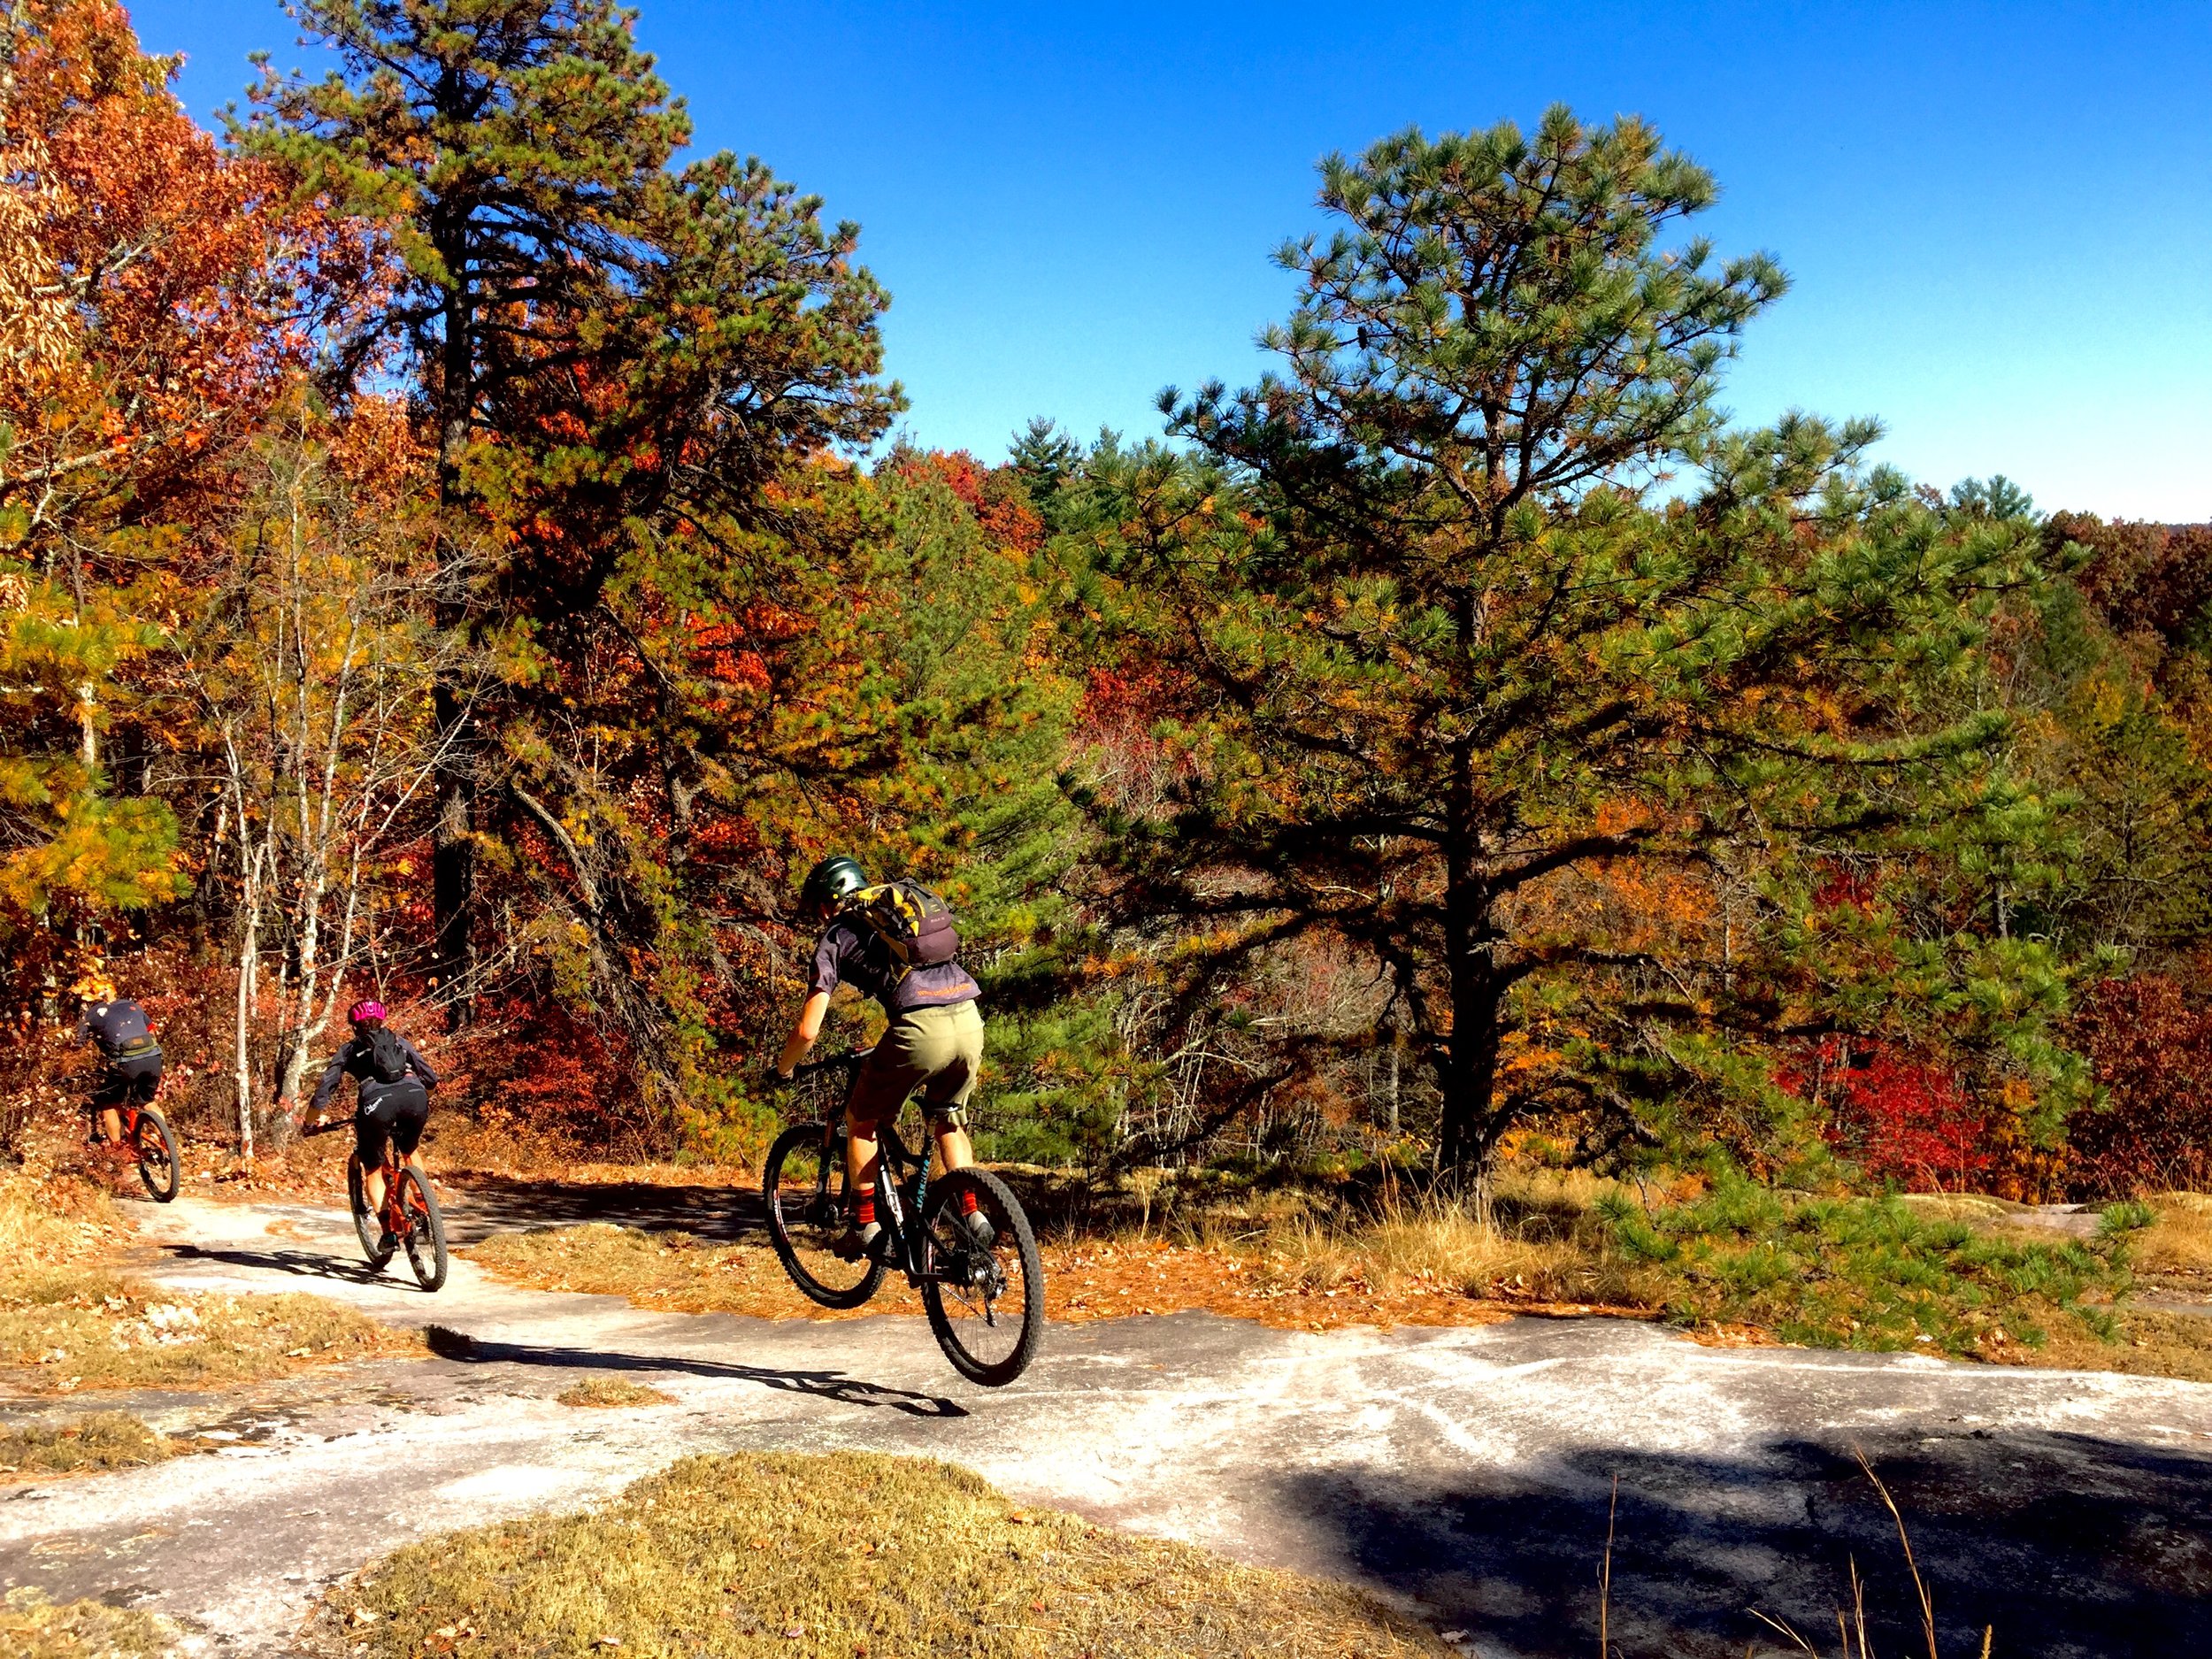
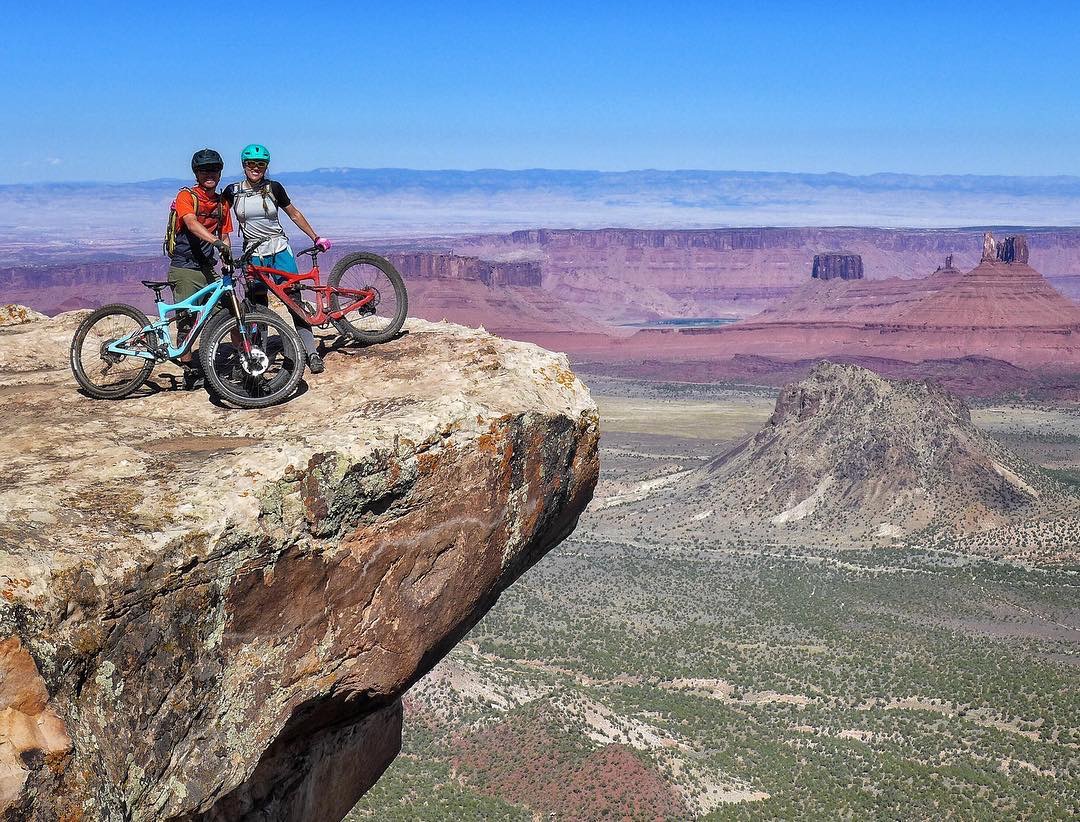
Everyone loves the feeling of going on a mountain bike vacation and finding amazing new trails that leave you grinning ear to ear!  Part of the fun is just riding trails that are new and different.  The same can be said for riding a demo bike!  Riding a state of the art carbon wonder-bike just makes those new trails that much more fun!!  Take advantage of riding a nice new demo bike to help make the most out of your vacation!
 

5 Reasons to Rent a bike for your trip to Western North Carolina:

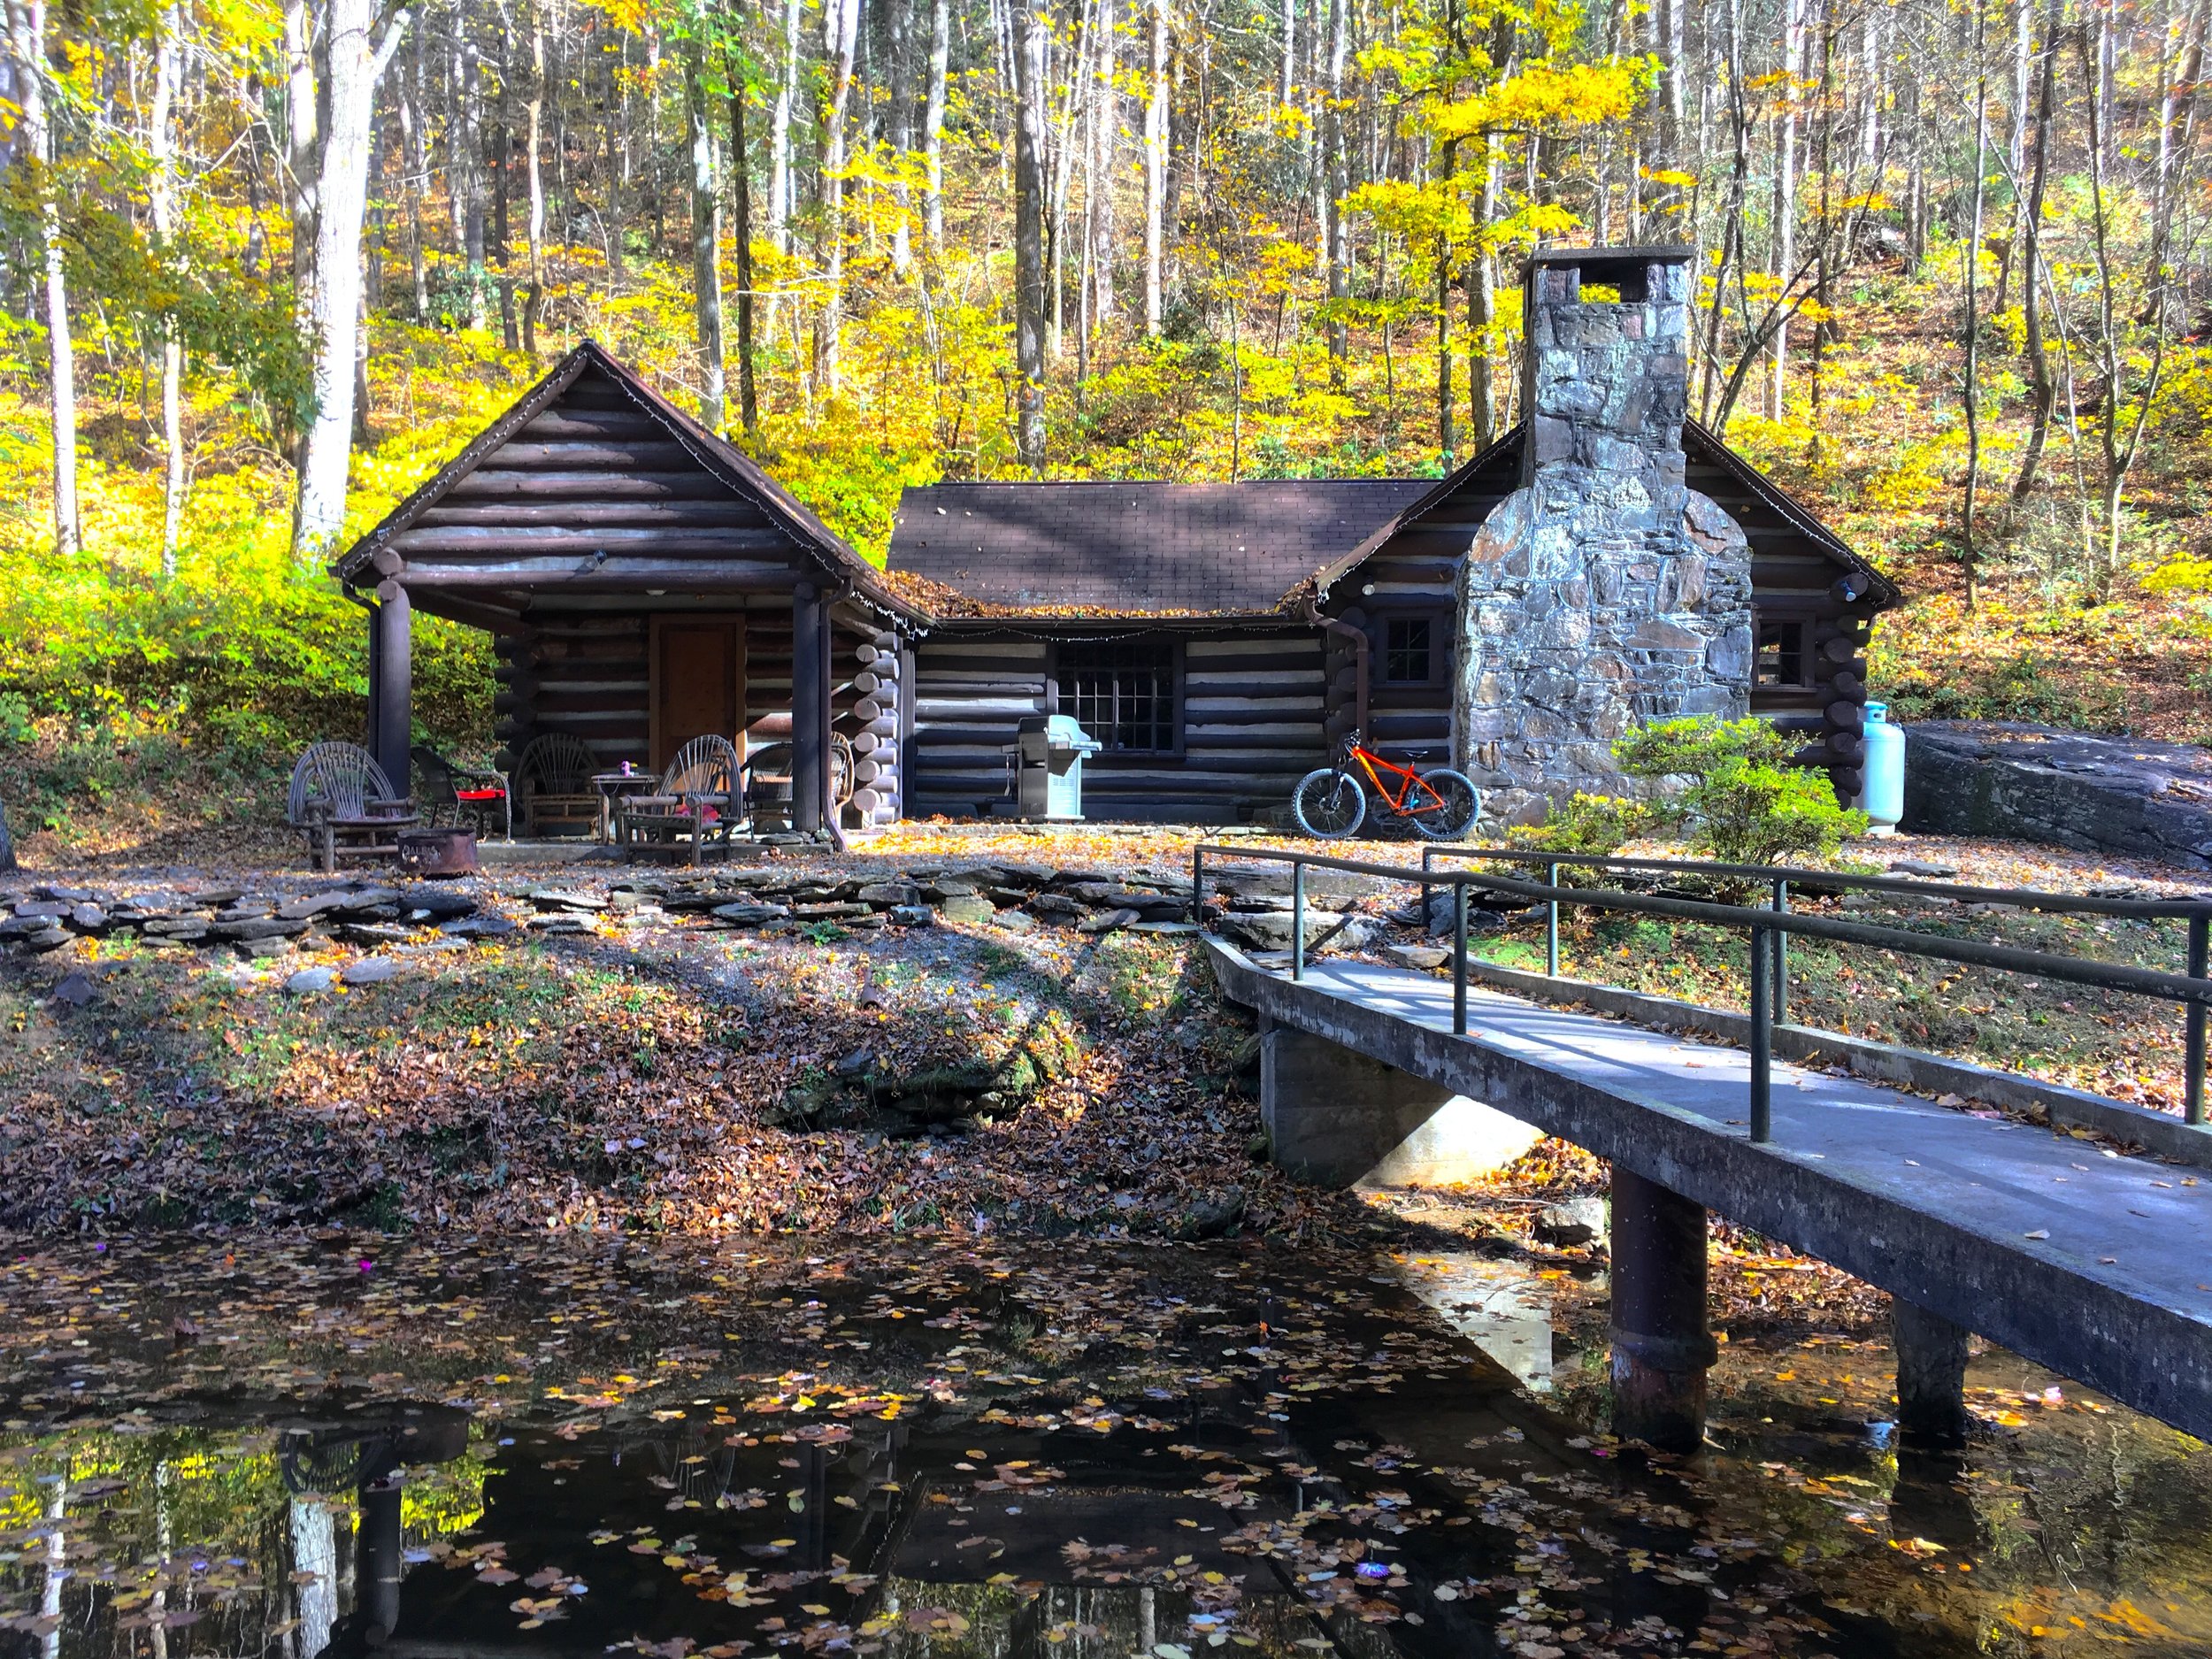
1.  Traveling is hard enough without hauling a bike hundreds (or thousands) of miles.  Trying to bring bikes along with everything else on your vacation can be a major pain.  Rent a bike here in town and you can even store it at the shop each evening.  (If you rent a bike, we can haul it to the trail for you and show you around, no bike rack needed!)


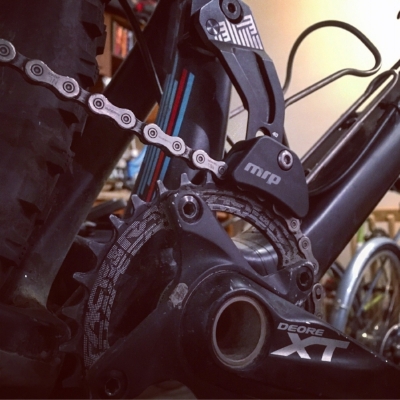
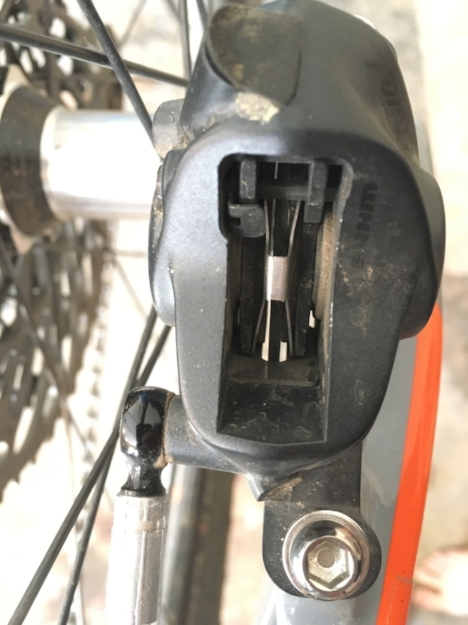
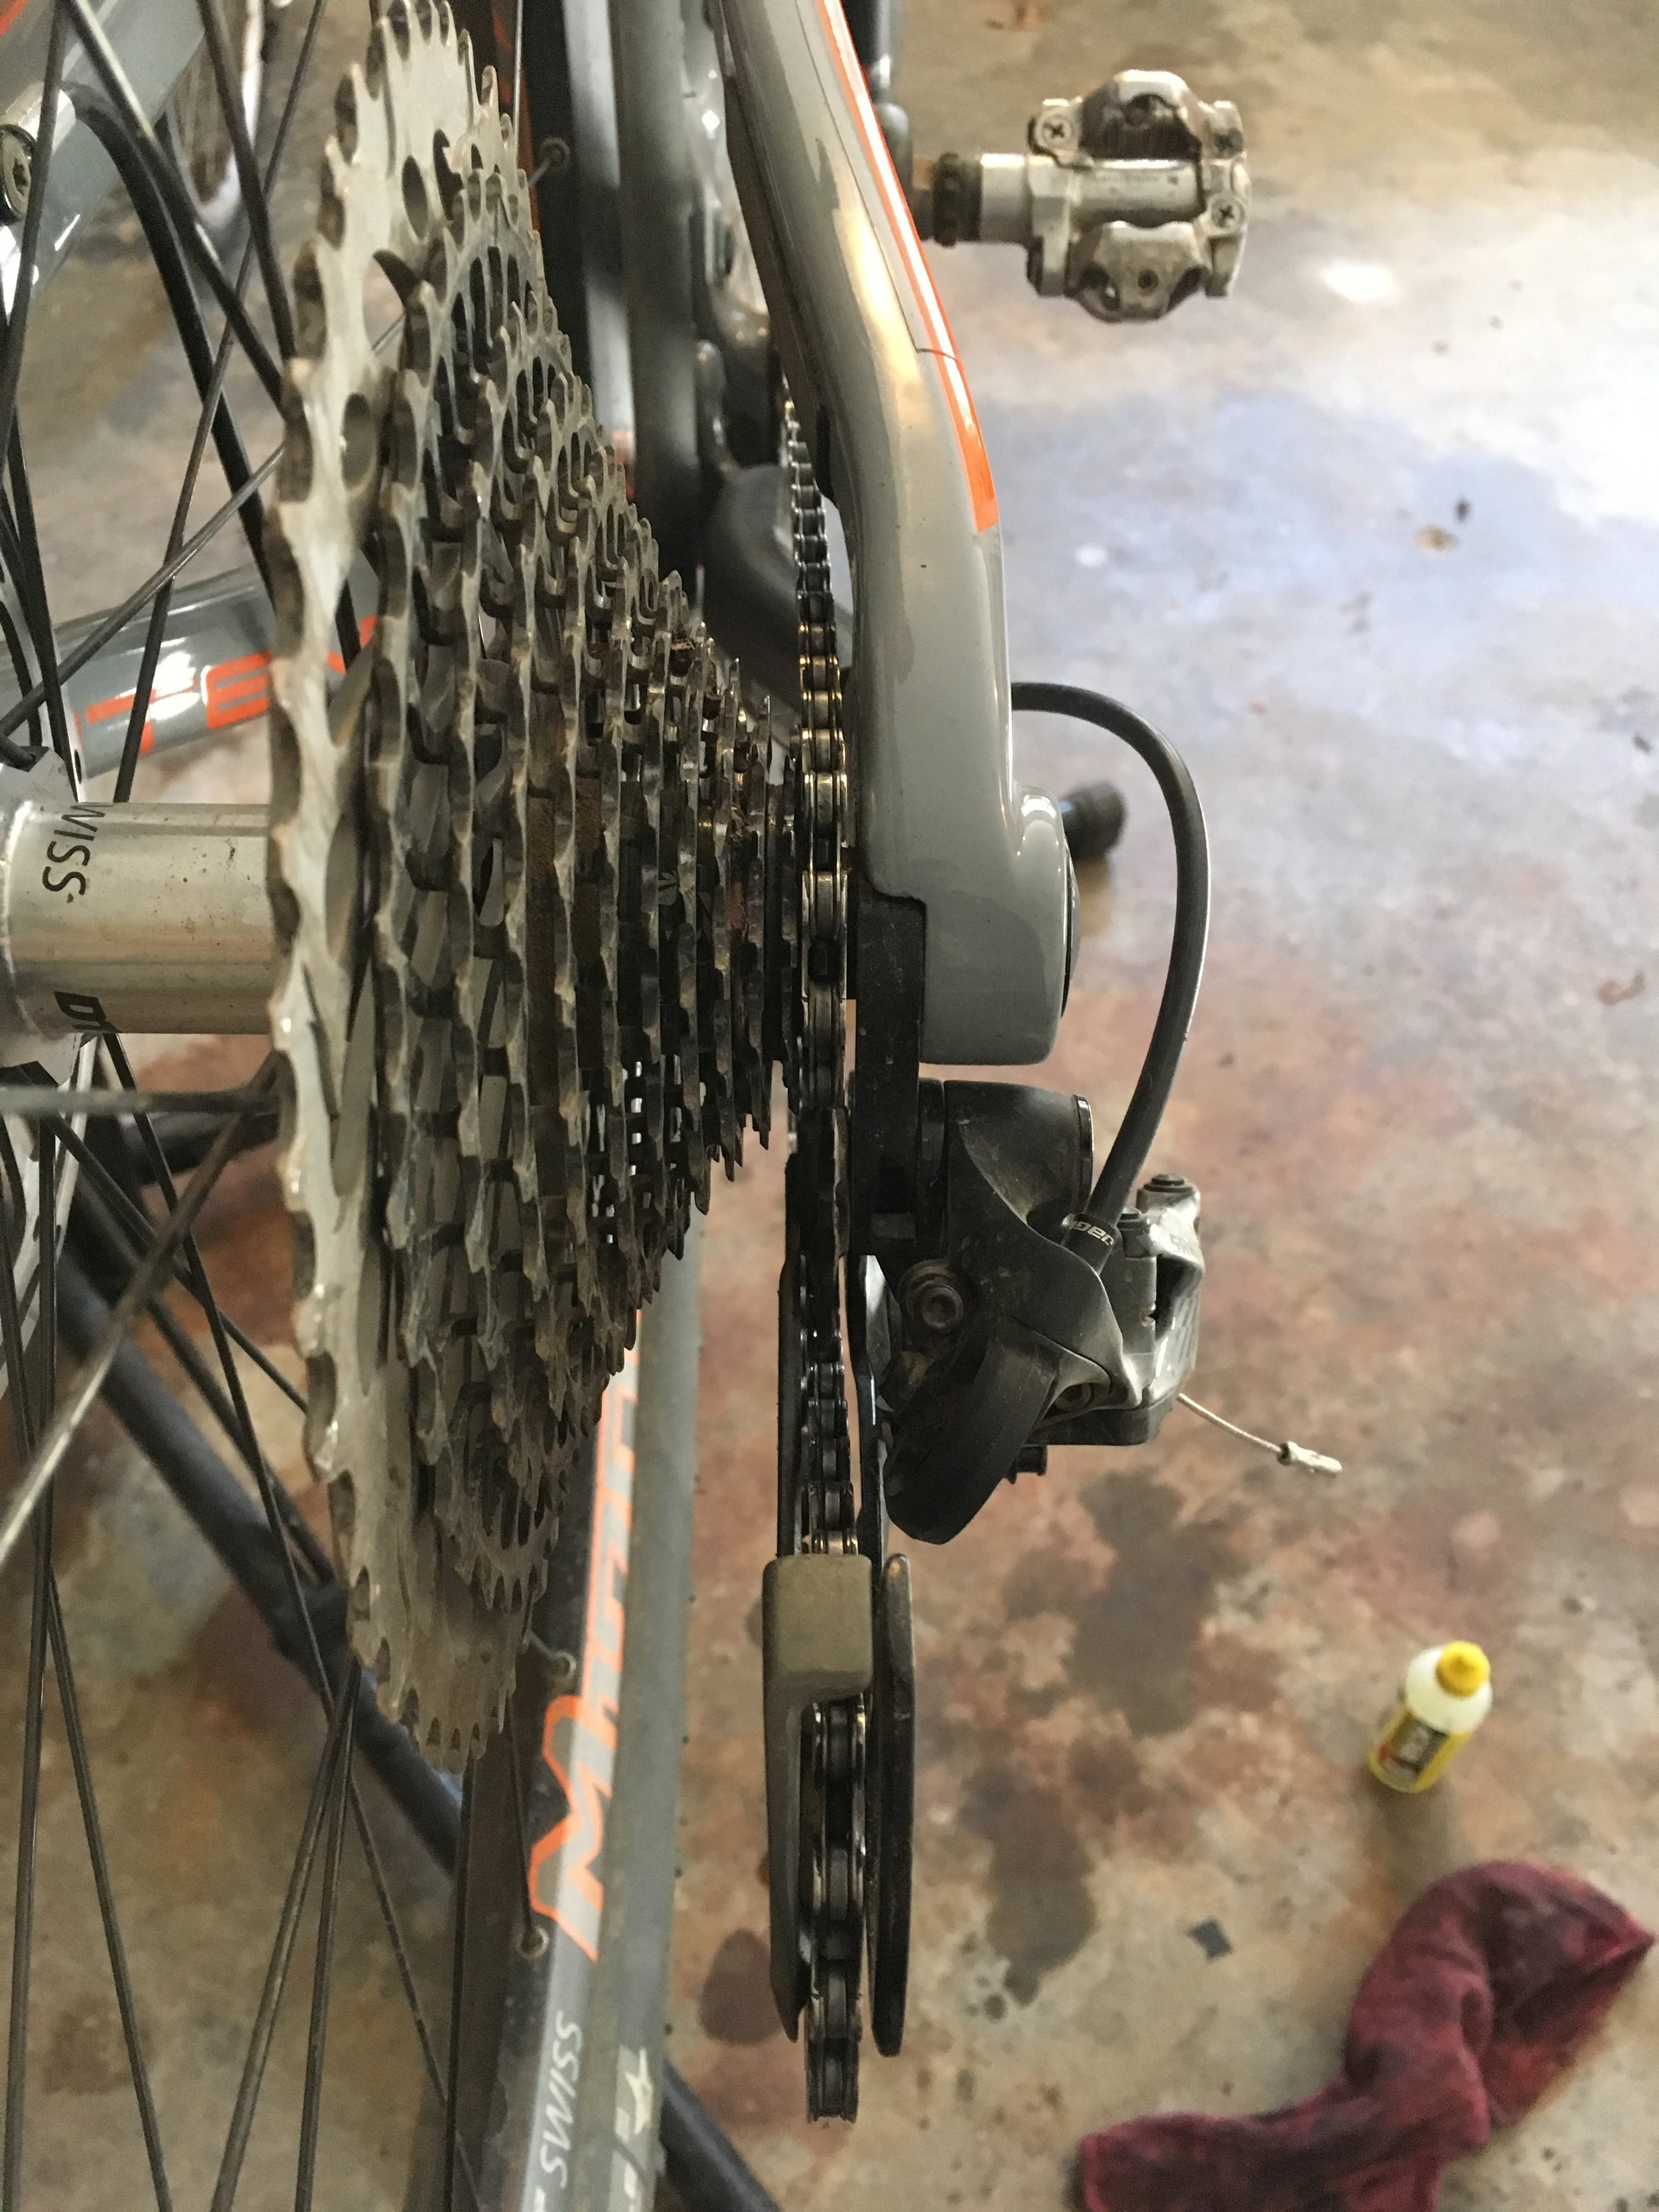
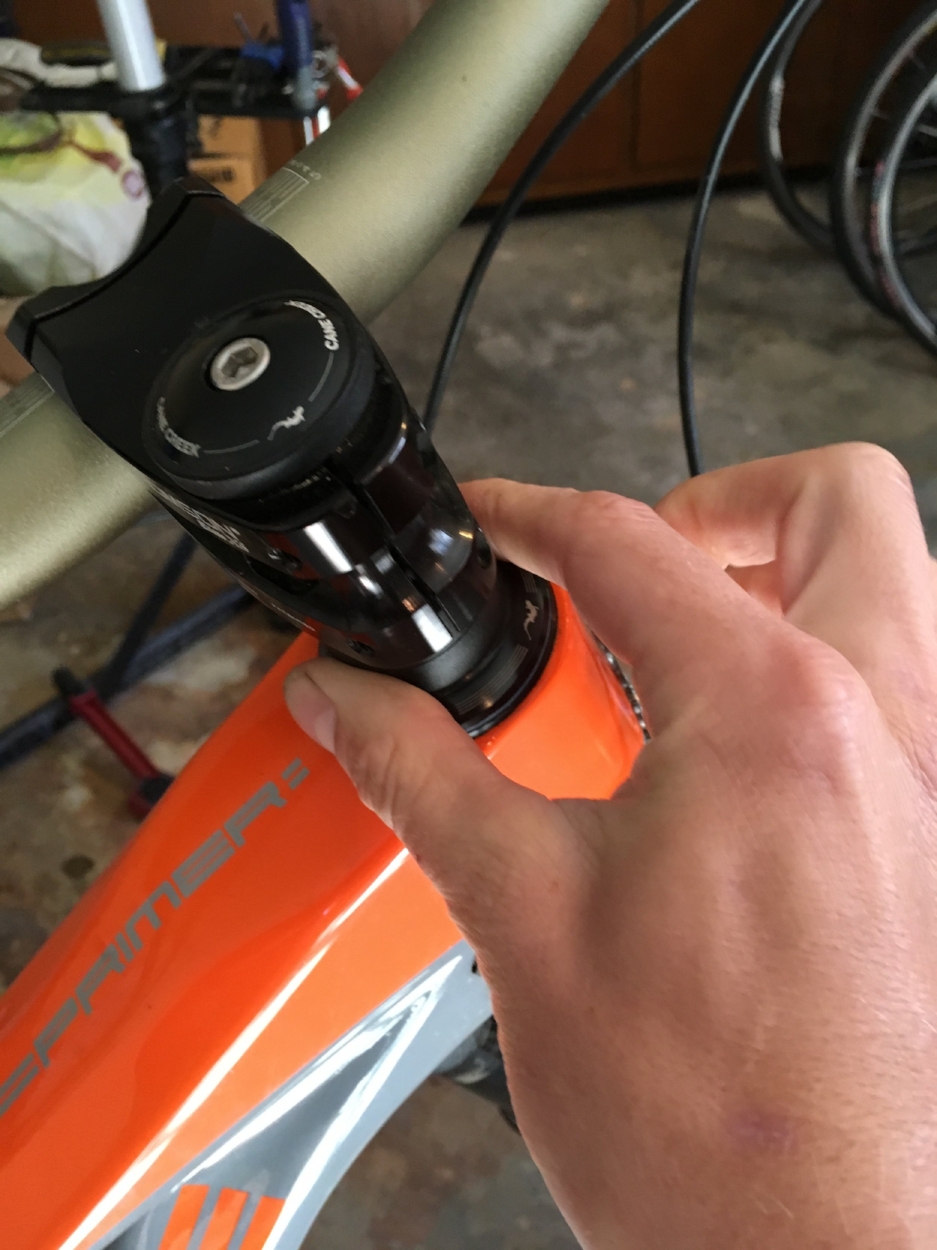
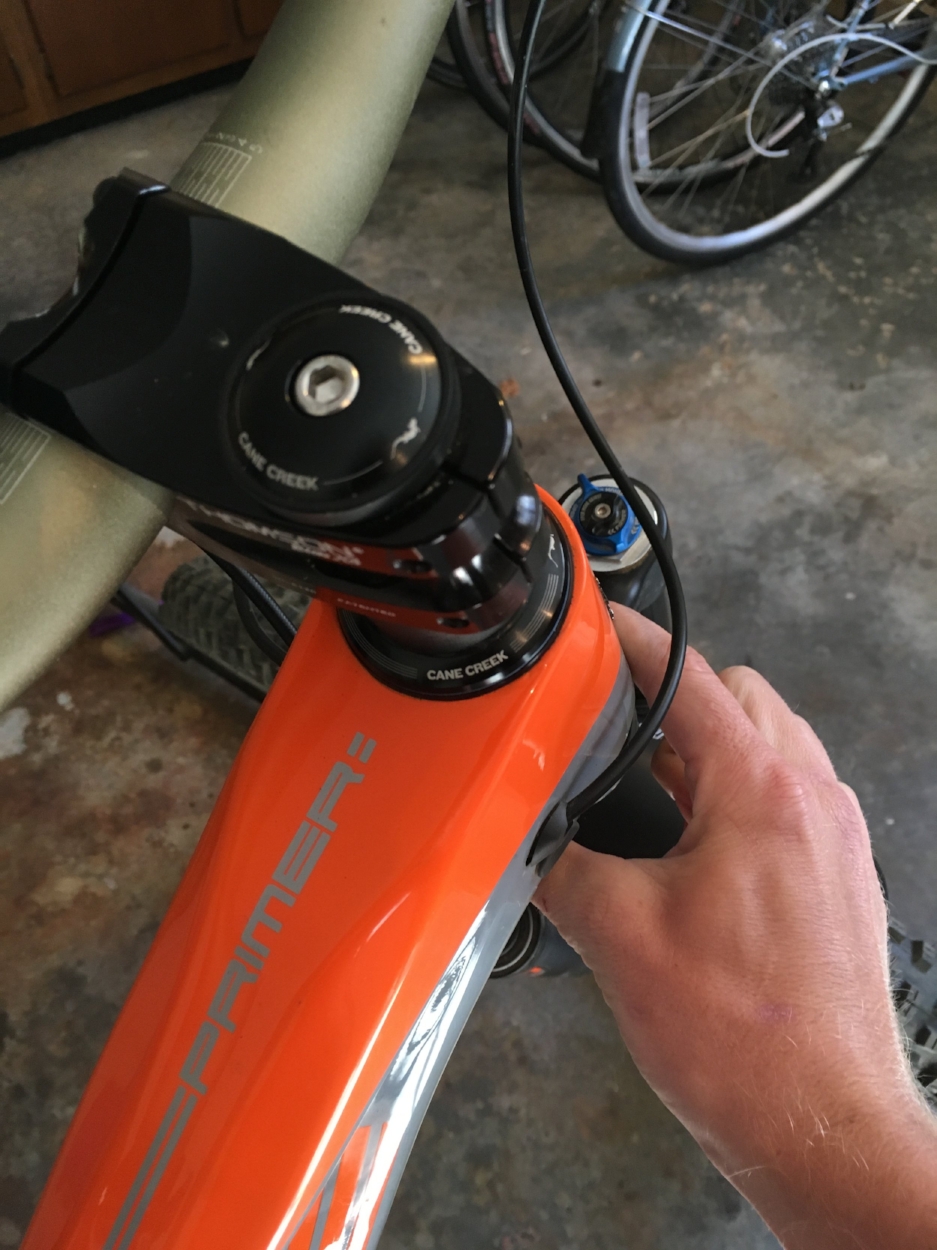
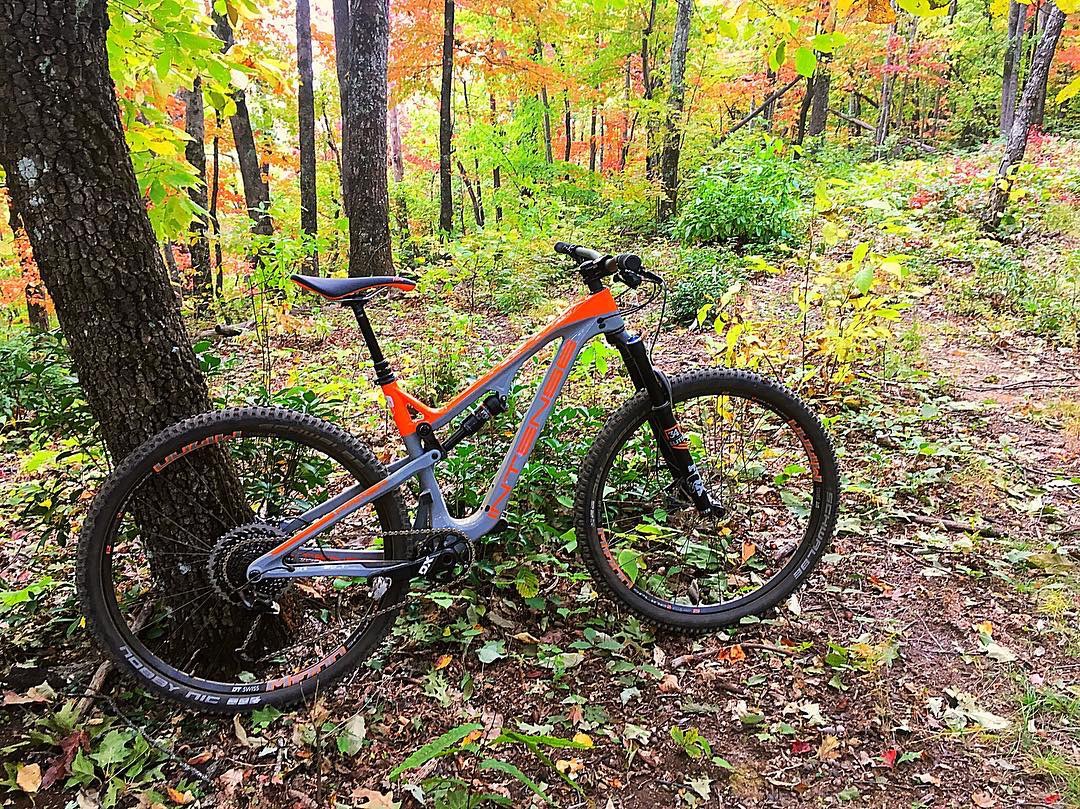
2.  New technology is rad!  Everything keeps getting better on mountain bikes each year.  Suspension, brakes, shifting, etc.  It just keeps getting better.  


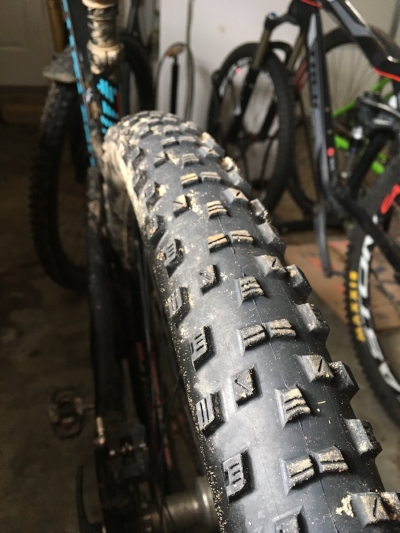
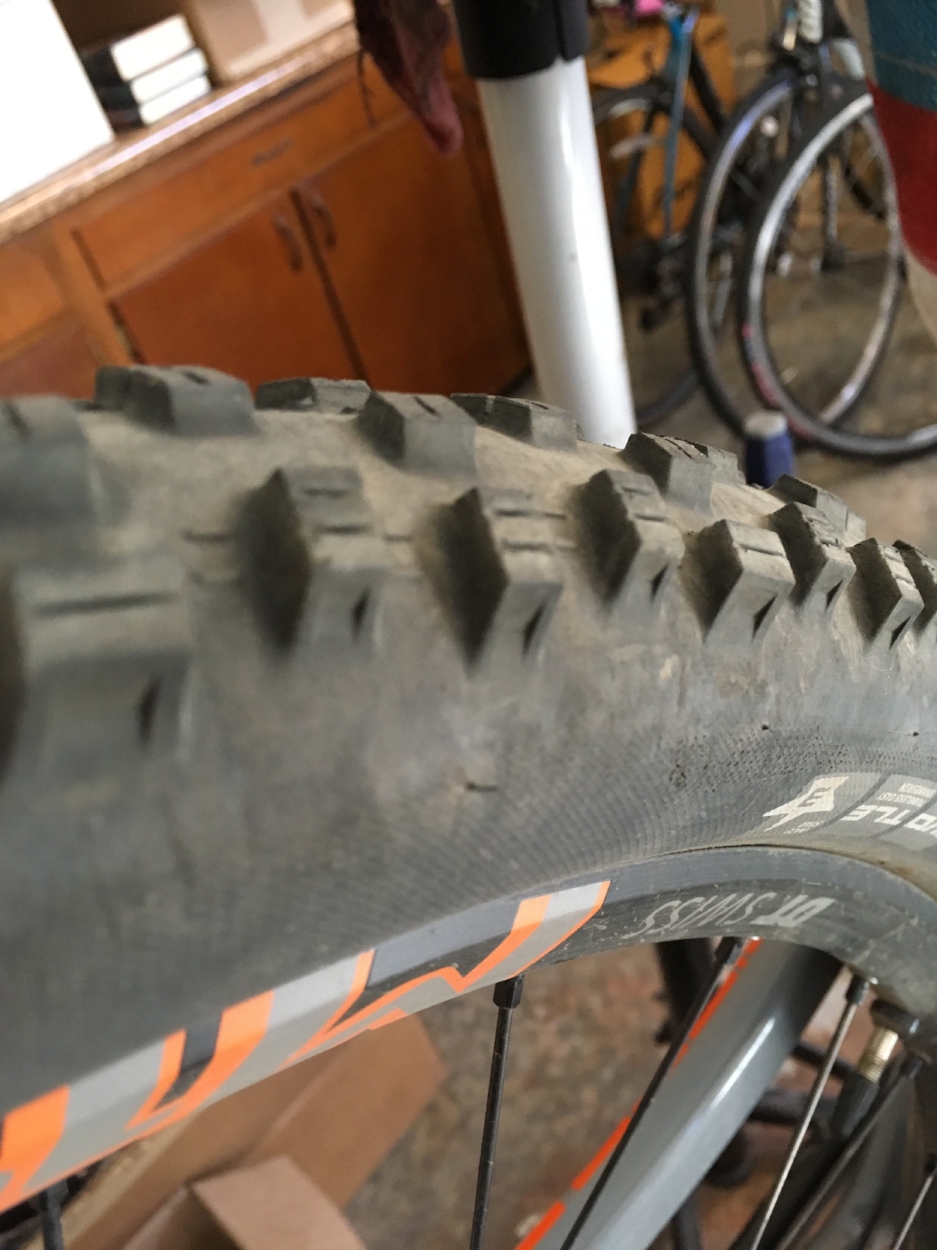
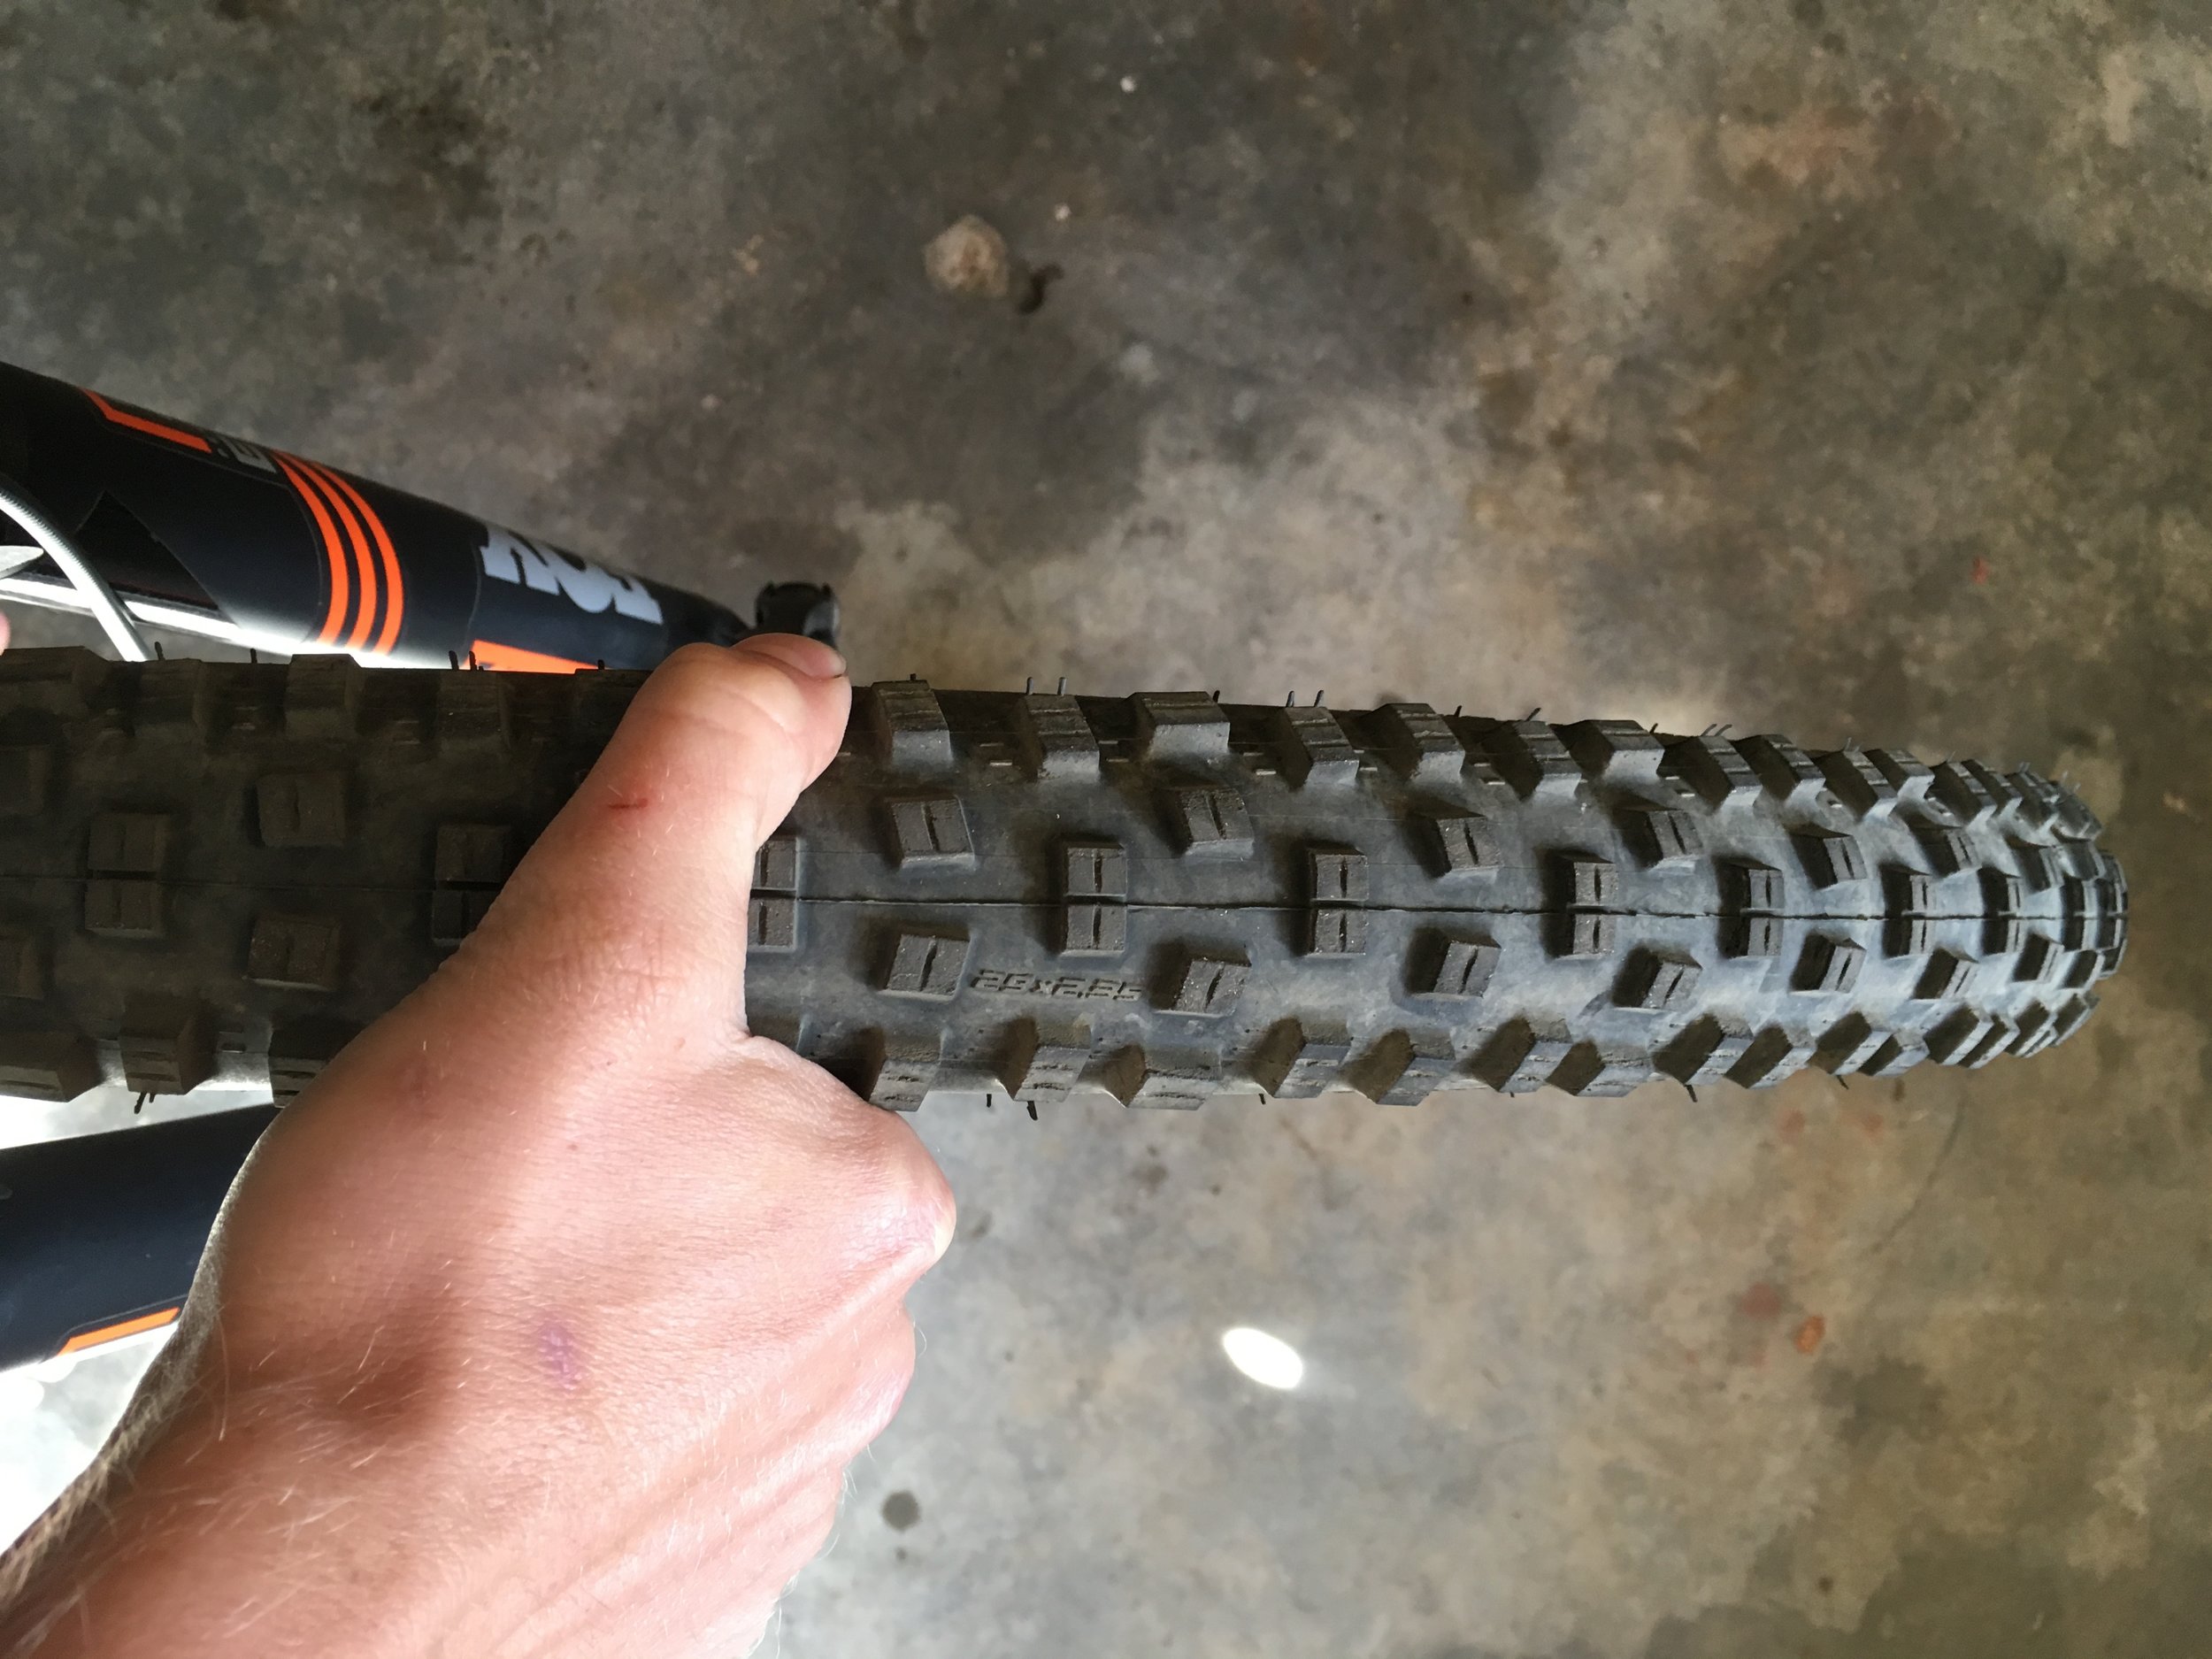
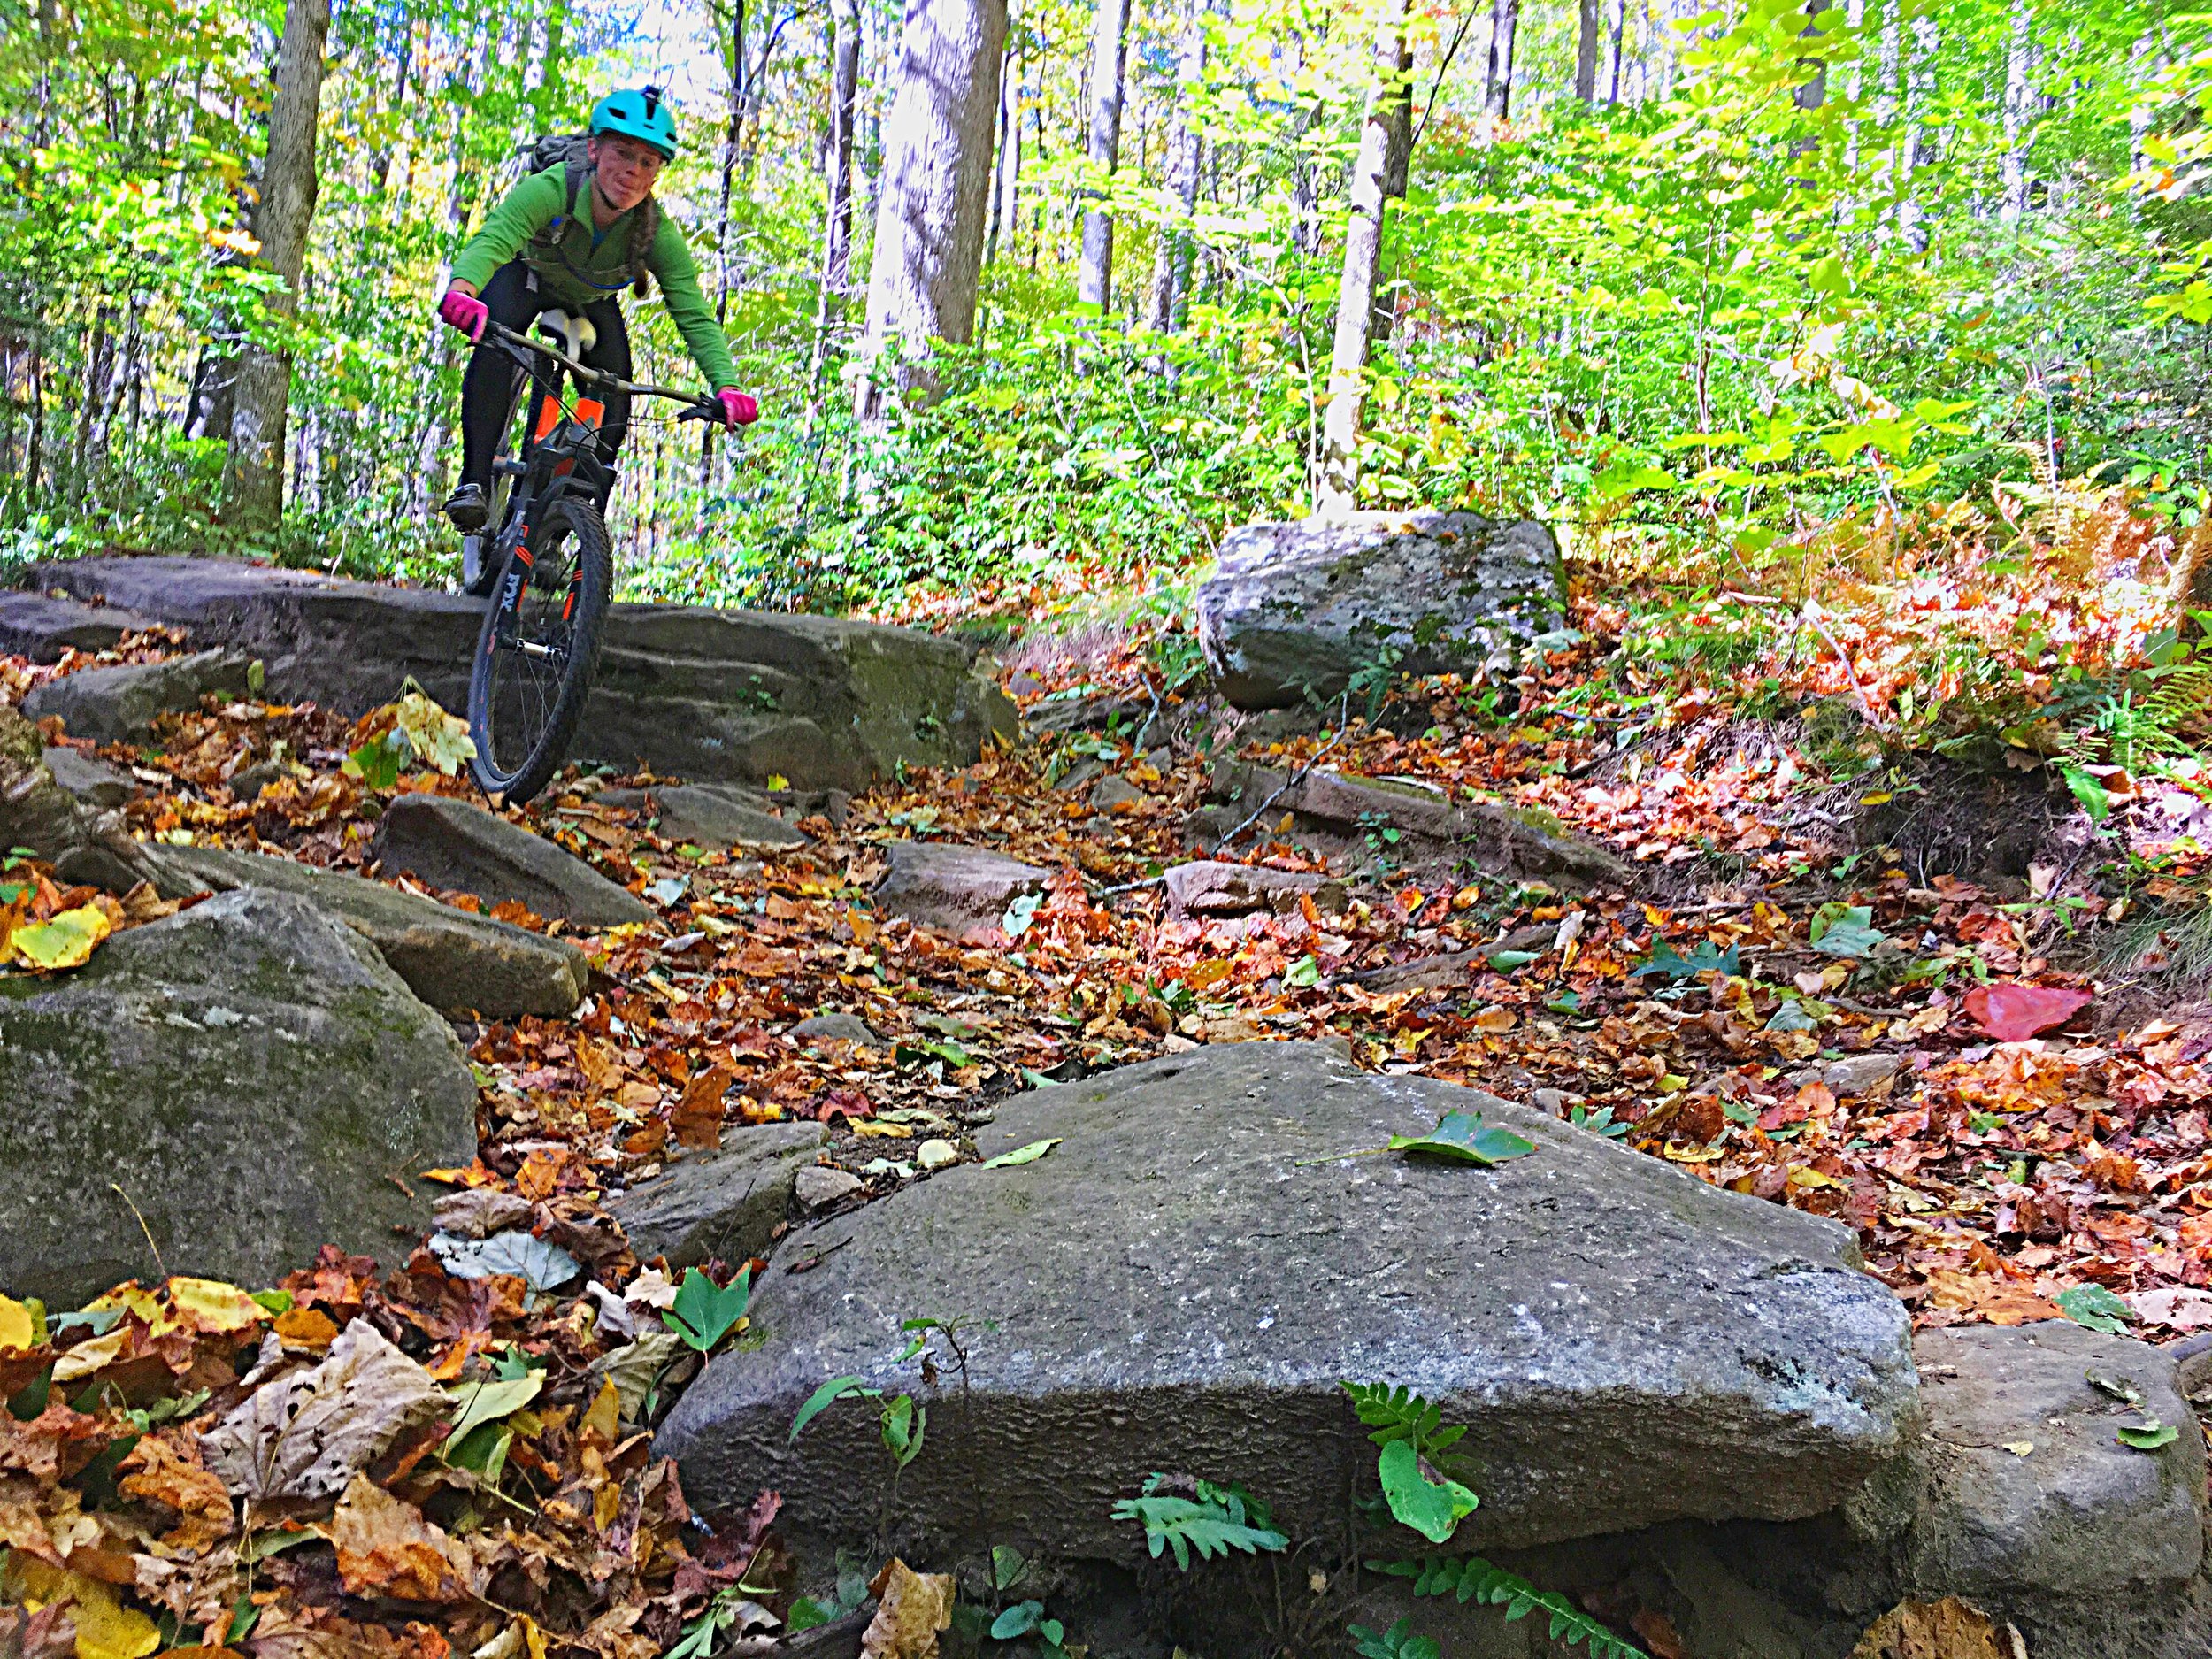
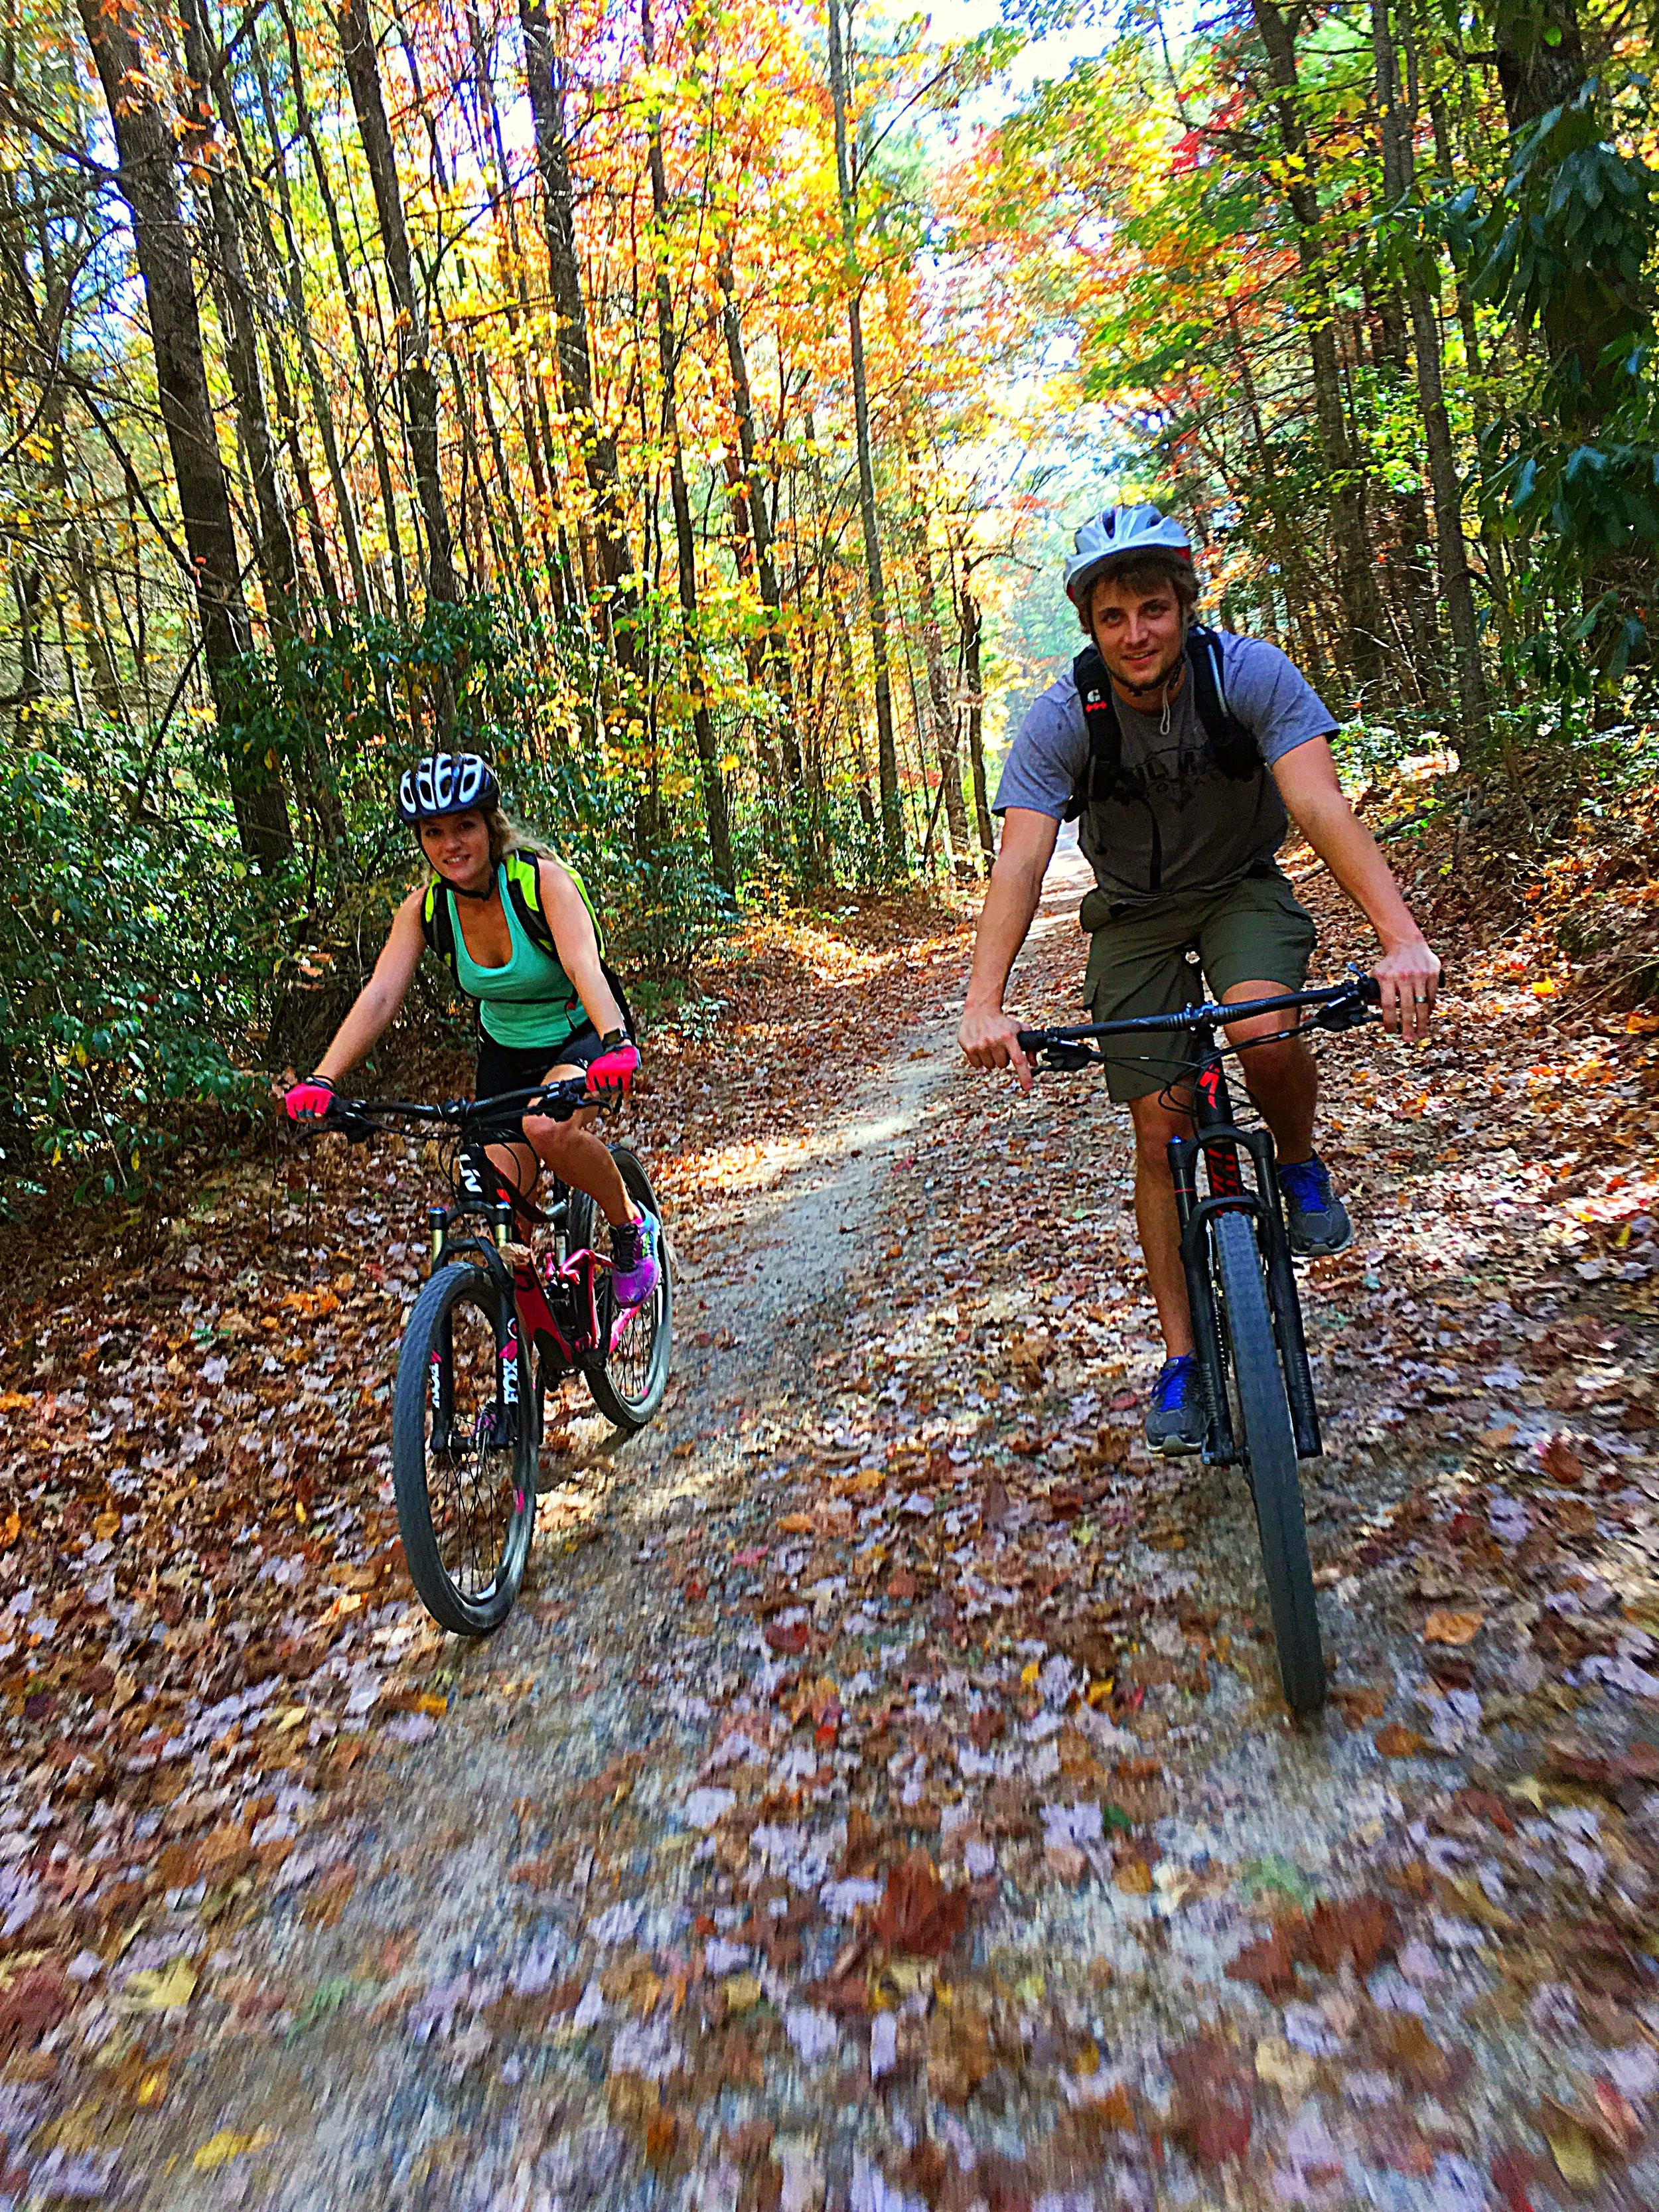
3.  Confidence & Comfort.  Your hard tail may be perfect for your trails at home, but a full suspension can definitely help smooth out the bumps on our rooty trails here in Brevard.  The newer “plus” bikes with super wide tires can help to add even more confidence to your ride!


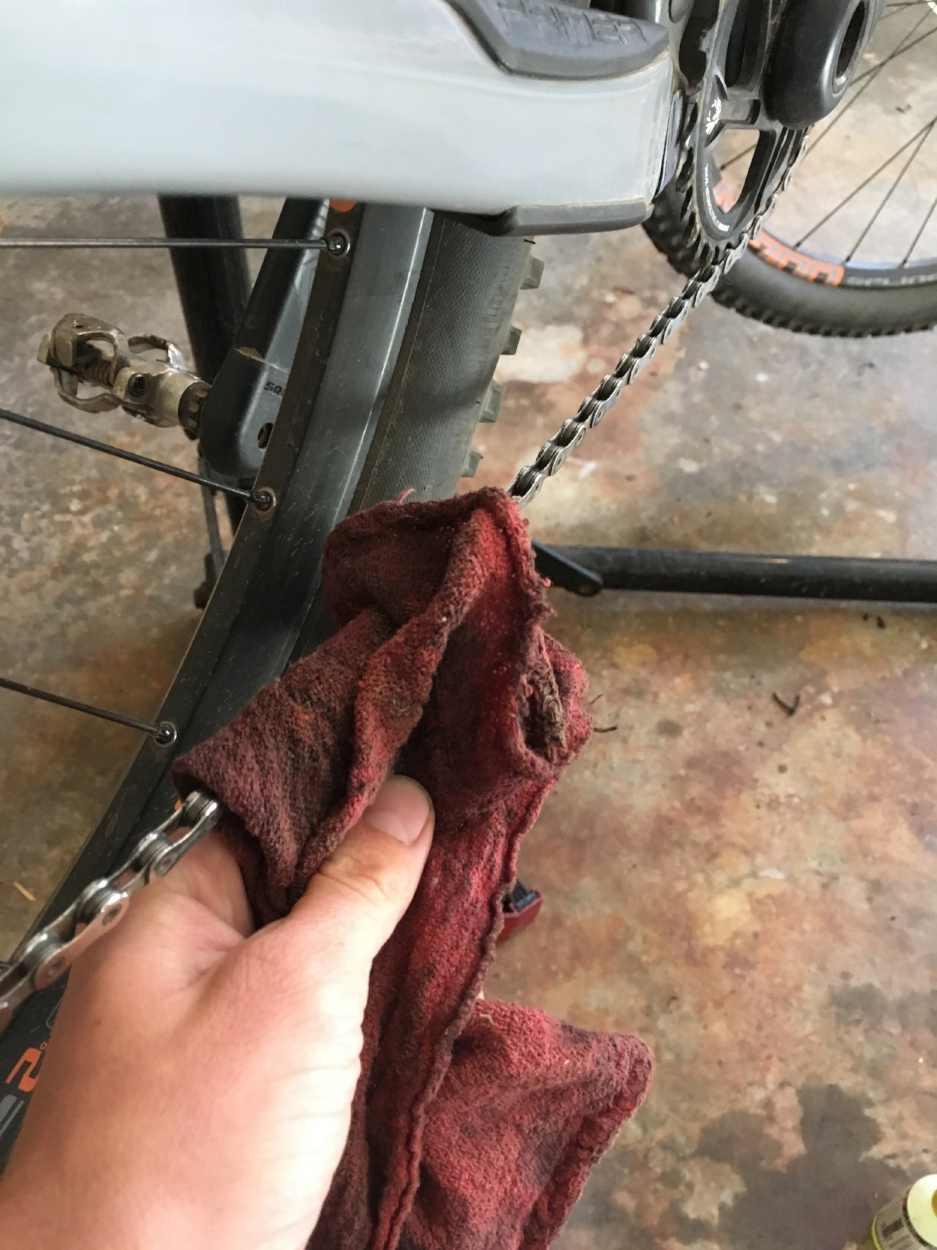
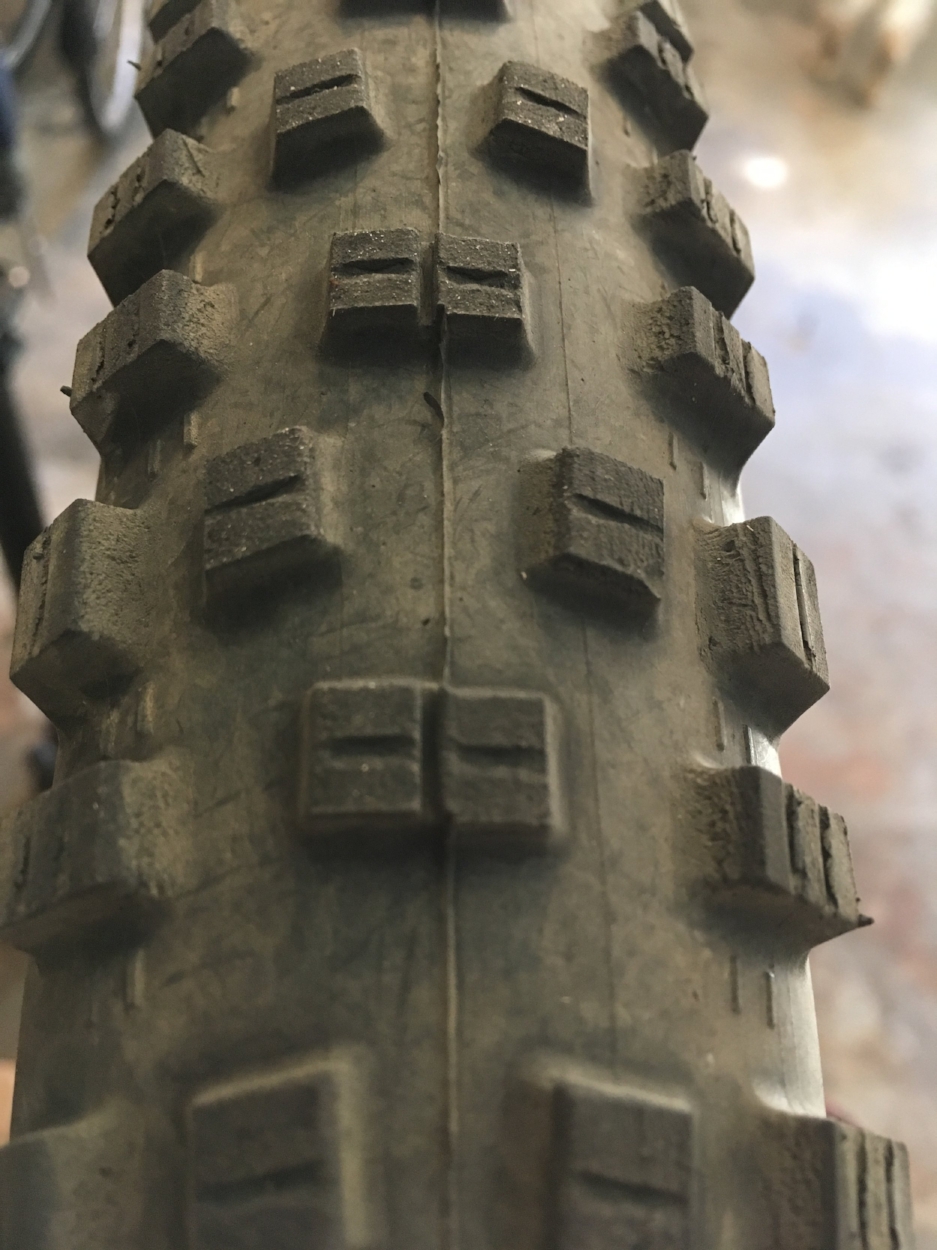
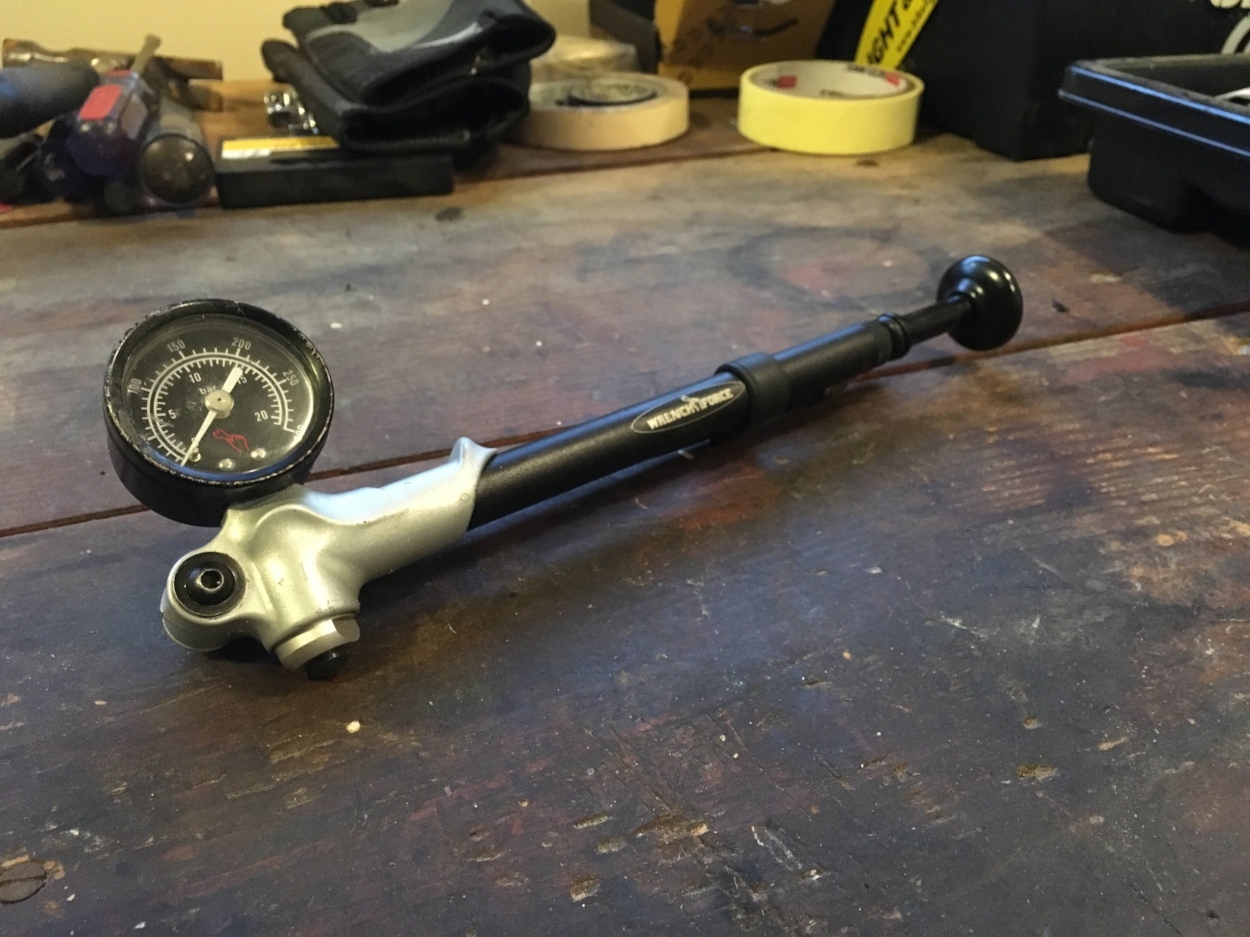
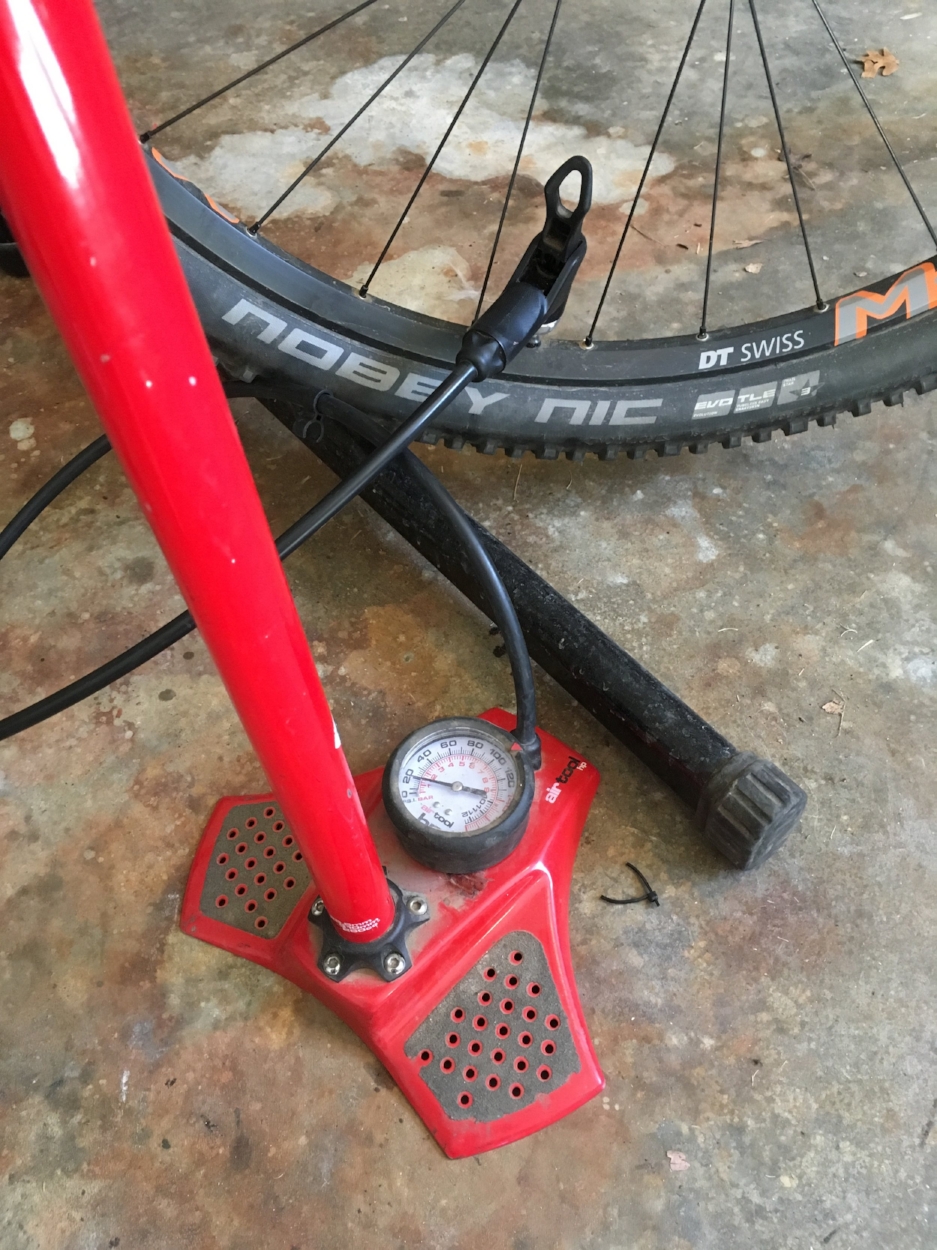
4.  The right bike.  Our local shops will help you to get on the right bike for the trails you want to ride!  From proper suspension set up to tire selection, they know how to help you get the most out of your trip!


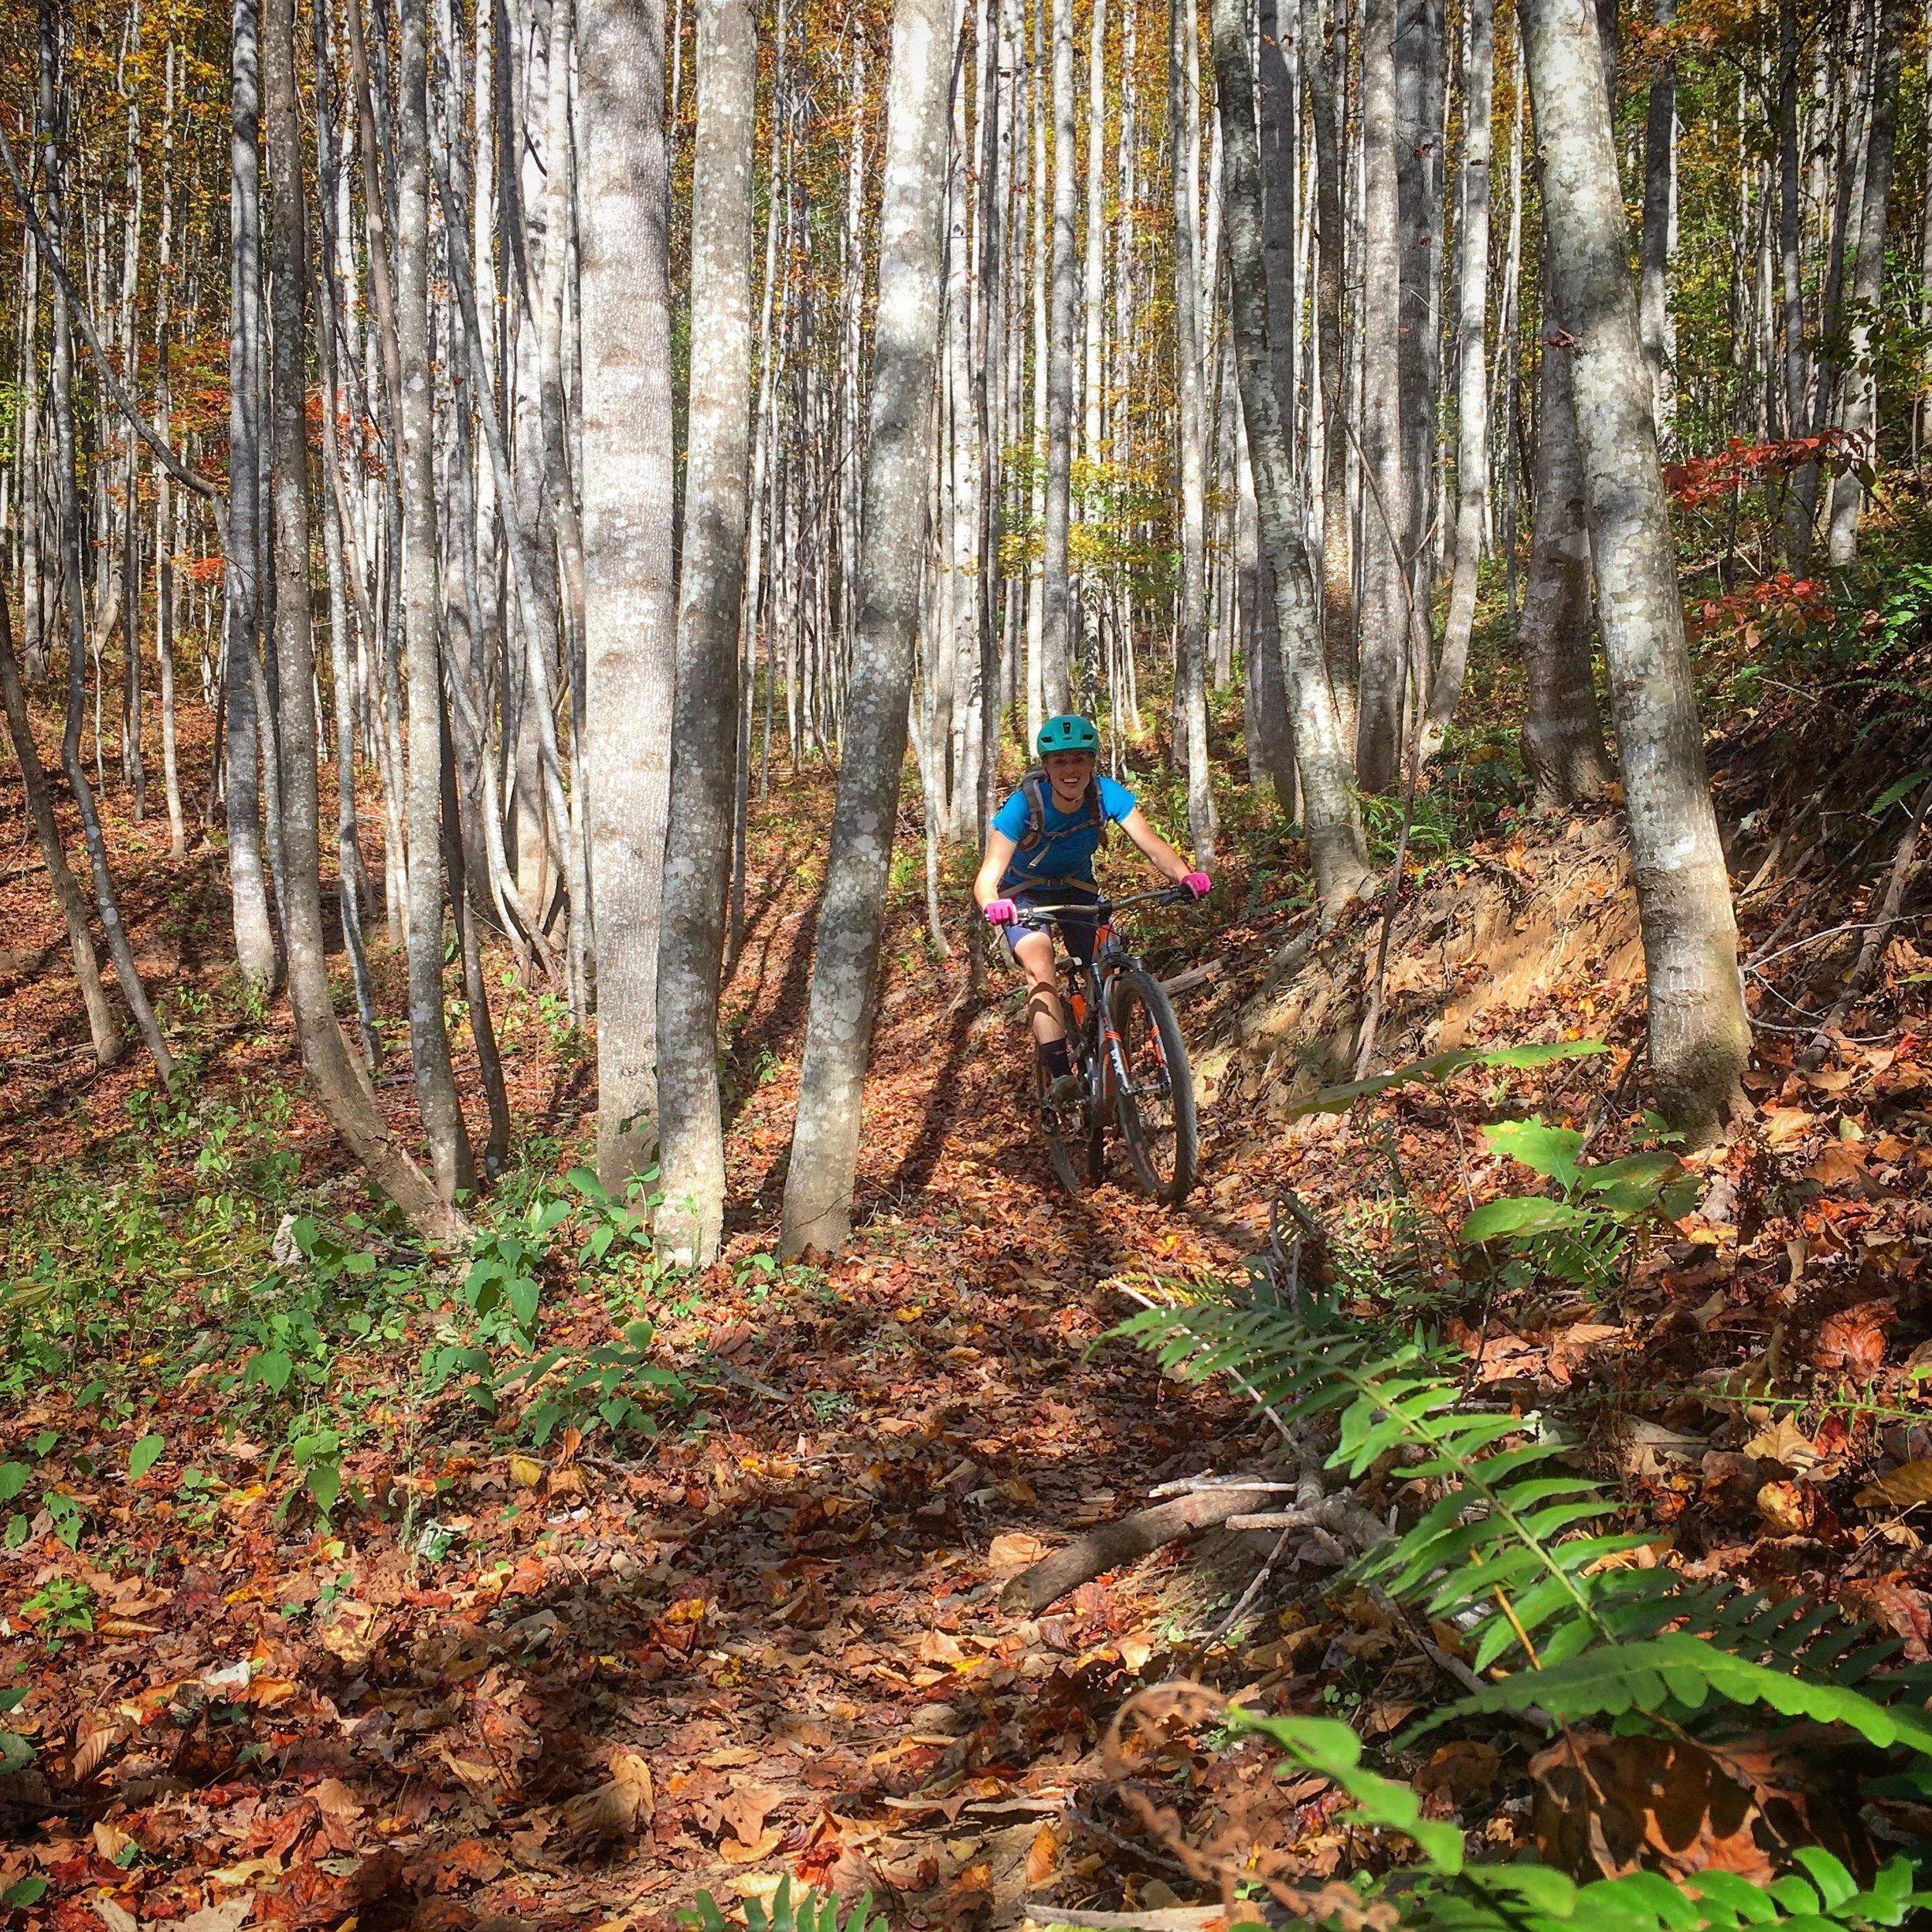
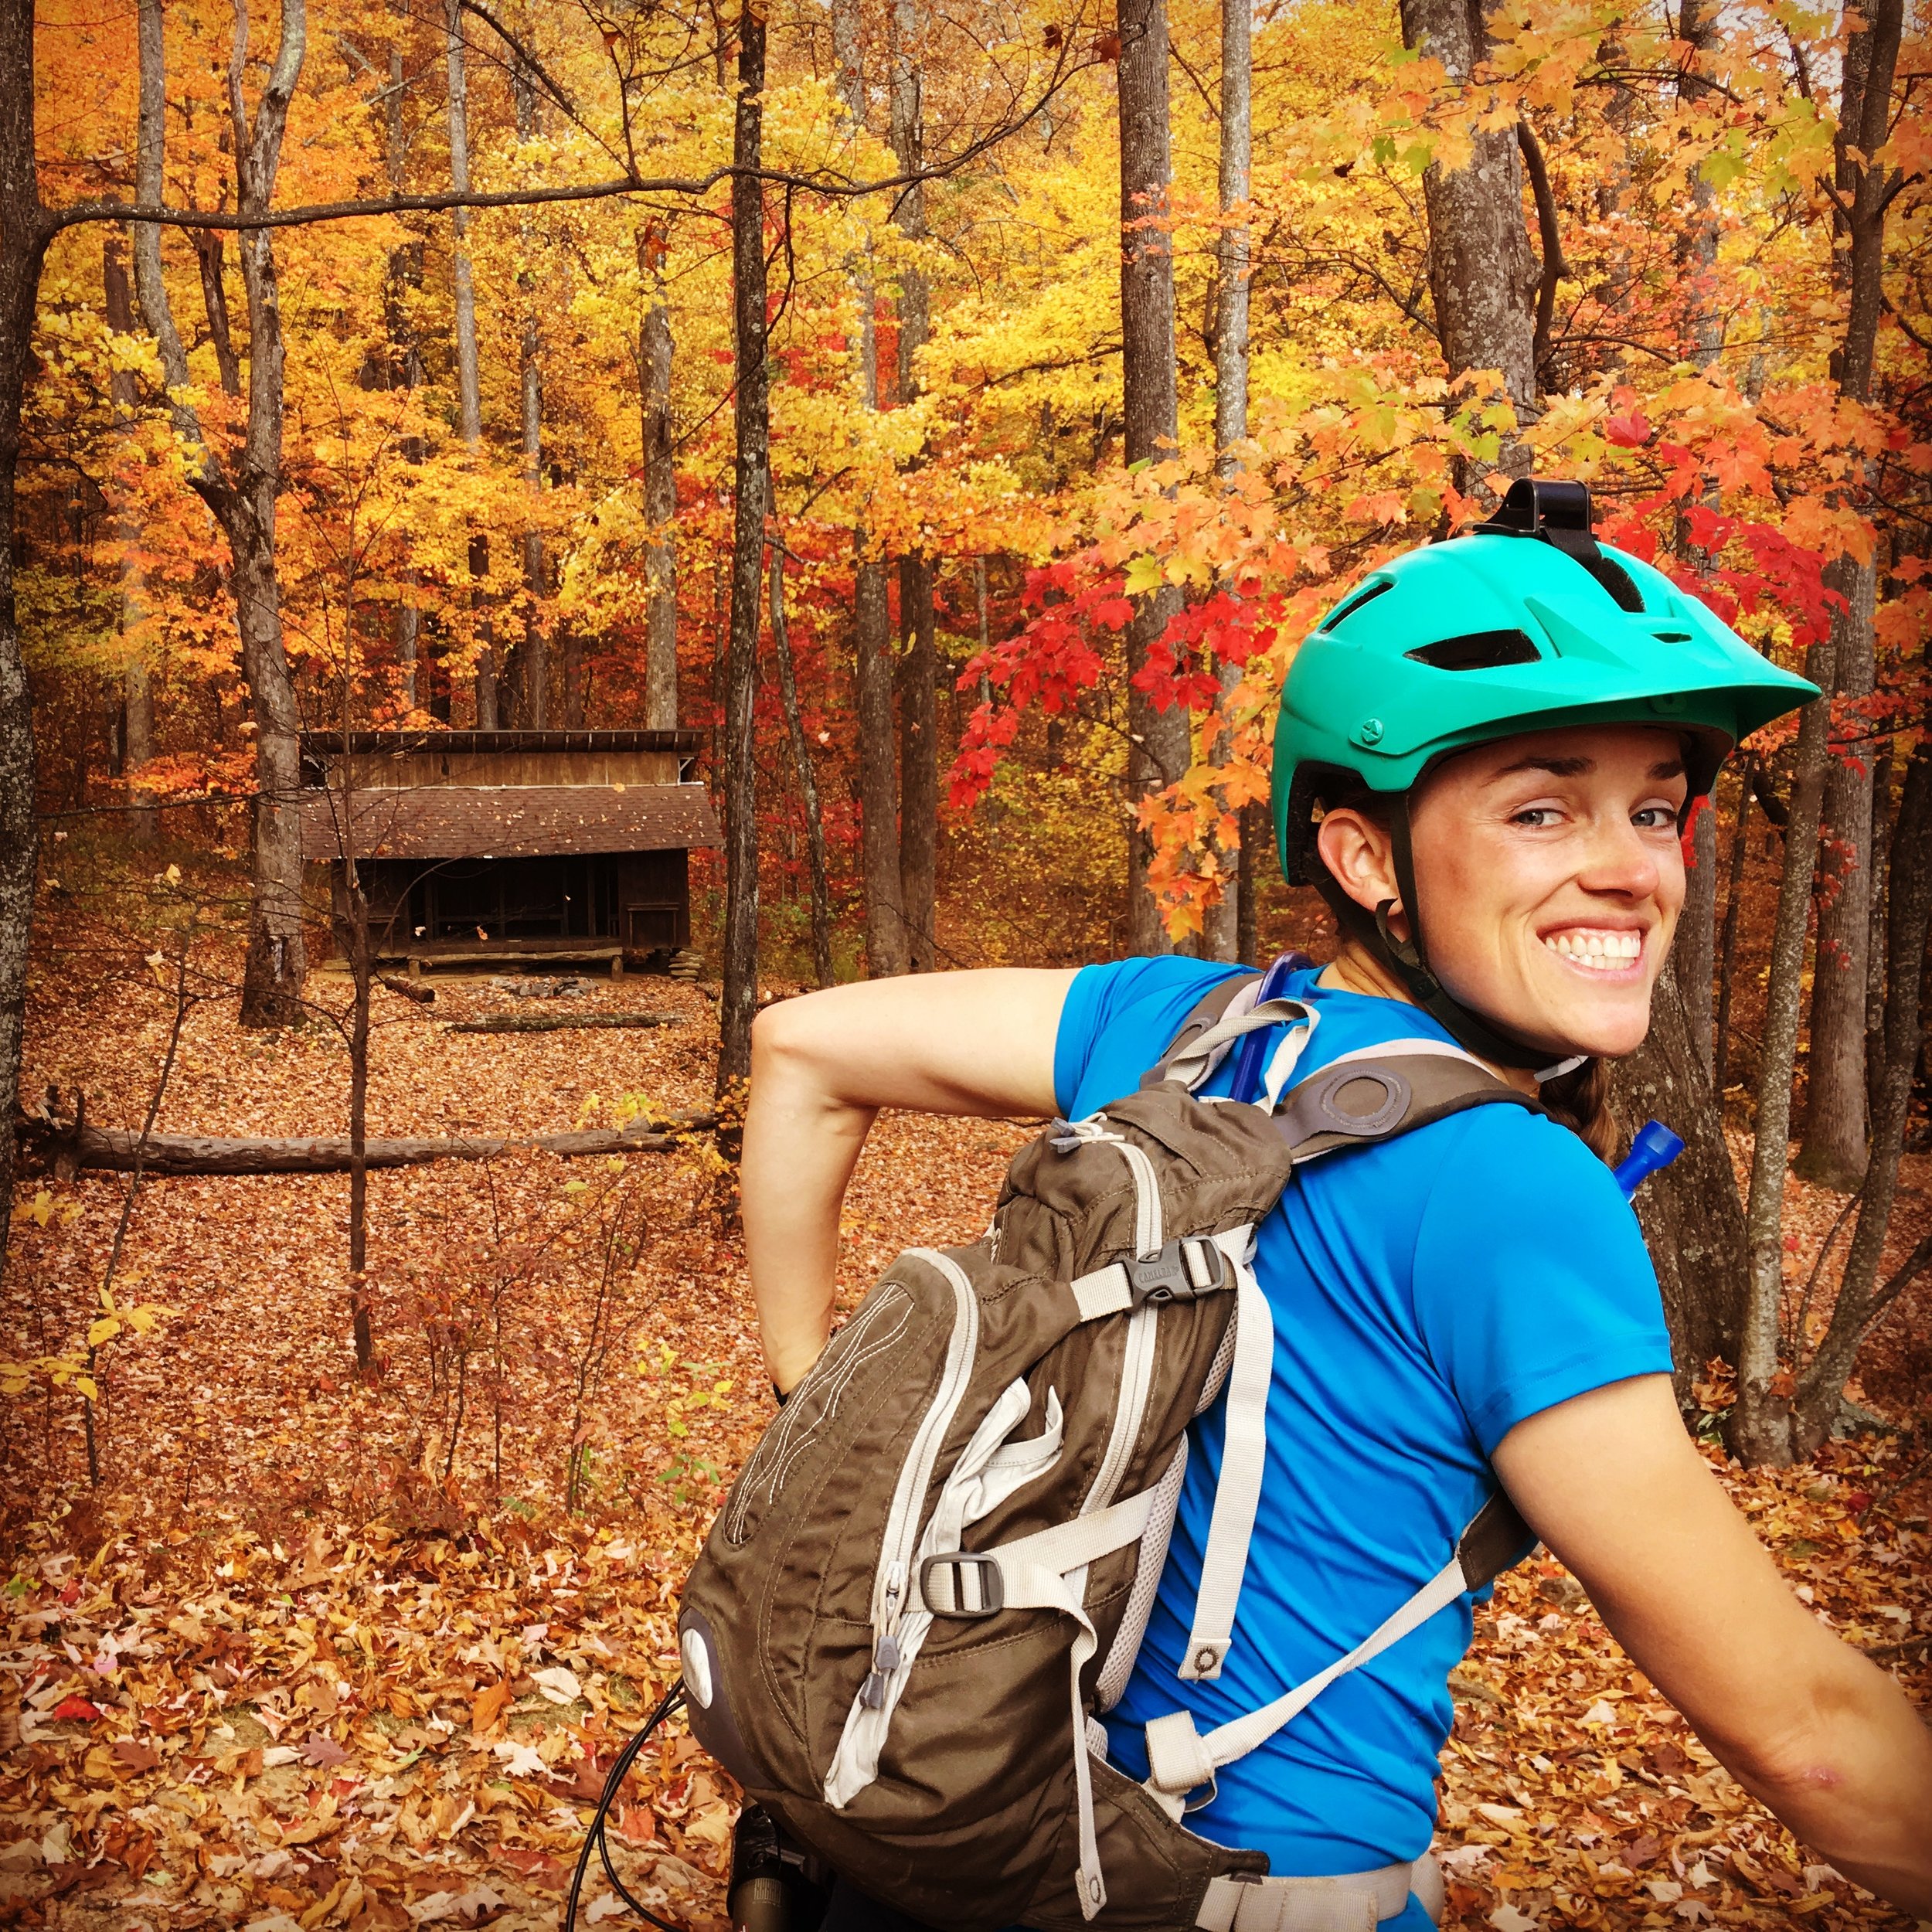
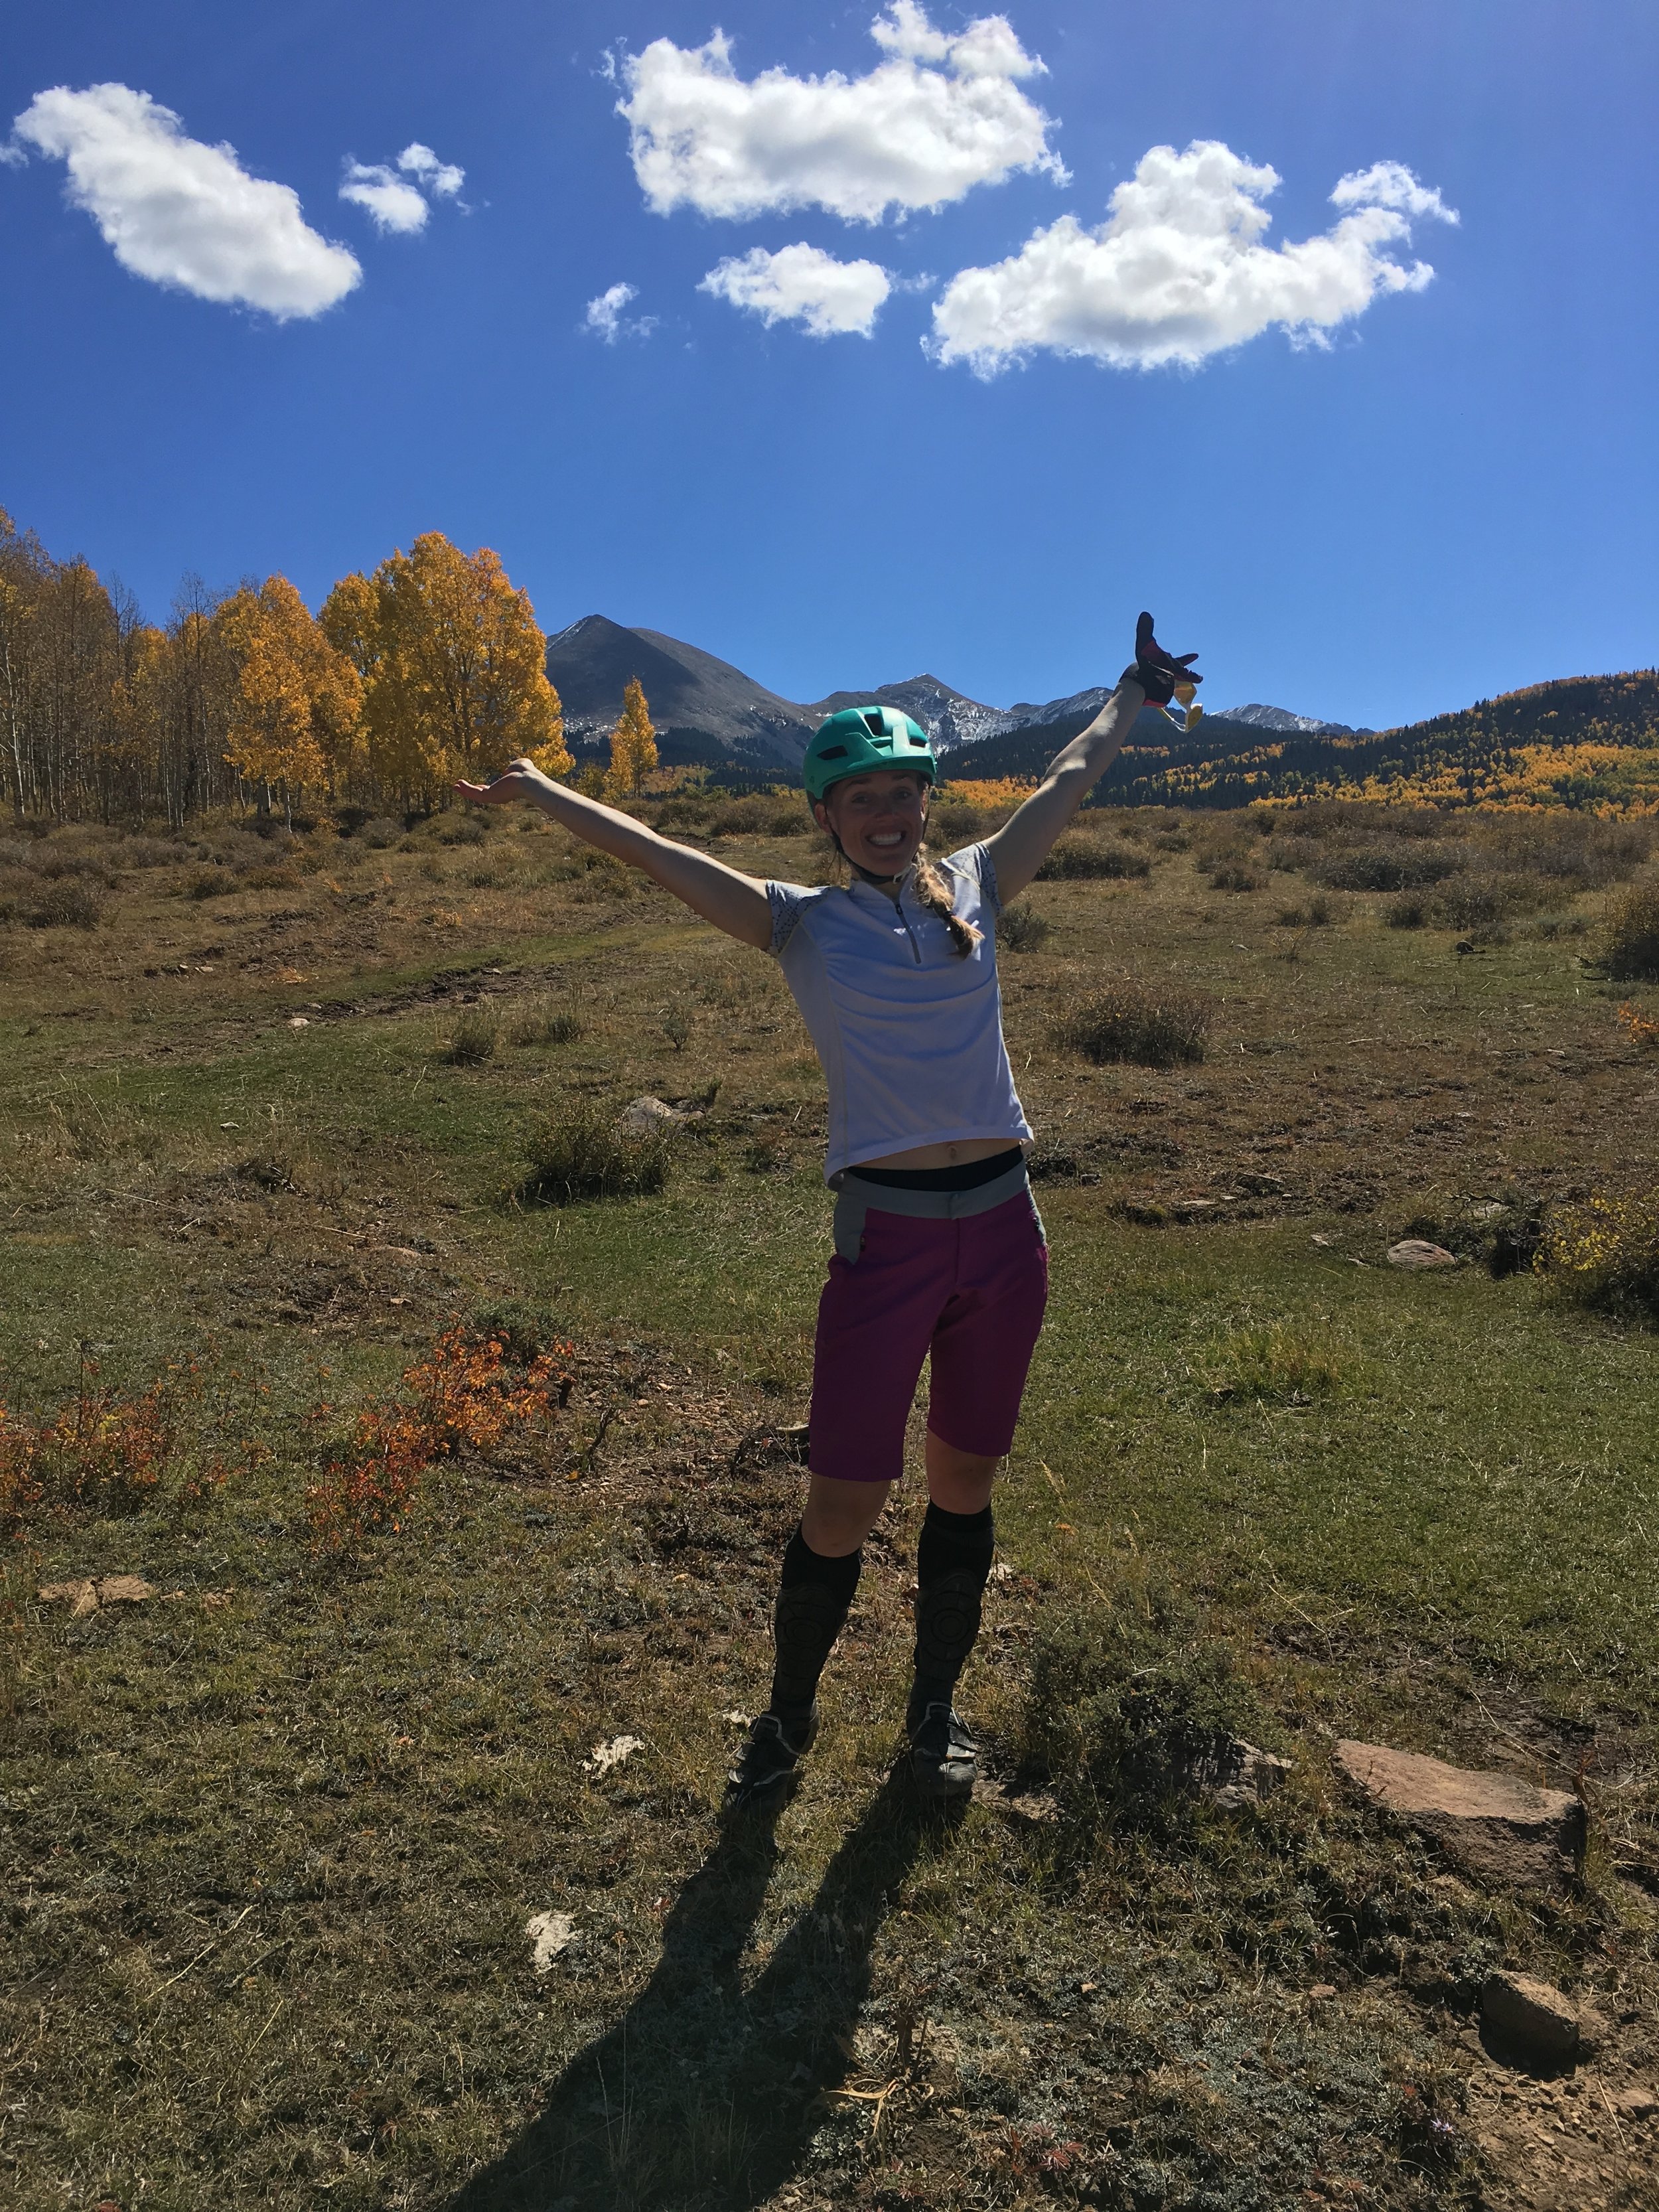
5.  Find your new bike!  Demoing different bikes is quite simply the best way to find your next mountain bike! You can read reviews all day, but until you spend some time in the saddle you’ll never know if it’s the bike for you.  Jenna rode over a dozen bikes this past year before she landed on the perfect bike for her riding style!  Have fun with it!


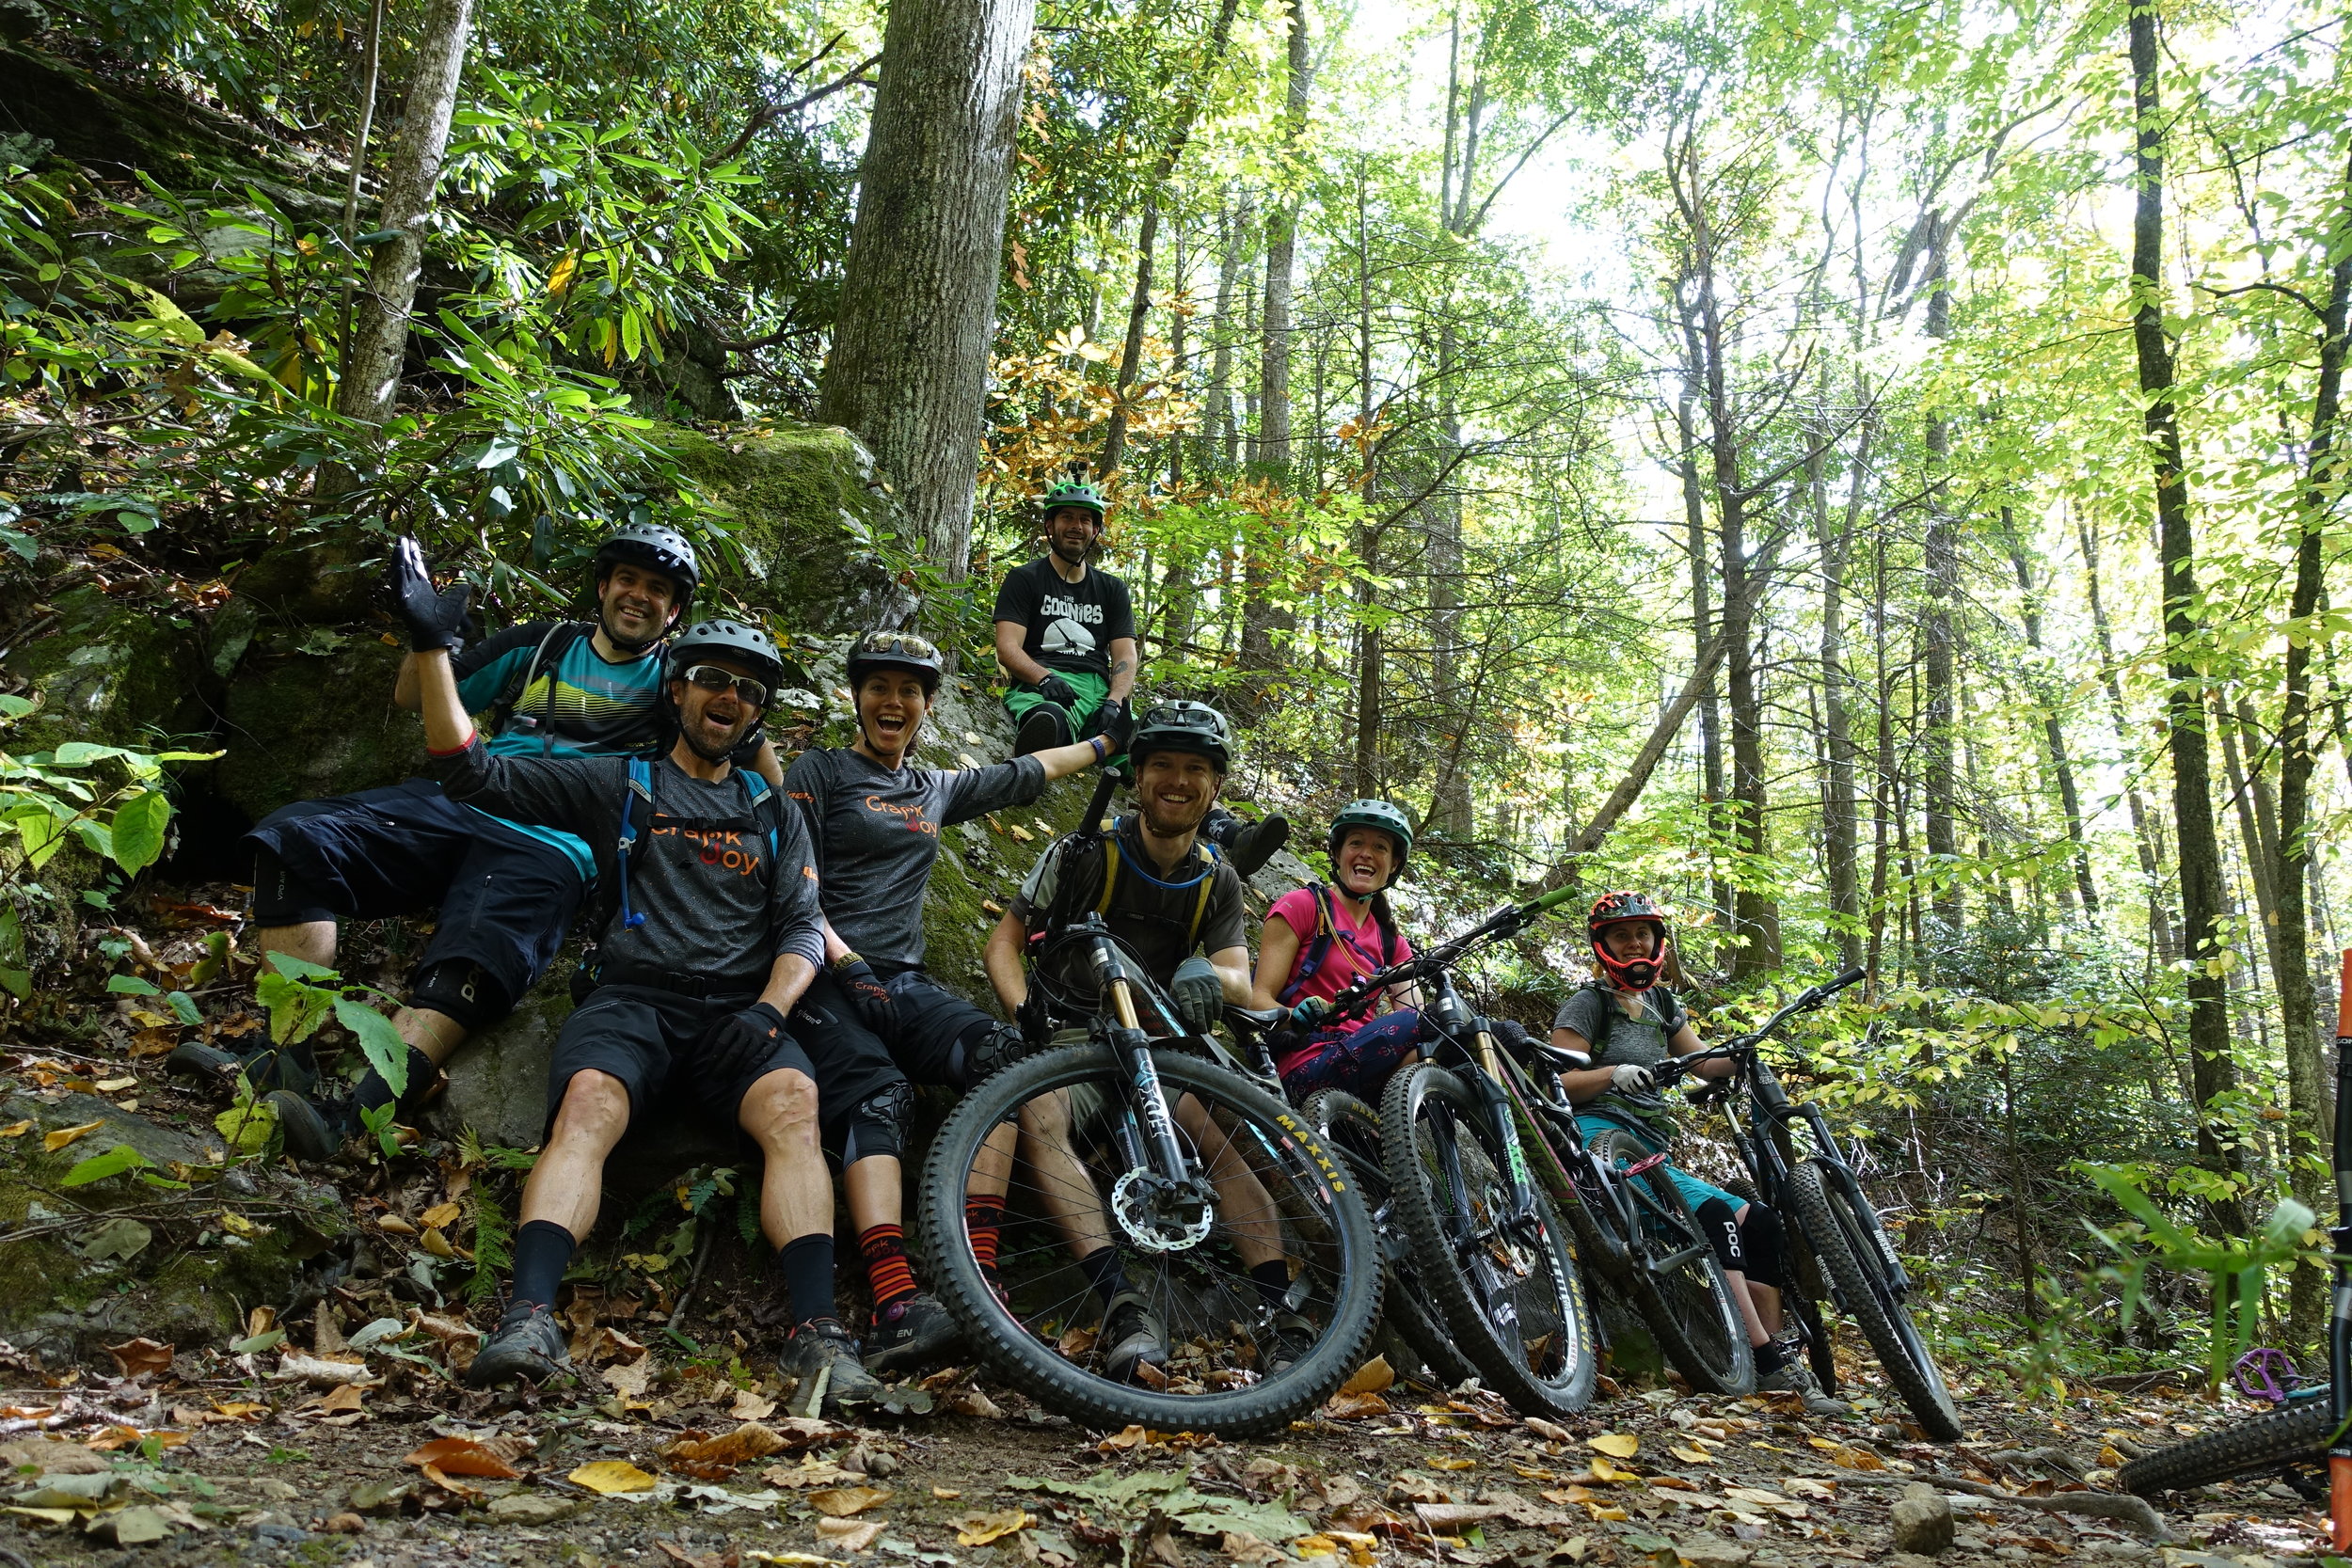
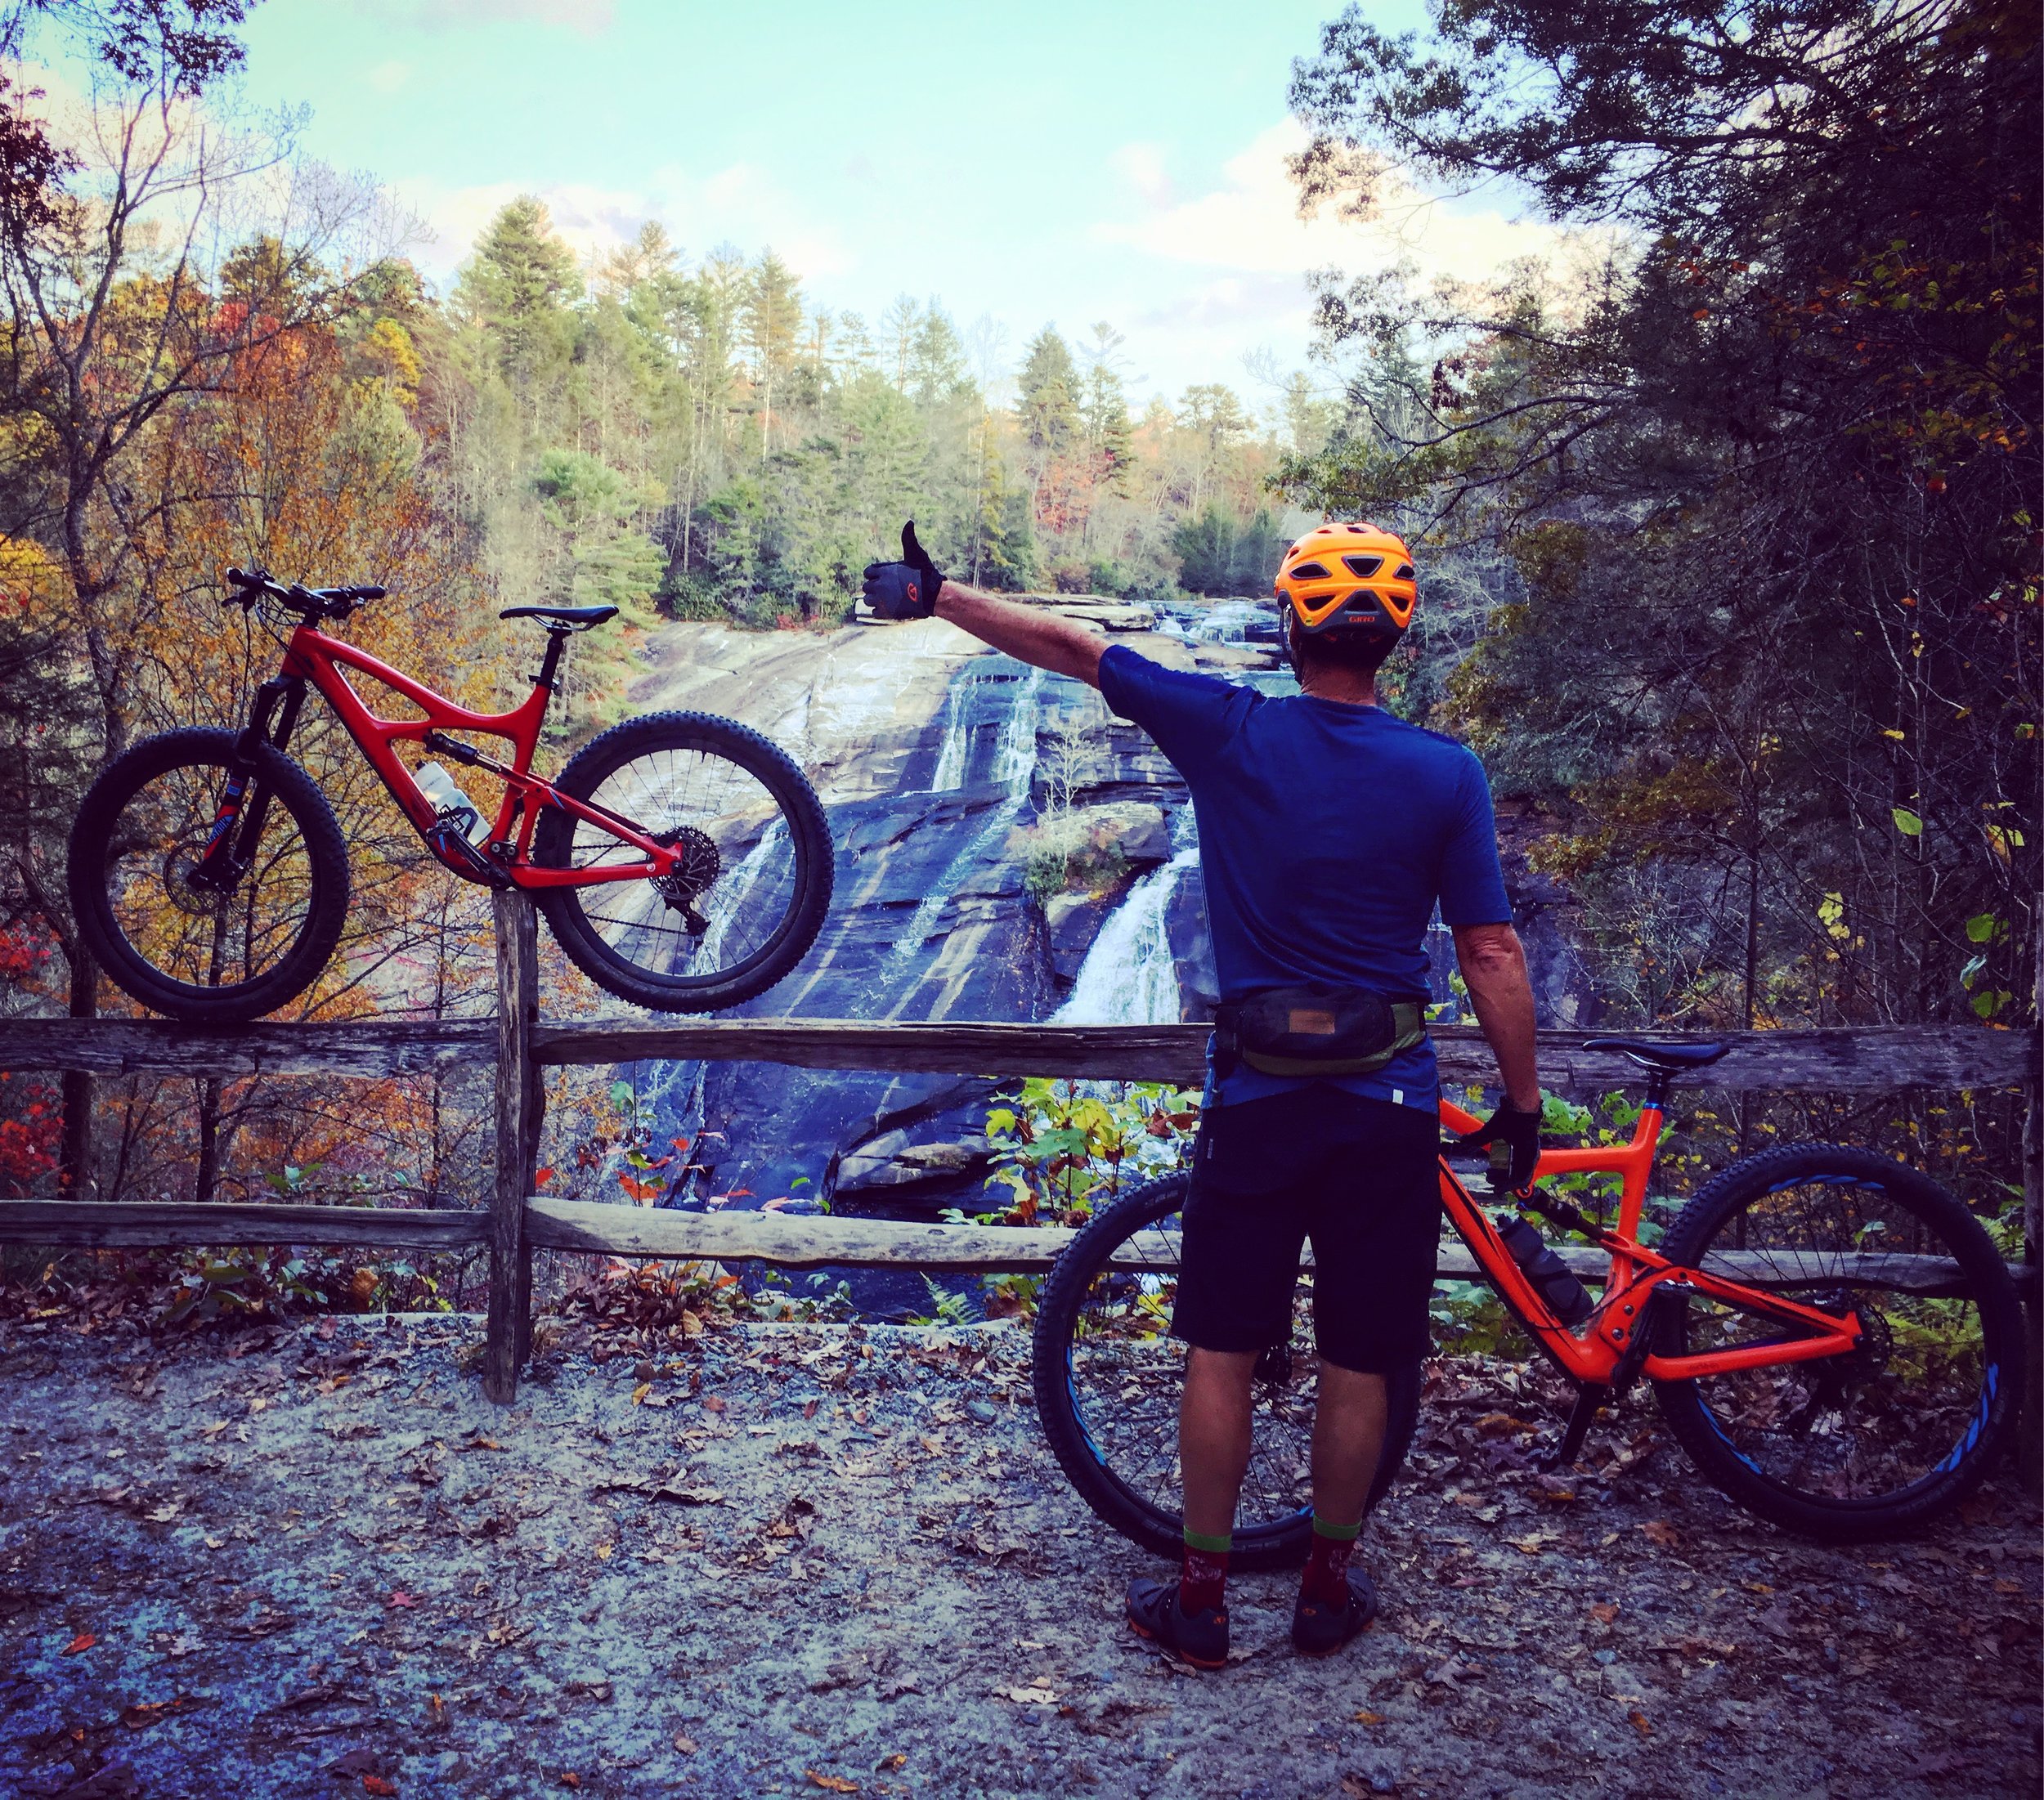
If you are planning a mountain bike vacation to Brevard, NC we would love to help you to have the most fun possible!  The shops can get you get the most out of the bike, and we can help you get the most out of the trails!  Don’t worry about hauling the bike you ride week in and week out all the way here, rent a fresh demo from a shop here in Brevard, and then let us show you around!  No stress, just good times on the trails!!  

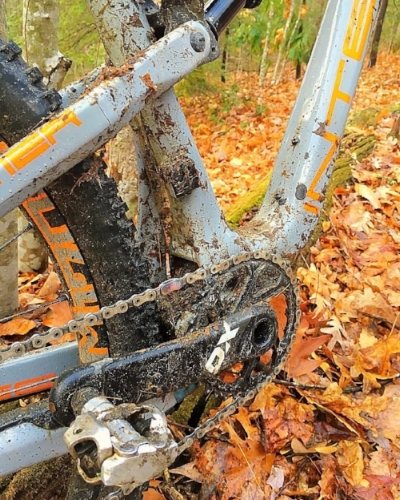
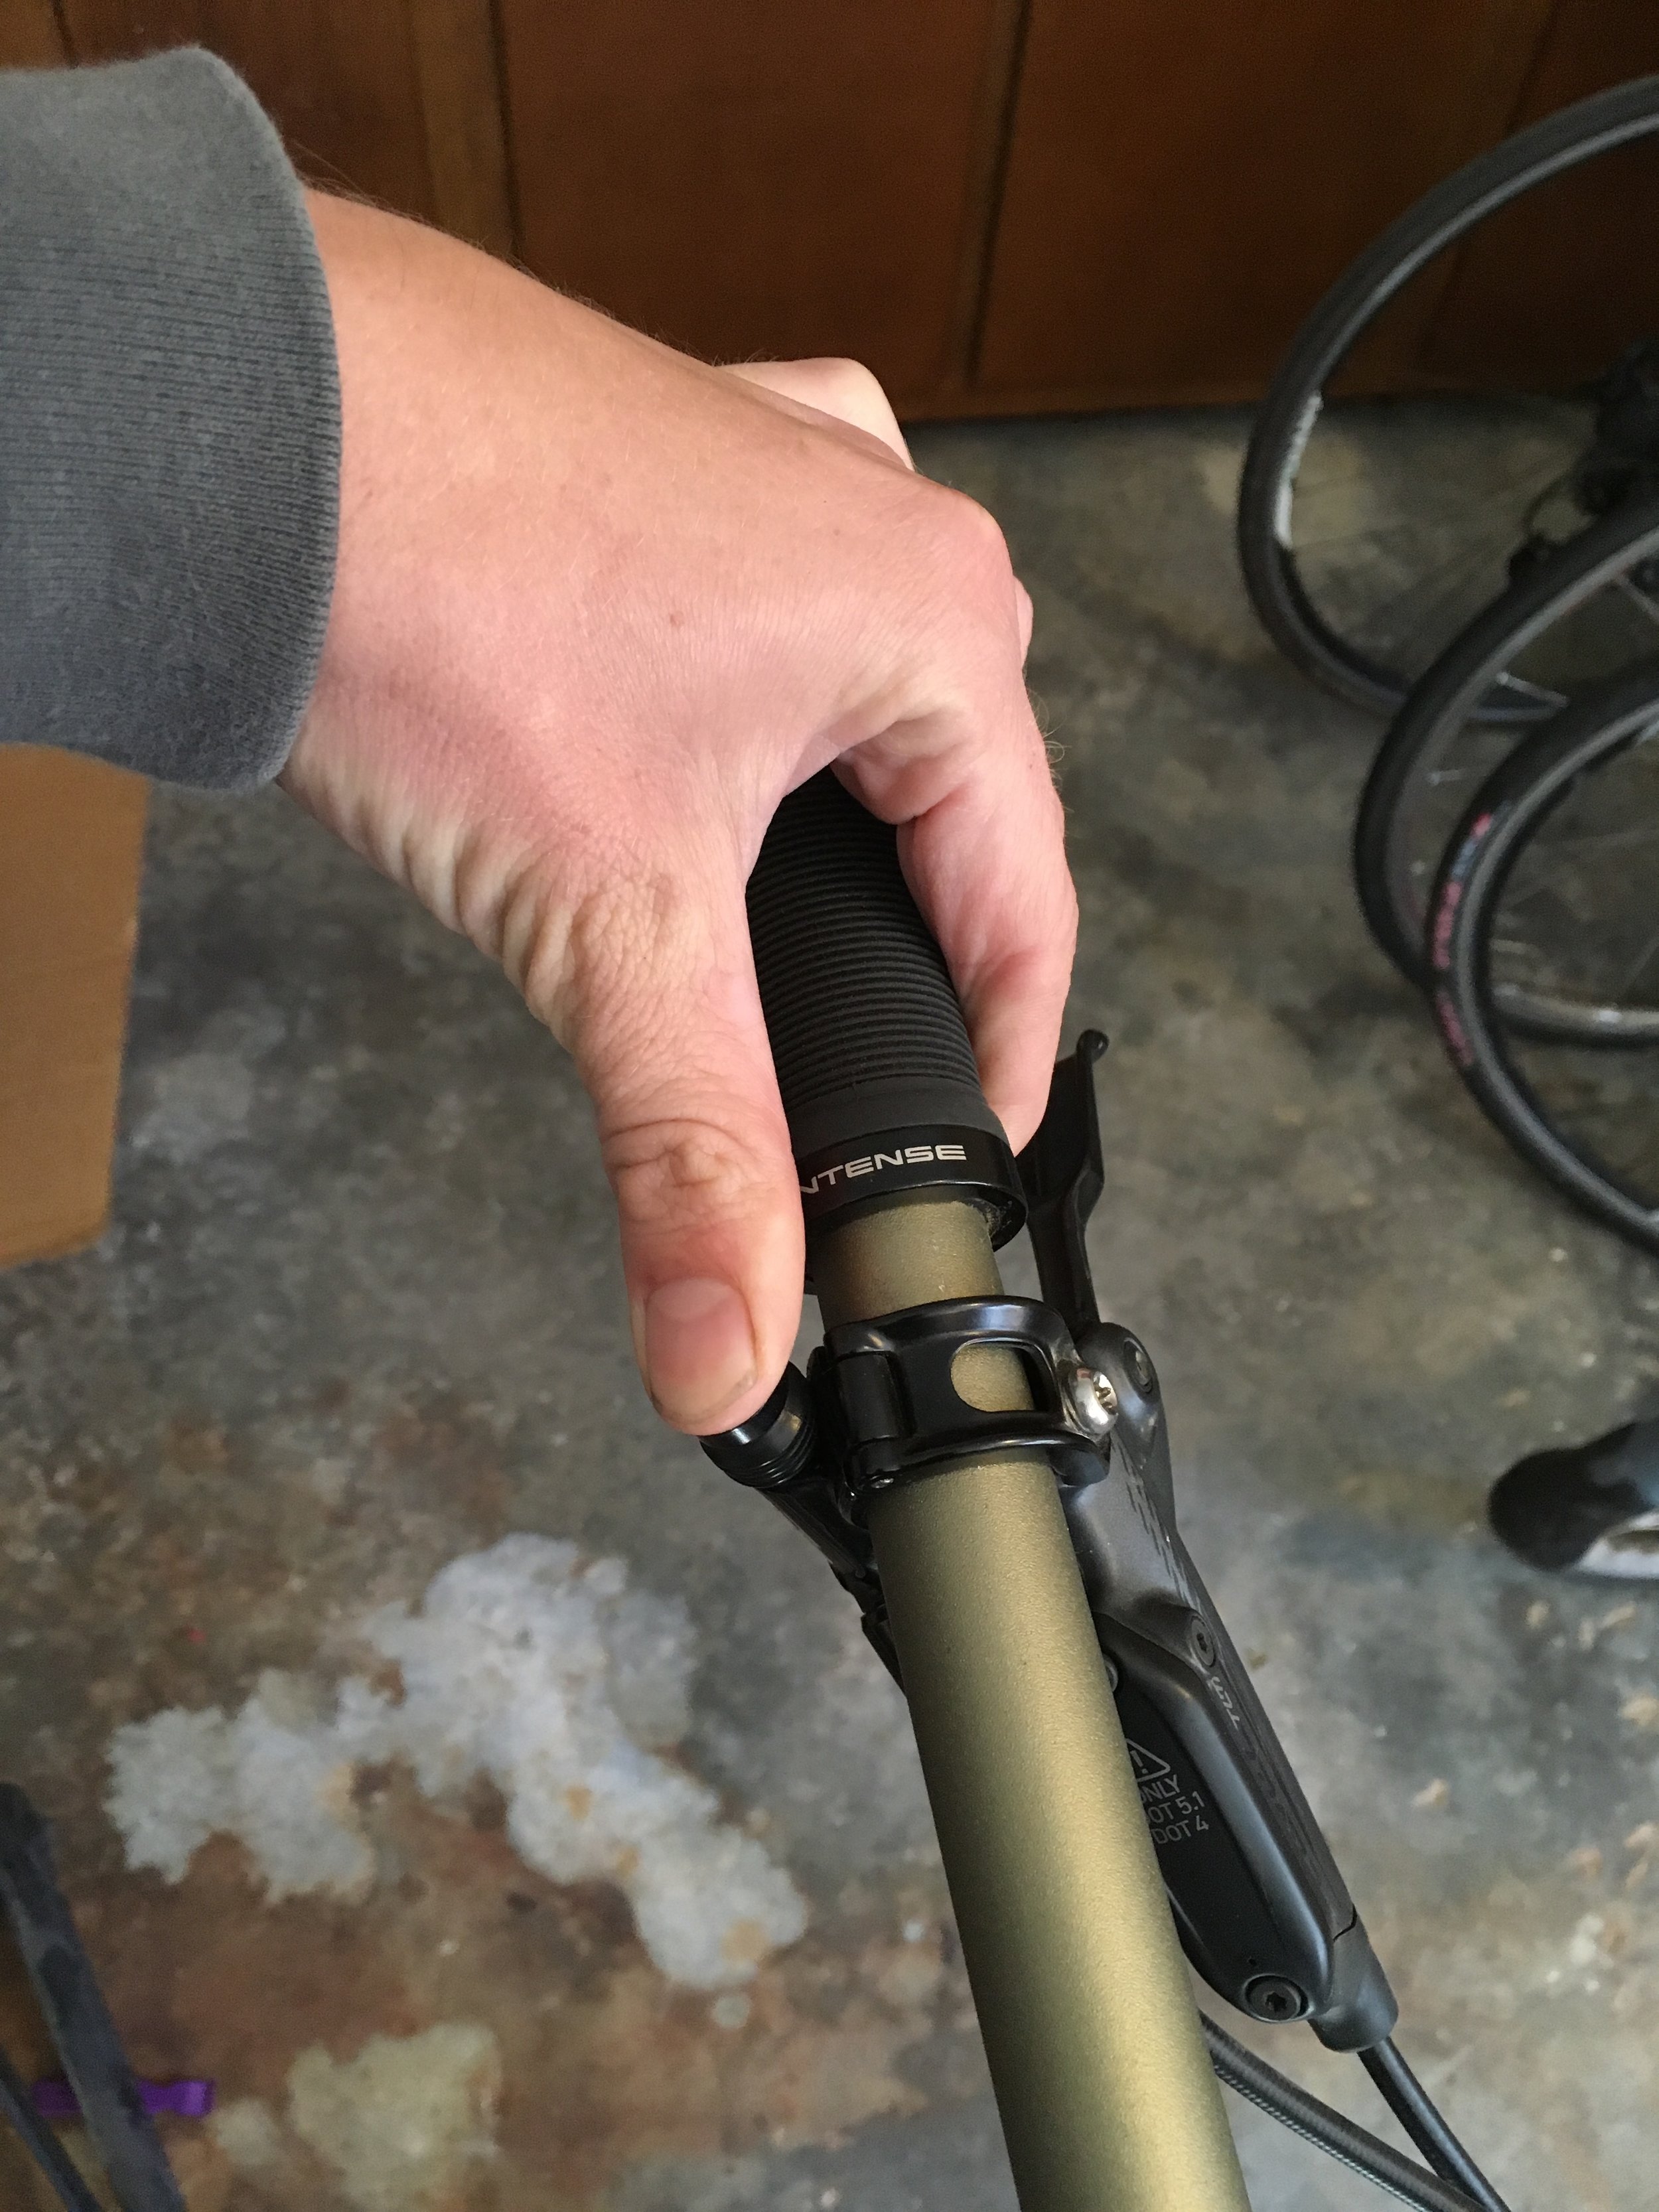
Check out Squatch Bike & Brews for some of the latest bikes from Intense & Ibis!!

Winter Mountain Biking - A few tips to make it more comfortable!

It’s winter.  Officially.  While short days and cool temps are definitely not my favorite, they are tolerable if you know how to prepare.  Here are a few tips to help keep you on the bike all winter long, weather be damned!  

*Disclaimer* I know North Carolina winters are mild compared to a lot of places.  This isn't for those of you who need fat bikes and electric warming grips and what not.    

Winter offers up some killer views!

Winter offers up some killer views!

  1. Wool.  

    I love wool.  It’s an amazing material.  It keeps you warm even when it’s wet!  And it doesn’t develop that funky smell like most synthetic materials.  A good wool base-layer and some wool socks will help to knock the edge off the cold and help motivate you to get on the trail!
     

  2. Tights/Knee Warmers.

    Warm knees are happy knees.  I am a fan of knee warmers and high wool socks, and Jenna likes full on insulated tights  (“Fleece lined are the best!! They feel like kittens” - Actual quote from Jenna).  Either one will work to help keep your legs toasty and warm (at least once you get riding).
     

  3. Layers.

    Layering is key to riding in cold weather.  A nice base layer (wool jersey or regular short or long sleeve jersey works) and then a jacket over top is pretty simple and most of us already have most of that hanging in the closet.  I like a thin shell over my long sleeve wool jersey.  Jenna likes a breathable, short sleeve base layer, a long sleeve jersey over that, and then a softshell jacket that she can take off once she gets warm on the climbs. (Then she has the jacket to put back on for the descents.)  Experiment and see what works best for you! Key point: Do not overdo it! You want to be mildly cold when you start! Because remember, you’ll start to warm up real fast on the bike!
     

  4. Winter Gloves.

    This may sound obvious, but thicker more insulated winter gloves are awesome.  I recommend sticking with cycling specific gloves for the sake of dexterity and durability.  I personally have three levels of gloves: summer, cold, and straight up freezing.  I don’t use the “freezing” gloves often, but when I do I am glad I have them.  
     

  5. Snowboard/Ski Helmet.

    If you have one, this is a great way to repurpose that helmet of yours that may or may not be sitting on the shelf collecting dust (like ours unfortunately do...must have that helmet for the 1-2 yearly ski trips!)  It will keep your ears warm and your head nice and toasty.  Bonus points if your helmet has vents you can open once you start warming up! If you do not have a winter-sport helmet, do not fret!  A thin beanie/hat under your regular helmet will get the job done too!
     

  6. Lights!

    Extend your riding into the evening hours!  Lights have gotten so much more affordable now that it is easy to get a good light for $100-150.  Shoot for minimum 700 lumens.  This will be enough to ride a lot of trails.  I prefer my light mounted to my helmet so I can see where my eyes are looking.  If you decide you like night riding then you can get an additional light to mount to your bars as well!

Sometimes December can offer up some of the best riding conditions you'll find all year!  This bluebird day on Black Mountain Trail in Pisgah was a perfect example!

Sometimes December can offer up some of the best riding conditions you'll find all year!  This bluebird day on Black Mountain Trail in Pisgah was a perfect example!


This is just a basic list of what it takes to get started in cold weather riding.  Everyone has different cold tolerances, but the principles all still apply to pretty much everyone.  Obviously more extreme environments require more extreme gear, but for most of us this basic list will get us out on the trails all winter long!  Have fun, ride bikes (all year long)!   

Mountain Bike Gear I Really Like - December 2016

I have a tendency to overly scrutinize a lot of my mountain bike gear.  Maybe I read too many gear reviews, but I am always looking at stuff I use and trying to figure out how to make it better.  I have a few things that have really impressed me recently that I would recommend to anyone.  So here are a few things that I really like,  December 2016 edition.

MRP 1x Chain Guide

It really looks pretty cool!  Good job MRP!

It really looks pretty cool!  Good job MRP!

I have not run a chain guide in several years.  My experiences with several guides in the past have always left something to be desired, and with modern clutch style rear derailleurs I have not seen the point of running one.  Recently though, I had been occasionally dumping chains in some chunky sections of trail causing me to lose confidence in the rough stuff.  Cranking hard and finding no resistance on the pedals can be disastrous, especially when you’re riding aggressively.  I even had the chain drop and get wedged between my tire and chainstay a couple of times, not good for rubber or carbon!  Anyways, after a fresh chain and cassette, I was still occasionally having issues so I ordered up an MRP 1x guide.  It was a super quick and easy installation and I haven’t had to think about it since!  Guides have definitely come a long way in the past few years.  No rubbing on either end of the cassette, it’s super quiet, and best of all I haven’t had to worry a bit when I stand up and mash the pedals through the Pisgah chunder.  Set it and forget it.  Big thumbs up from me MRP!


Maxxis Forekaster 29x2.35 Tire

maxxisforekaster

Tires are always a fun discussion to me.  I am admittedly a bit of a Maxxis fanboy.  So when they came out with the new Forekaster it caught my attention.  Their description is that it is an “aggressive XC tire”  that is “optimized for loose & wet conditions”.  I happen to buy this tire during the recent drought, so my first few weeks on it were mostly fast rolling hardpack trails and it excelled even in those conditions.  It has a bit of squirm at high speed on the super firm trails, but nothing disconcerting.  I replaced a 2.4 Ardent with this tire and have been super pleased.  It’s lighter, faster rolling, offers extremely predictable grip, and climbs great.  It weighed in really close to the claimed 735 g (29x2.35).  It is a skinny tire.  I haven’t taken the calipers to it, but it doesn’t have the volume of a lot of 2.35s out there.  I’ll do a full review after I get some more miles on the tire, but so far so good!  


PROBAR Meal Bar

probar

Good healthy snacks that survive living in a pack for potentially weeks (or months if it winds up on the bottom) are hard to find.  I don’t use energy gels very often outside of a race, but I do need something to keep myself fueled during long rides.  Probar meal bars are my go to snack.  I say snack, but at over 350 calories they are considered a “meal” bar.  I won’t bore you with nutrition facts, but needless to say these things have it all, and they taste awesome.  Everyone’s gut is a little different, but I haven’t ever had an issue after eating any flavor.  I first discovered probars on our Bike & Build trip riding across the US.  They were awesome to fill in between meals on those big days on the bike.  Breakfast on the go?  Big snack midway through an epic ride?  Pick me up after Jenna drops me on a climb?  Yeah, they are good for that.  (Yes they are expensive, but you can find them on sale occasionally.)


Rain!!!!

Mud??? It's been a while!!

Mud??? It's been a while!!

After a lengthy drought complete with forest fires and tons of smoke, I never thought I’d be so happy to have rain.  I have had to spend a few days just watching it rain out the window and let my bike sit in the garage.  It even coaxed me into doing that suspension service that I’d been putting off for months now.  But I’ll take it!  Rainy days have never looked so good.


how to do a 5 minute bike maintenance and safety check -- and what can happen if you don't!

I had a reminder today of why it is always so important to go over the mechanicals on your bike frequently.  As my buddy and I rolled out of the parking lot I eased on my front brake and I heard an awful metal to metal grinding noise… dang.  

So let’s back up to a couple days before.  I was cleaning my bike and I did a nice inspection to make sure everything was as it should be.  I pulled my front wheel to check the brake pads and sure enough, they were nearly toast!  I didn’t have any spares in the toolbox so I bought some at my local shop (Squatch Bikes & Brews).  And then I screwed up.  I left my brand new pads sitting in my Jeep’s cup holder and proceeded to go on a few more rides without thinking about my brakes.  That is until they gave me that nice reminder… metal on metal sounds awful by the way.  

I tell you this embarrassing story to hopefully keep you from putting yourself in the same situation.  So here is a step by step on what to check on your bike prior to going for a ride!  

This is not what you want your brake pads to look like.

This is not what you want your brake pads to look like.


Step 1:  Start with a clean bike.  You do not have to totally clean your bike between rides, but there are a few things that always warrant attention.  Start with your front suspension.  Wipe the stanchions on your fork being sure to get any grit that is around the seals.  Next wipe down your rear suspension, mainly the seal on your rear shock, and any grit that is around the pivots.  I typically will use a rag like a piece of floss and thread it around the pivot to get any grit on the backside of the seals.  Take note of any excess suspension oil around the seals as this typically indicates that it is time for a service.  This will help keep your suspension running happily for a long time.  Also make sure to wipe down your dropper post, again especially around the seal.  


Step 2:  Spin your wheels and look for any wobbles.  Some tires will have a slight wobble to them out of the box and that is ok, but watch the rim to make sure it is not moving side to side or up and down excessively.  Also look at your brake rotors to make sure they are straight and not rubbing on your caliper.  Check your quick releases or thru-axles and ensure they are snug.  Lastly it is not a bad idea to feel your spokes to make sure there are not any that have worked loose.  Loose spokes can quickly lead to a trashed wheel!  

File_000.jpeg


Step 3:  Check your brake pads.  This is one that is easy to forget, but it really is crucial for safety.  Take a flashlight (or cell phone) and shine it into the top of the caliper to see how much pad material is left.  Pull your wheel and you should be able to see into the caliper easier if you can’t tell with a light alone.  Or you can always just pull your pads out of the caliper.  Shimano says to replace pads once they’re down to 1 mm of pad material left.  It is a good idea to have a set of spare pads in the event that you forget and your pads wear out completely on a ride.  I like to keep my old pads (if they’re not totally shot) as spares that I can use on the trail.  

This caliper could use an adjustment.  But the pads have plenty of life left.  

This caliper could use an adjustment.  But the pads have plenty of life left.  


Step 4:  Clean and lubricate your chain.  There is nothing more annoying than a noisy chain.  Where you live will determine how long you can go without lubing, but here in Western North Carolina it is pretty much every ride.  Also make sure your cassette is clear of debris such as sticks, leaves, and excess dirt.  Cleaning your chain (and cassette, chainrings, and pulley wheels) will help to make your drivetrain last much longer.  With 11 and 12 speed cassettes costing the big $$ now, it is definitely in your best interest to help those components to last as long as possible.  Every few weeks, check your chain stretch with a chain checker, or stop by your local shop for assistance if you do not own a chain checker.  That way you do not overstretch your chain and ruin your cassette.  

IMG_0305.JPG


Step 5:  Check your gears & dropper post.  Make sure that everything is shifting properly on your bike.  Visually look at your rear derailleur to make sure it is not bent at all, especially if you crash or your bike falls over.  A bent derailleur into the spokes is a quick way to cause a lot of damage ($$$).  Also, actuate your dropper post to make sure it is working properly.  Inspect all cables for any fraying.  A snapped dropper or shifter cable is no fun (again, ask me how I know...).       


Step 6:  Check your tires.  Do a visual inspection to check for any excess wear.  Look at both the tread and the sidewalls.  Sometimes you can get a puncture and not know it because the sealant has done its job.  (If you’re running tubeless. And if you’re not running tubeless, I highly recommend this as your next upgrade).  You also need to occasionally check your sealant to make sure it has not dried up too much.  I typically just add an ounce or so after a few months through the valve stem.  This is an important safety item because flat tires at best are an inconvenience and at worst can cause a crash.    

Step 7:  Check your headset.  It is really important to make sure your headset is tight.  The easiest way to check is to turn your bars 90 degrees, grab your front brake, place your other hand under the stem on your headset, and rock the front of the bike forwards and backwards.  If it is loose you should feel it.  Repeat with your hand on the lower part of the headset where your fork goes into your frame.  If it feels loose, stop by and let your local shop check it out for you.    

Step 8:  Check your air pressures, tires, and suspension.  Some people use gauges, some go by feel.  Do whatever works best for you.  I often will check my tires by squeezing them with my hand, and then I hop on the bike to check the suspension by feel.  If you do check your suspension with a pump, you will lose a little bit of pressure just by checking, so give it a little pump even if it is spot on to make up for what you let out checking it.  


Step 9:  Go ride!  Do a little lap around the parking lot and make sure everything feels right.  If something seems off, take the time to check it!  Check before you are ten miles in to a ride and something goes wrong!  I’ve learned the hard way over the years.  You can’t prevent everything, but paying attention to your bike can help prevent a lot.  And I know this seems like a lot, but once you get use to checking stuff it becomes second nature and doesn't take long at all.  


October Mountain Biking in Brevard, NC

October has been fantastic here in Brevard, NC.  The leaves have been amazing, the temperatures have been mild, and rain has been scarce (a little too scarce actually).  Despite the drought, it has definitely been ideal mountain biking conditions!  We have been fortunate enough to get a lot of time in on the trails this past month and here are a few pictures to help inspire you to plan a trip for next fall!  


We've had a great month and a fantastic start to fall in the mountains of Western North Carolina.  The best thing is that the riding is good year round!  Come up for a visit and let us show you around!

Fall has arrived in Pisgah, and the mountain biking is awesome!

Just one of the many beautiful waterfalls in Pisgah!   

Just one of the many beautiful waterfalls in Pisgah!   

The leaves are changing and the riding is perfect!


The fall is one of the best times to experience the trails in Pisgah and Dupont.  The temperature is perfect for riding, the weather is typically dry, and the leaves are beautiful!  There are a number of seasonal trails in Pisgah that opened up to mountain bikes on October 15, so the fall is the perfect time to experience everything Pisgah has to offer! It is also a fantastic time to head up to the Blue Ridge Parkway to get some great long range views.  Give us a call and let our guides help you make the most of your time in Brevard!  
Who doesn't love riding bikes??  

Who doesn't love riding bikes??  

Fall Outerbike 2016!

Moab!!!

Oh man, sometimes you forget how refreshing it can be to get away.  Jenna and I were fortunate enough to recently spend a week in Moab.  It's been over 2 years since we'd been able to ride out there, and I already cannot wait to go back!  Here is a quick recap of the trip.  

Our friends at Crankjoy invited us out for a week of riding bikes, campfires, and great company.  We spent three days riding high up in the La Sal Mountains above Moab (9,000-11,000 feet to be exact!), riding with Ibis Cycles and their first ever Ibis Migration.  We had awesome local guides show us phenomenal trails, cook meals, and shuttle us to the best trailheads.  Ibis provided a full fleet of bikes for us to ride, and mother nature even cooperated perfectly offering beautiful fall colors and cool dry weather.  In short, it was a trip of a lifetime.  We finished up the final day by ripping down the Whole Enchilada culminating with the classic descent down Porcupine Rim into town.  I cannot thank Scot and the rest of the crew enough for putting on such a great event!  

Seriously, this is tough to beat!

Seriously, this is tough to beat!

So after the Ibis Migration, we moved our camp to just outside of Moab and prepared for Outerbike.  

Outerbike is one of the largest mountain bike demo festivals out there.  Most of the top mountain bike brands, along with several smaller brands, bring their demo fleets to one place, providing you with your pick at riding whatever bike you want!  You can either shred the trails right there at the event or grab a shuttle to the chosen Moab trail of the day: Navajo Rocks, Mag 7, and Amasa Back Trails this year!  It honestly was just as fun as it sounds.  We got to ride some of the coolest new bikes available for three days straight on some of the best trails out there. What more could you ask for?!  There are also shoes, hydration packs, nutrition, trail advocacy groups, and all other kinds of vendors there.  Oh, and I cannot forget to mention the incredible food provided at lunch to refuel you each day for round 2!  

And a little Outerbike tradition you might want to know about if you decide to attend: Each morning starts with a mad dash with everyone running to get the bike they want!  Here is a video of the day 2 morning rush... Jenna nearly goes down, but saves it by grabbing on to some guy, totally nuts!  

Outerbike puts on a great event and I totally recommend attending, especially if you're searching for the perfect new bike.  

So after about 4,000 miles of driving, 9 nights of sleeping on the ground, one broken helmet, countless new memories, some awesome new friends, sore muscles, and smiles that just won't quit, we are happy to be home in North Carolina, but dreaming of next time.   

-Barrett

Book Now